Bomgar Secure Remote Desktop Integration Guide (RADIUS)
Introduction
Use this guide to enable Multi-Factor Authentication access via RADIUS to Bomgar Secure Remote Desktop with the SecureAuth OATH Token for one-time passcodes (OTP).
Prerequisites
1. Configure and install SecureAuth RADIUS on the SecureAuth IdP server
2. Configure the Multi-Factor App Enrollment Realm
3. Configure SecureAuth Apps to generate OTPs
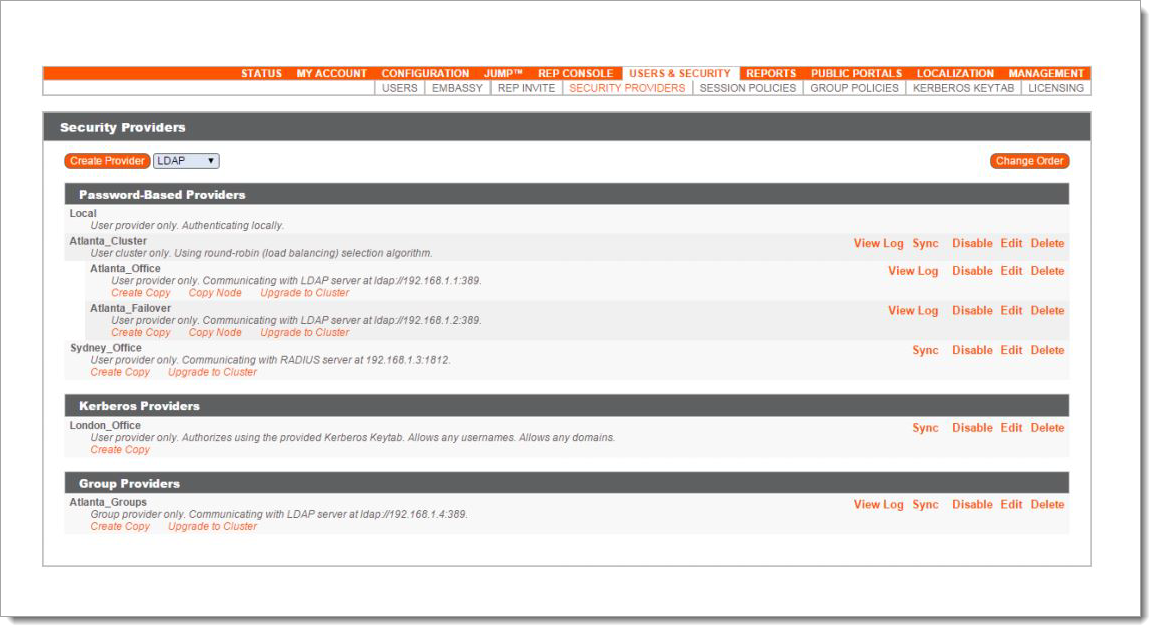
Bomgar Configuration Steps
1. To configure Bomgar for an External RADIUS Security Provider, navigate to Users and Security, then select RADIUS from the Security Providers dropdown
2. Click Create Provider
3. Set the Name to a unique name for this server
4. Select Enabled
5. Set the Displayed Names to the fields that are used as the user's private and public display names
6. In the Authorization Settings, create a list of users (separated by a line break) that can access the RADIUS server in the Only allow the following users field
Note
Once added, these users are available from the Add Policy Member field on the Groups Policies page (located under Users and Security)
7. Select the LDAP groups from the LDAP Group Lookup section to associate users with their groups on a separate LDAP server (optional)
Warning
LDAP must be configured to utilize this option
8. Select a group policy from the Default Group Policy field to apply the policy to all users permitted to authenticate against the server
Note
If a user is in a Default Group Policy and is specifically added to another group policy, then the settings for the specifically assigned group policy takes precedence over the default settings, even if the group has a lower priority than the Default Group Policy and even if the Default Group Policy settings are set to disallow override
9. In the Connection Settings section, set the Hostname to the IP Address or Fully Qualified Domain Name (FQDN) of the SecureAuth server
10. Set the Port to 1812 (UDP)
11. Uncheck Connection Method (no proxy is required to communicate with SecureAuth IdP)
12. Set the Shared Secret to the SecureAuth-RADIUS shared secret (case-sensitive)
13. Set the Timeout to 30 seconds
14. Click Save
15. Once the Security Providers are configured, select Change Order on theSecurity Providers page to modify the order in which the Bomgar Appliance attempts to authenticate users
16. Drag and drop the providers to set their priority, placing the RADIUS Server Security Provider at the top
Without this step, the appliance defaults to whichever provider is listed first and the RADIUS authentication does not work as expected
Clustered servers move as one unit and can be prioritized within the cluster
17. Click Save Changes
 |
RADIUS Test
Test the SecureAuth RADIUS settings on Bomgar by clicking the Test button in the Security Providers section
If all criteria is met, a success message is presented
Troubleshooting / Common Issues
For SecureAuth RADIUS troubleshooting, check the RADIUS logs under C:\Windows\System32\Logfile\Apache
Refer to Bomgar's Documentation on troubleshooting RADIUS authentication failure and configuring External RADIUS