Initialize the SecureAuth IdP Setup Utility
Introduction
Activate SecureAuth IdP Appliance Service Account(s) by running a startup script to initialize the appliance setup process as described in this document.
Notice
IMPORTANT: SecureAuth IdP appliances run on the Microsoft Windows Server 2012 R2 or Windows Server 2016 operating system.
SecureAuth no longer provides Windows Server 2012 for purchase, but will continue to provide support for the existing SecureAuth IdP Windows Server 2012 appliances.
Prerequisites
Complete Part I: Pre-installation.
Complete Install the appliance.
Procedure
1. The local administrator account is automatically logged on.
Click OK after reviewing the Important Notice To All Users message.
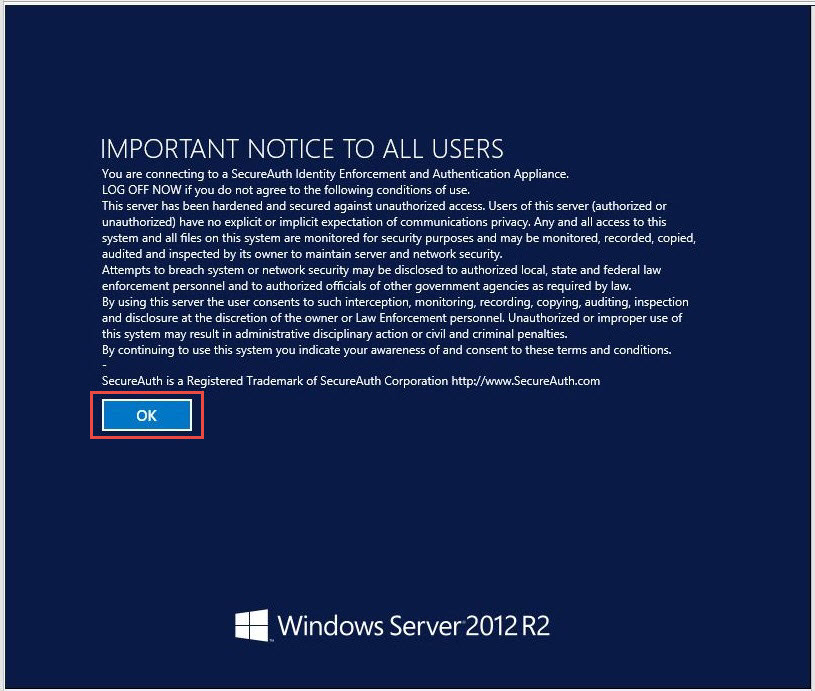 |
The next screen appears.
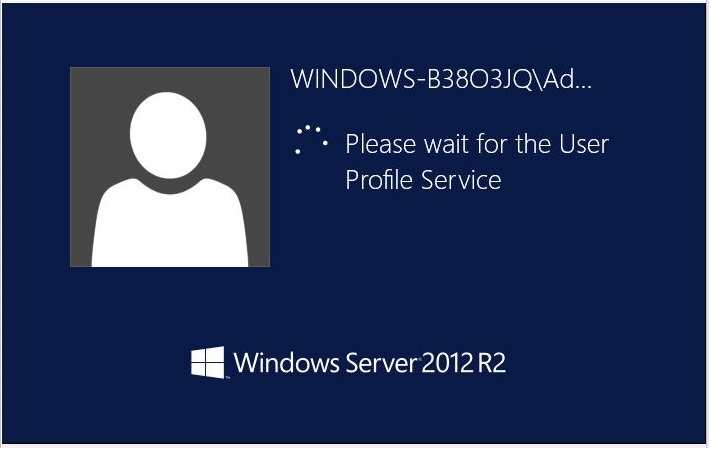 |
Notice
On subsequent logons you may see the SecureAuth0 service account. This service account is specific to SecureAuth and should not be used to access the appliance.
The Startup Script screen appears next. This script initializes the appliance setup process.
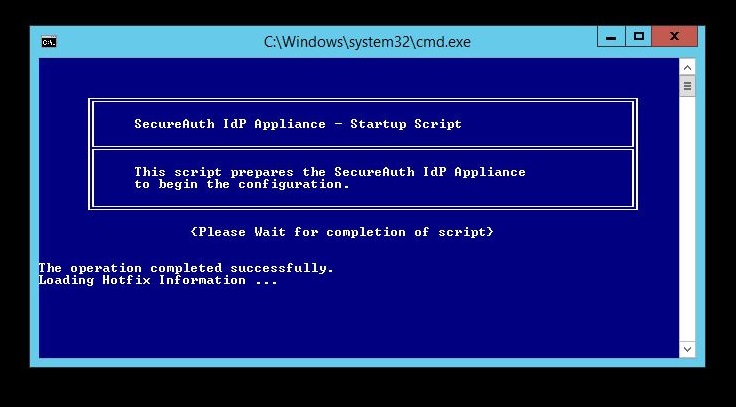 |
If you see a "File-not-found" error message, disregard it. This screen runs through the startup script, which can take 2-3 minutes to run.
Do not close this command window. Wait for the completion of the script.
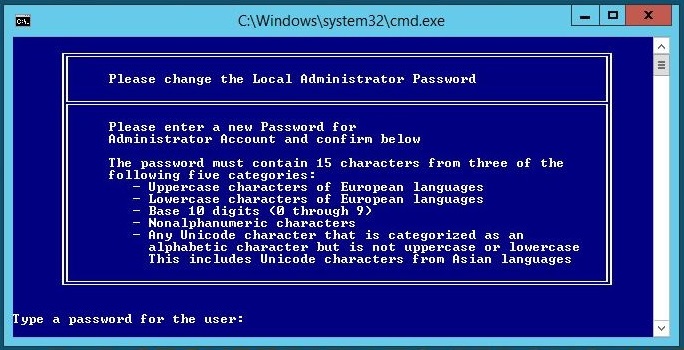 |
2. Change the local administrator password by typing a new password and pressing Enter. Type the password a second time to confirm.
The default administrator password is provided to the Delivery Contact defined on the SecureAuth Appliance Build Form.
If the password is entered or confirmed incorrectly, the script will still continue and the password will not be changed. You can use Server Manager to change the password for the local administrator account or rename the account later.
If you rename the administrator's account you must reboot the appliance before making any additional changes to the configuration.
Do not change the password for the local SecureAuth0 account.
3. The SecureAuth IdP Setup Utility appears.
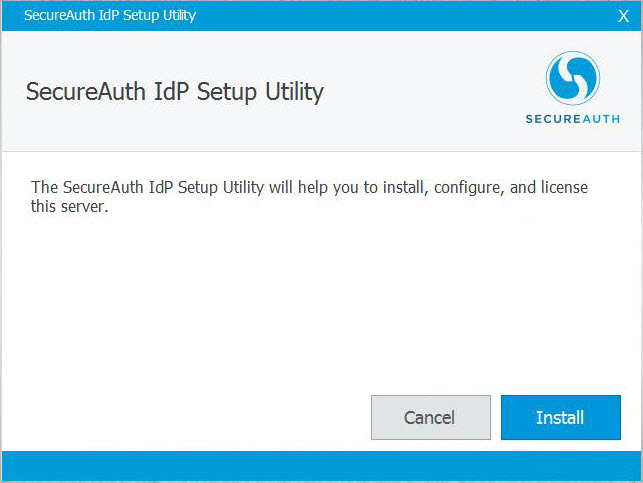 |
What's next
When you have completed all steps on this page, proceed to Basic connectivity checks.
What Next