Vena (SP-initiated) integration guide
Use this guide to enable Single Sign-on (SSO) access via SAML to Vena.
Prerequisites
Vena instance
Administrative access to Vena
SecureAuth IdP appliance with a realm ready for the Vena integration
SecureAuth IdP configuration
Log in to your SecureAuth IdP Admin console.
Go to the Post Authentication tab.
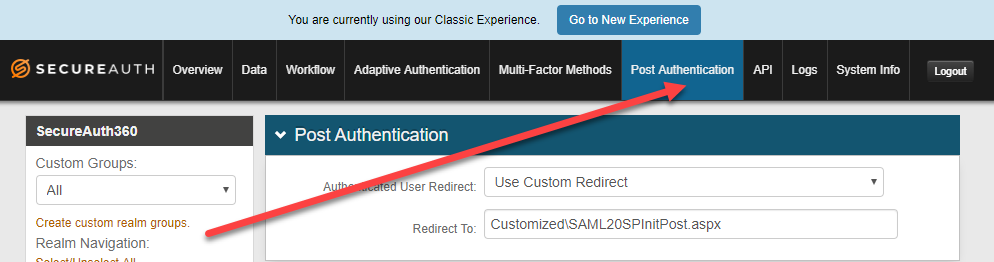
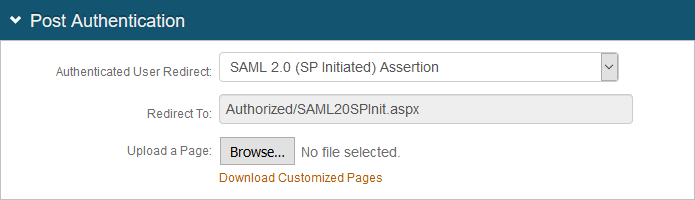
In the Post Authentication section, set the following:
Authentication User Redirect
Set to SAML 2.0 (SP Initiated) Assertion.
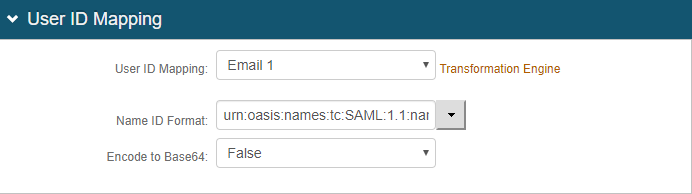
In the User ID Mapping section, set the following:
User ID Mapping
Set to Email 1.
Name ID Format
Set to urn:oasis:names:tc:SAML:1.1:nameid-format:emailAddress.
Encode to Base64
Set to False.
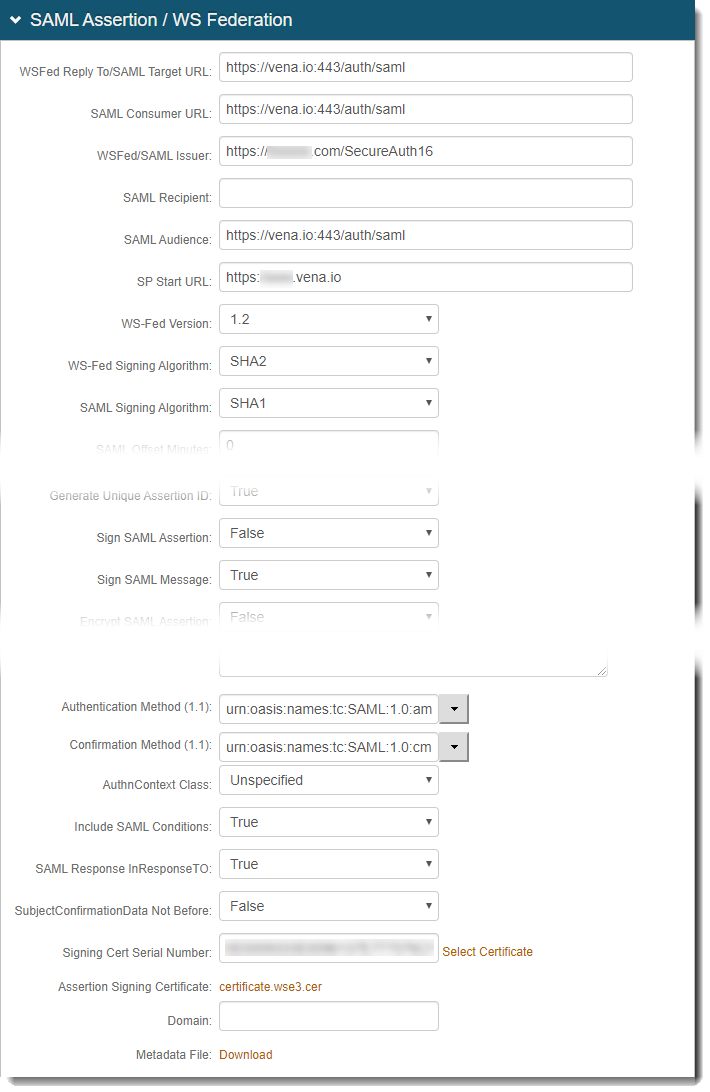
In the SAML Assertion / WS Federation section, set the following:
WSFed Reply To / SAML Target URL
Set to the absolute URL of the application, to where end users are redirected upon successful authentication.
For example, https://vena.io:443/auth/saml
SAML Consumer URL
Set the to the Vena URL used to accept a SAML assertion.
For example, https://vena.io:443/auth/saml
WSFed/SAML Issuer
Set to a unique name that identifies the SecureAuth IdP to the application (as the SAML ID).
For example, https://xxxxx.com/SecureAuth16
This value is shared with the application and can be any word, phrase, or URL, but must match exactly in the SecureAuth IdP and Vena configurations.
SAML Audience
Set to the base domain of the application.
For example, https://vena.io:443/auth/saml
SP Start URL
Set to the login URL for the application.
For example, https://xxxx.vena.io
This value enables appropriate redirection for normal login and SSO login experiences.
Sign SAML Assertion
Set to False.
Sign SAML Message
Set to True.
Signing Cert Serial Number
Leave the default value in Signing Cert Serial Number field. Otherwise, to use a third-party certificate for the SAML assertion, click the Select Certificate link and choose the appropriate certificate.
Save your changes.
In the SAML Attributes / WS Federation section, set the following attributes:
Be sure that these attributes are also mapped on the Data tab. For more information about LDAP attributes, see LDAP Attributes / SecureAuth IdP Profile Properties Data Mapping.
Attribute 1
Name
Set to GUID.
Format
Set to Unspecified.
Value
Set to Aux ID 2.
Attribute 2
Name
Set to Email.
Format
Set to Unspecified.
Value
Set to Email 1.
Attribute 3
Name
Set to FirstName.
Format
Set to Unspecified.
Value
Set to First Name.
Attribute 4
Name
Set to LastName.
Format
Set to Unspecified.
Value
Set to Last Name.

Save your changes.
Vena configuration
If you do not have administrator access to your Vena instance, reach out to the Vena team for configuration details.