- SecureAuth IdP 9.3
- Getting Started
- Getting started with SecureAuth IdP Web Admin
- Add an Application - New and Classic Web Admin
- Navigate the completed application - Classic Experience Web Admin
Navigate the completed application - Classic Experience Web Admin
The application created on the New Experience can be accessed on the Classic Experience by searching for the realm number assigned to it, or by the application's name or description.
Web Admin home page
The home page of the Classic Experience shows you the Summary tiles of configured realms in order by realm number.
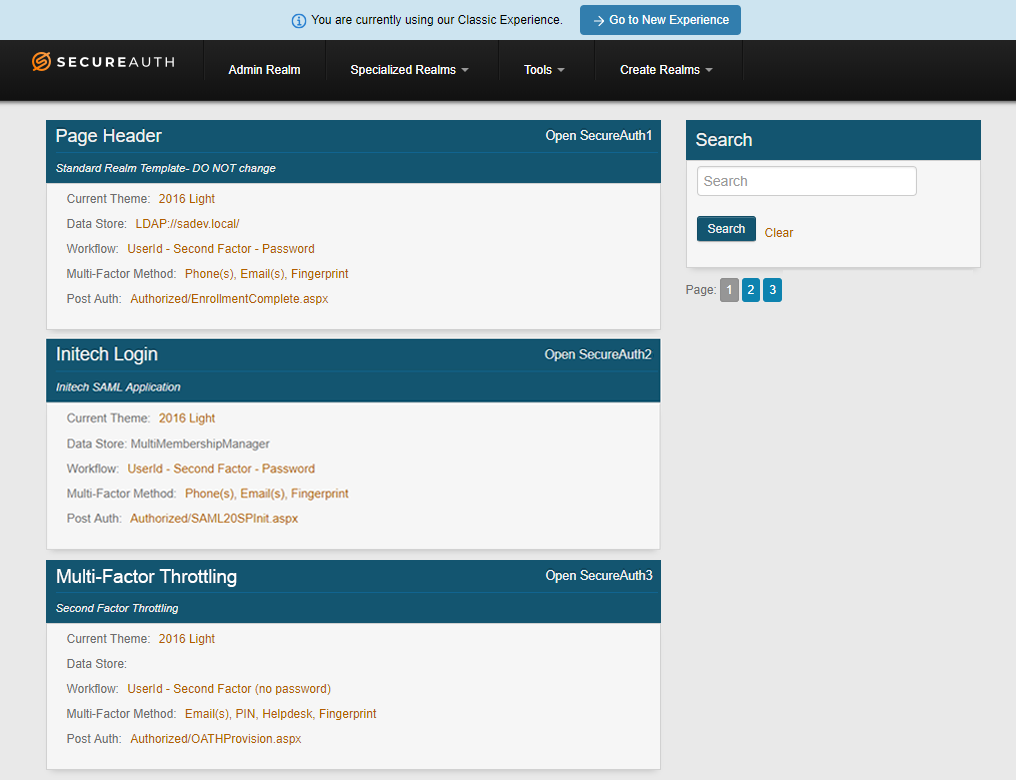 |
From the Web Admin home page you can:
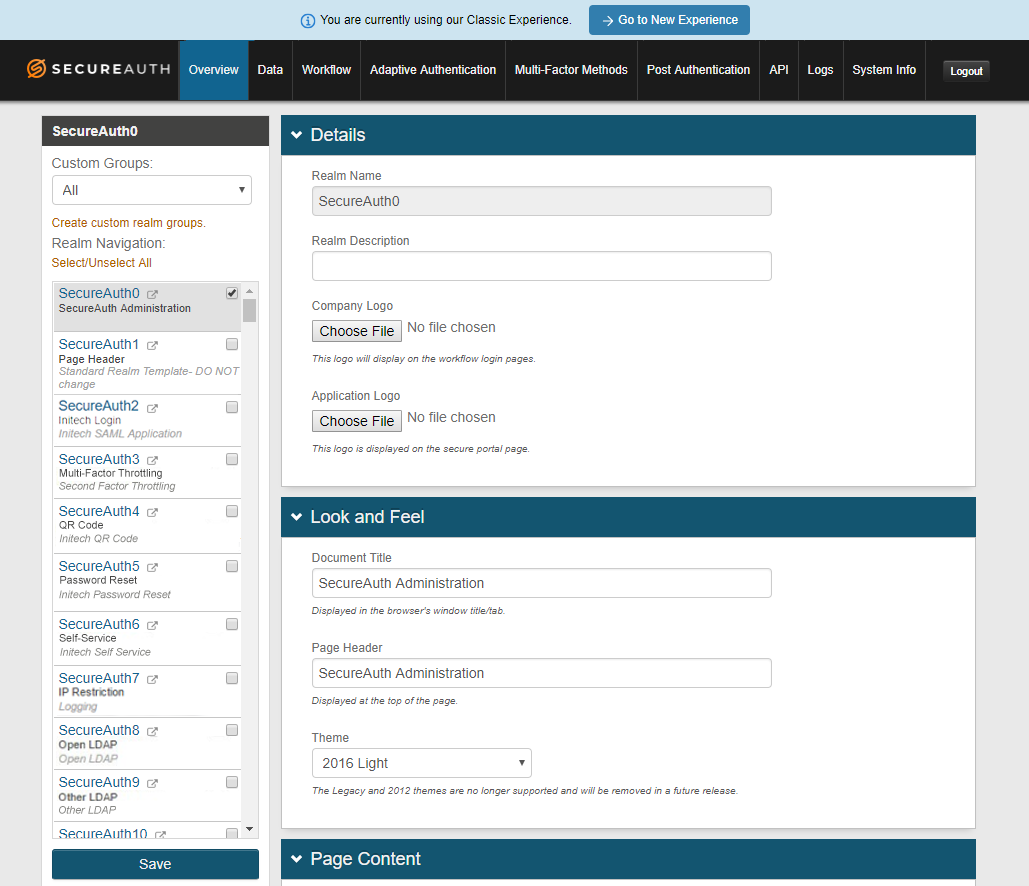
View the main realm
Click Admin Realm on the home page toolbar to view the main realm.
 |
Search for a realm
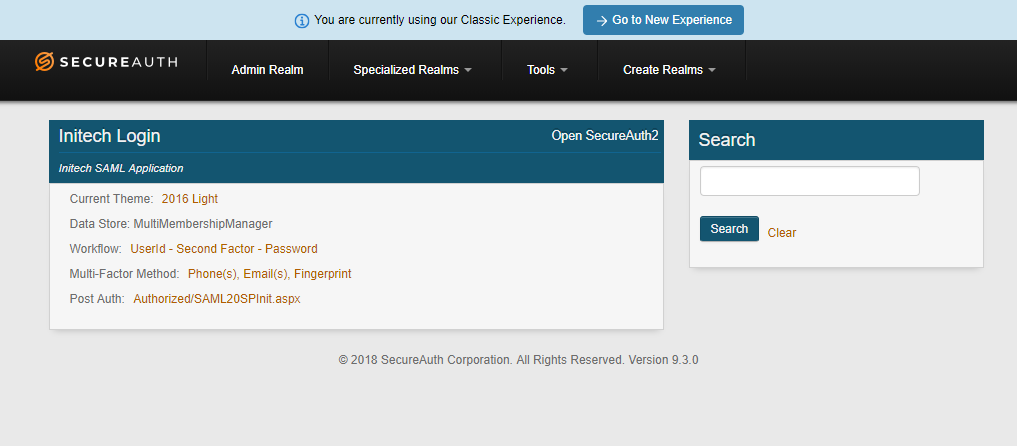
Enter search terms in the Search box on the upper right beneath the toolbar.
Click Search. Summary tiles of realms matching your search criteria appear on the page.
 |
Access a realm
Click the "Page Header" on the summary tile to access the realm – "Initech Login" in this example.
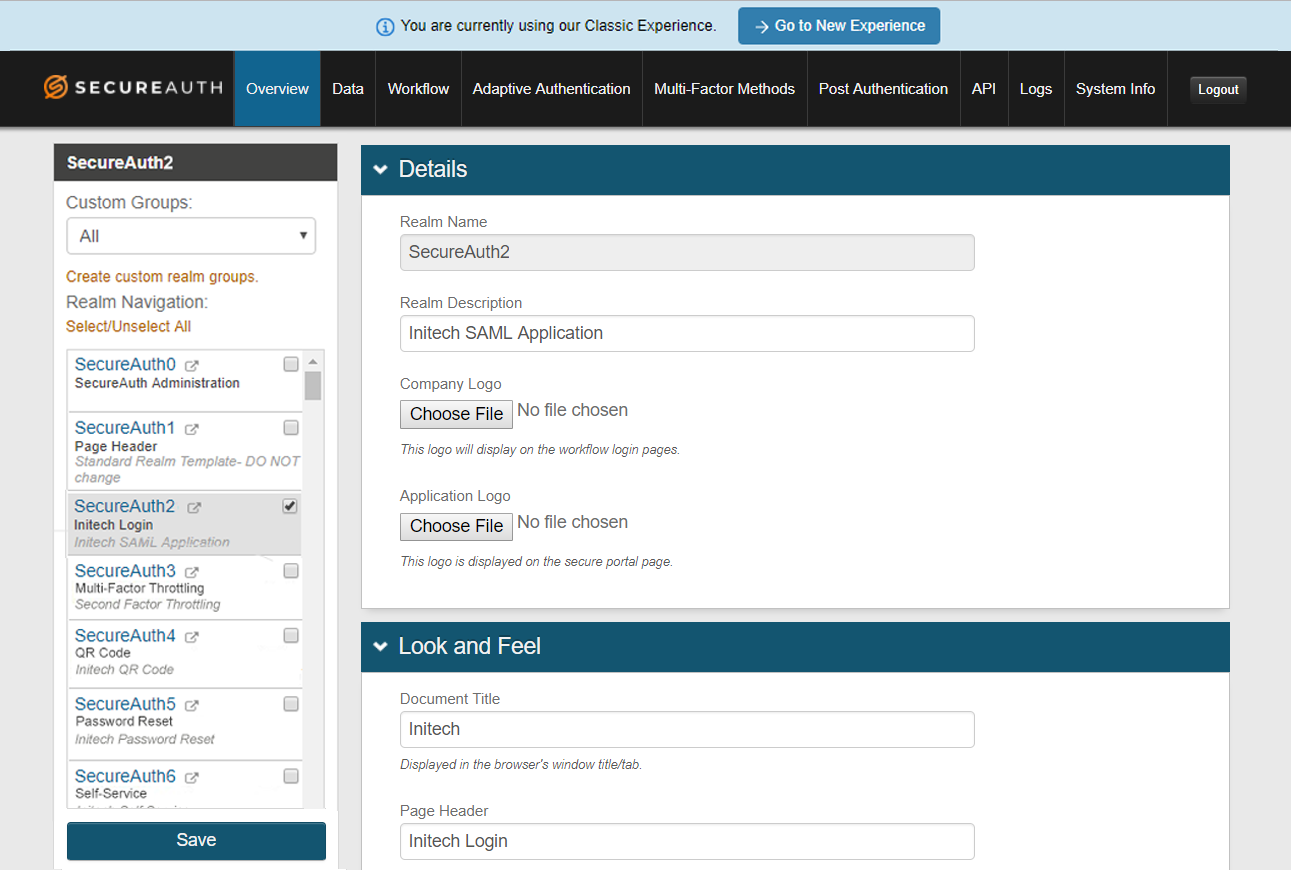
The realm opens and shows the Overview tab by default – see Overview tab below.
Classic Experience Web Admin realm tabs
Web Admin tabs on the Classic Experience include:
Overview tab
When creating an application on the New Experience, some of the content entered in the Application Details section can be found on this tab in the Classic Experience. You can edit those fields on this tab, and make other entries to further design the appearance of pages used in the end-user authentication workflow. You can also configure language settings and general SMTP email settings for SecureAuth IdP email messages for Two-Factor Authentication or Account Updates, for example.
See Overview Tab configuration for more information.
 |
Data tab
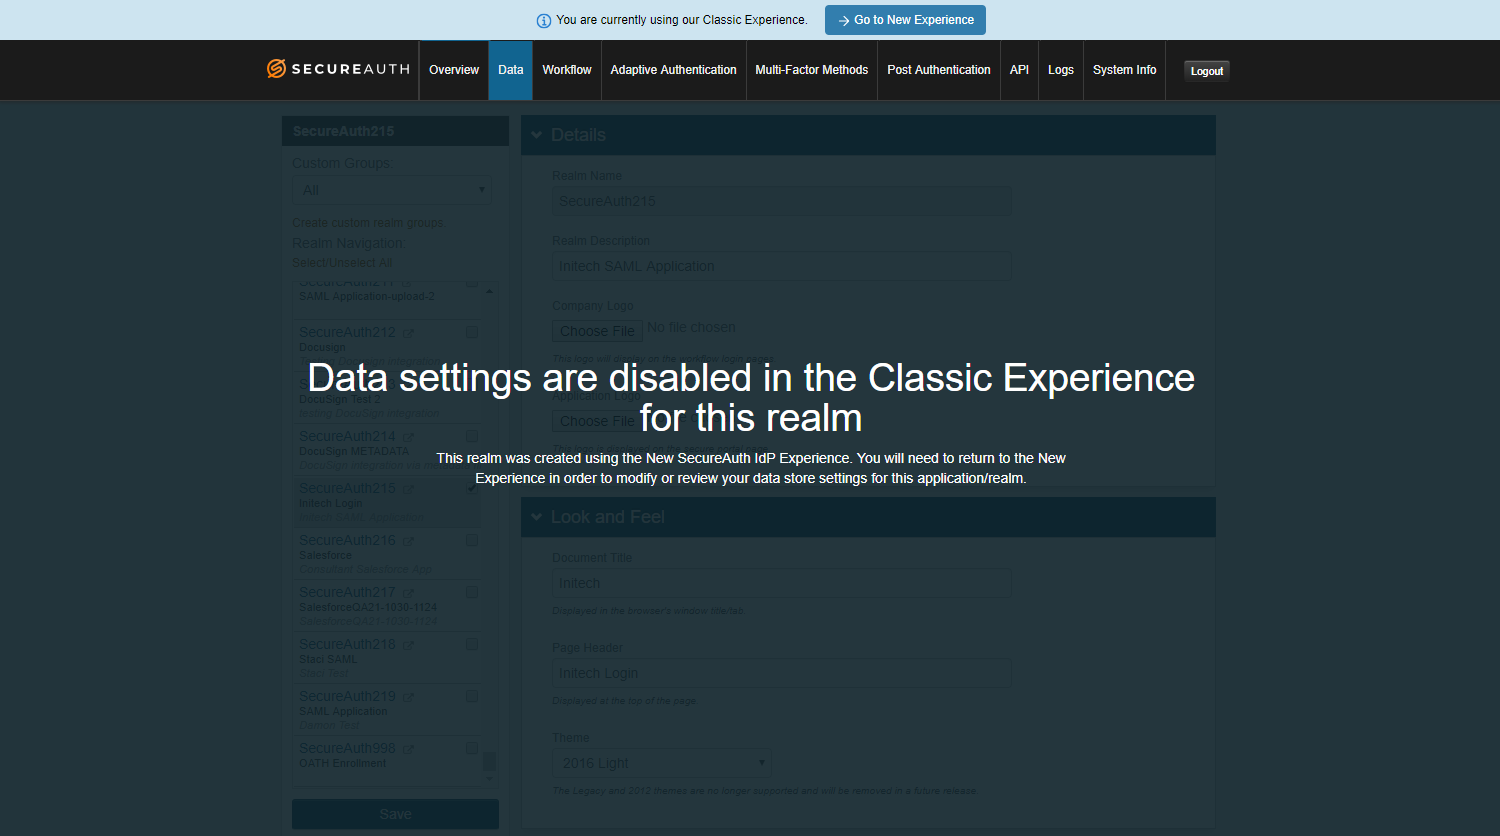
The Data tab for an application created on the New Experience can't be edited on the Classic Experience since the application doesn't have its own configured data store, unlike a realm.
Modifications to a data store used by the application must be made by selecting the data store under User Data Stores. The selected data store can be disassociated from the application on the New Experience.
See Data Tab Configuration for more information.
 |
Workflow tab
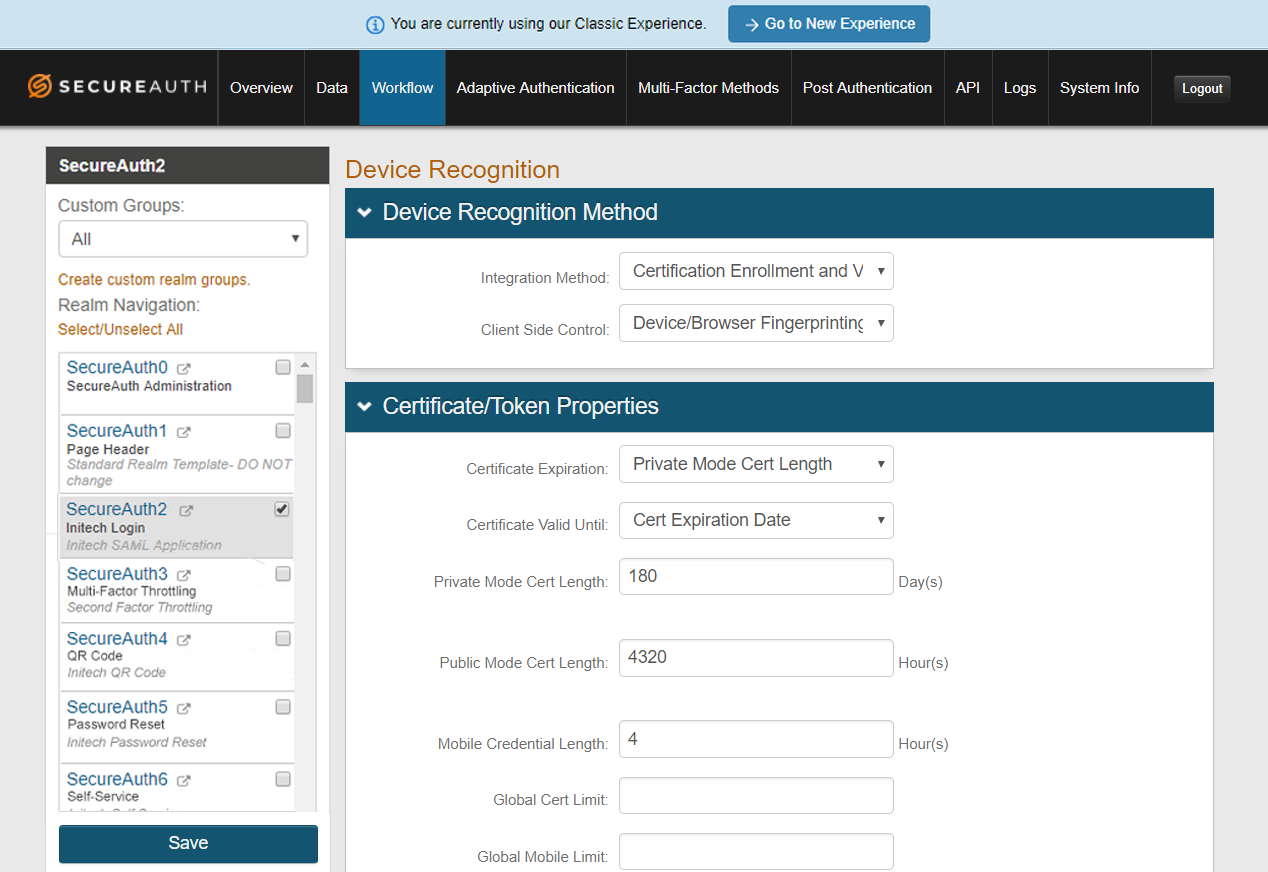
The application created on the New Experience uses the default workflow of Username + Two-Factor Authentication + Password, unless a different workflow is specified on this tab.
The configured workflow determines how the end-user accesses the target resource.
See Workflow configuration for more information.
 |
Adaptive Authentication tab
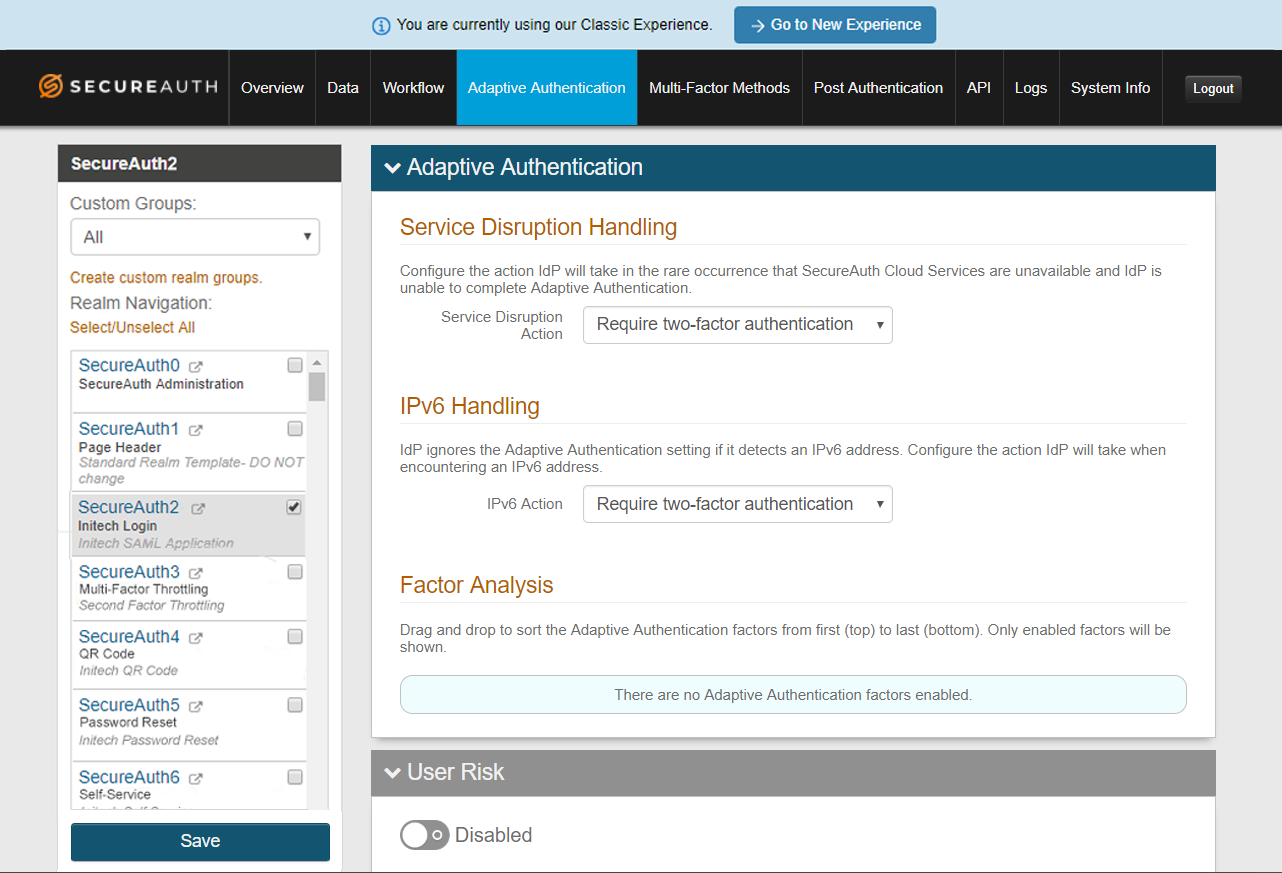
The application created on the New Experience is enabled to use Adaptive Authentication modules but the feature must be configured on this tab. Configurable options for handling an end-user's authentication request in real time based on the authentication attempt include: IP/Country allowed and blocked lists, IP Reputation and Threat Data analysis, User and/or Group membership, Geo-velocity analysis, and User Risk analysis.
See Adaptive Authentication configuration for more information.
 |
Multi-Factor Methods tab
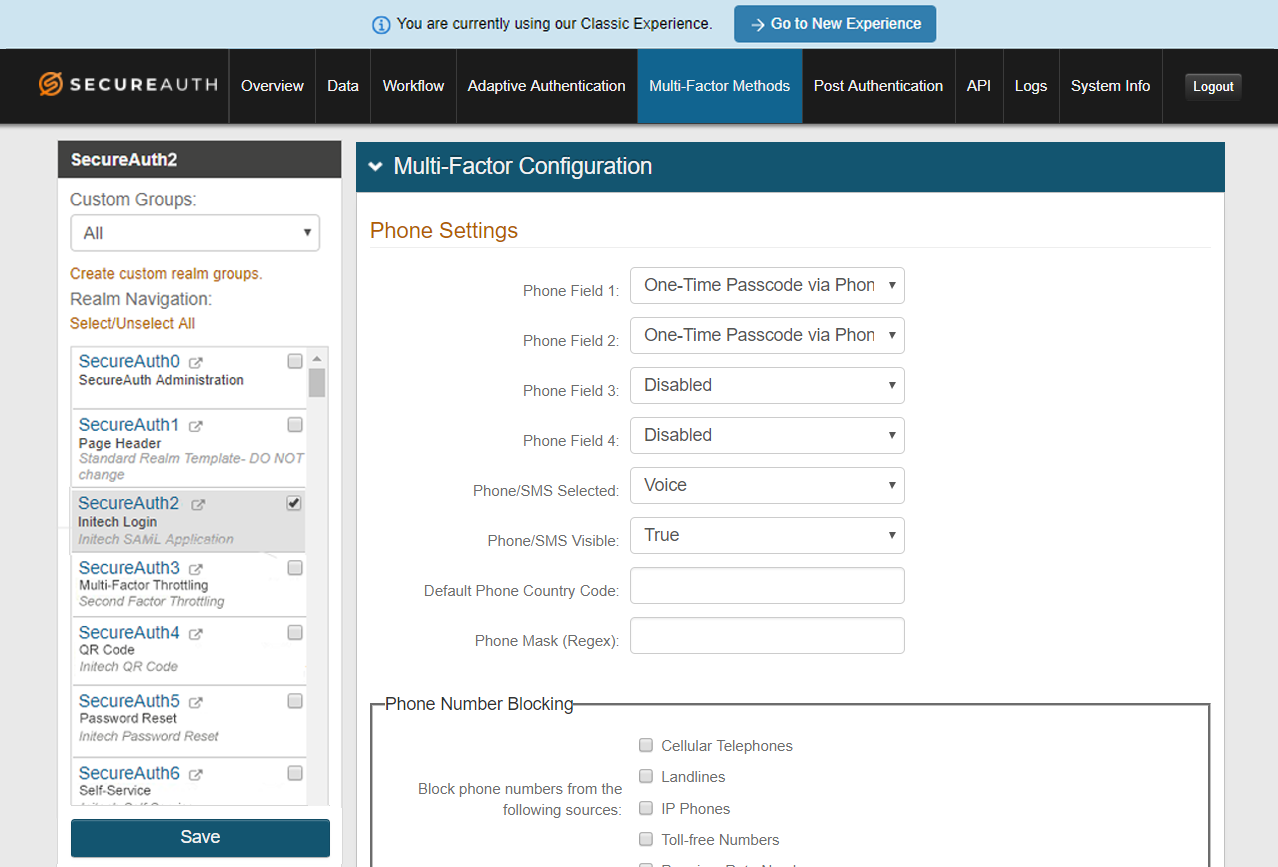
By default the application created on the New Experience is configured for end-users to use one-time passcodes sent to Email addresses and Phone numbers registered in their accounts. Configure other authentication methods on this tab.
See Multi-Factor Methods configuration for more information.
 |
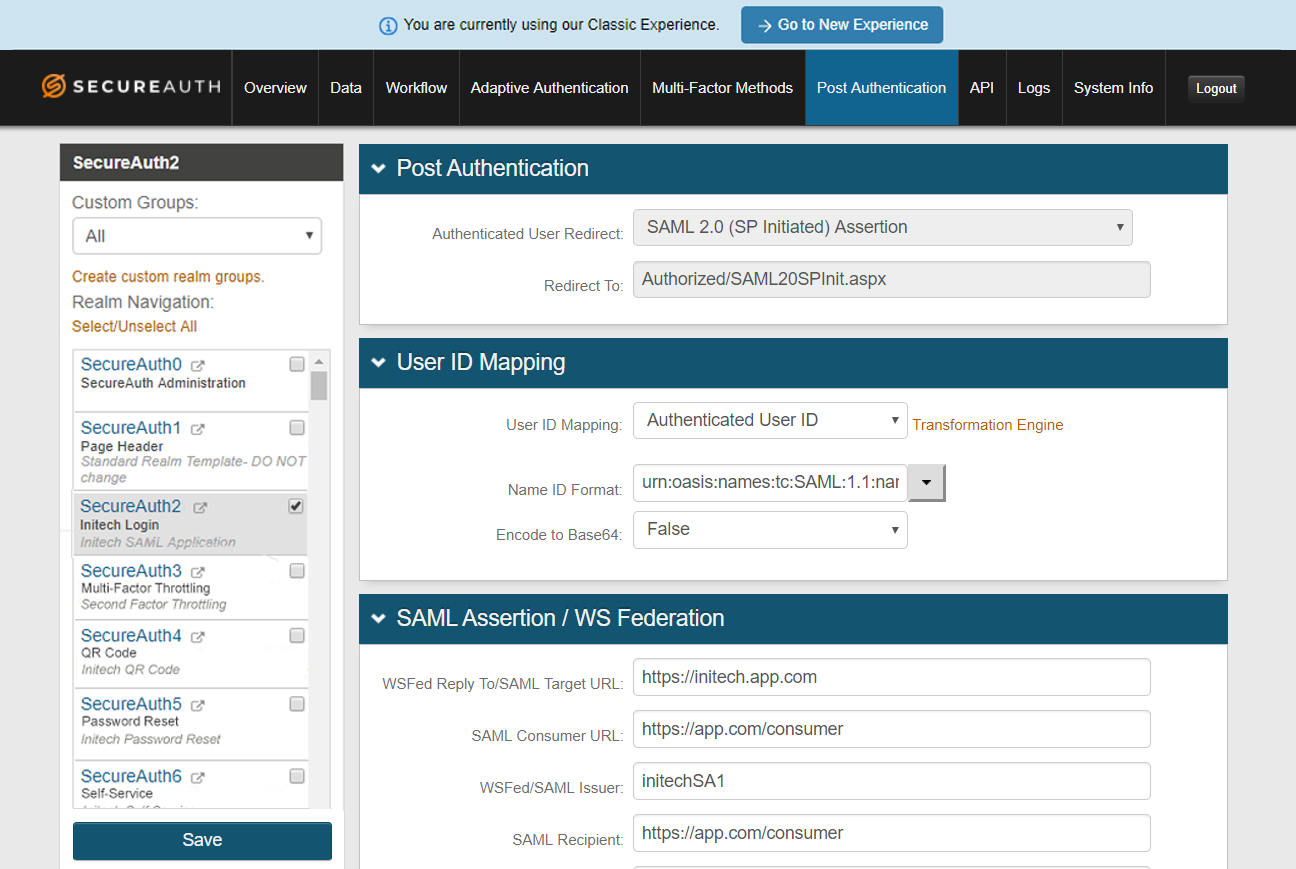
Post Authentication tab
When creating an application on the New Experience, some of the content entered in the Connection Settings section can be found on this tab in the Classic Experience. You can edit some of those fields on this tab, and make other entries to further configure the end-user login page.
See Post Authentication configuration for more information.
 |
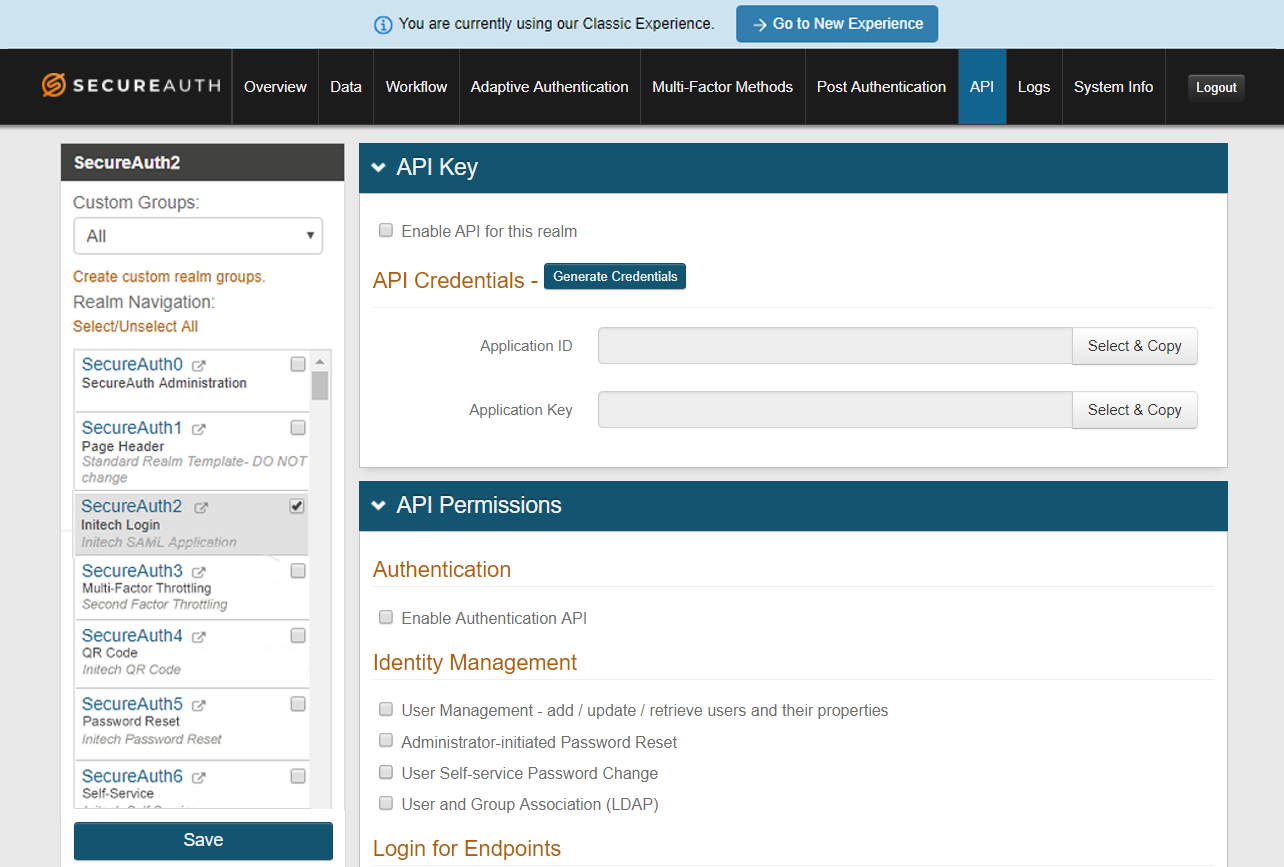
API tab
Use the API tab to configure endpoints to be used by the application.
See API configuration for more information.
 |
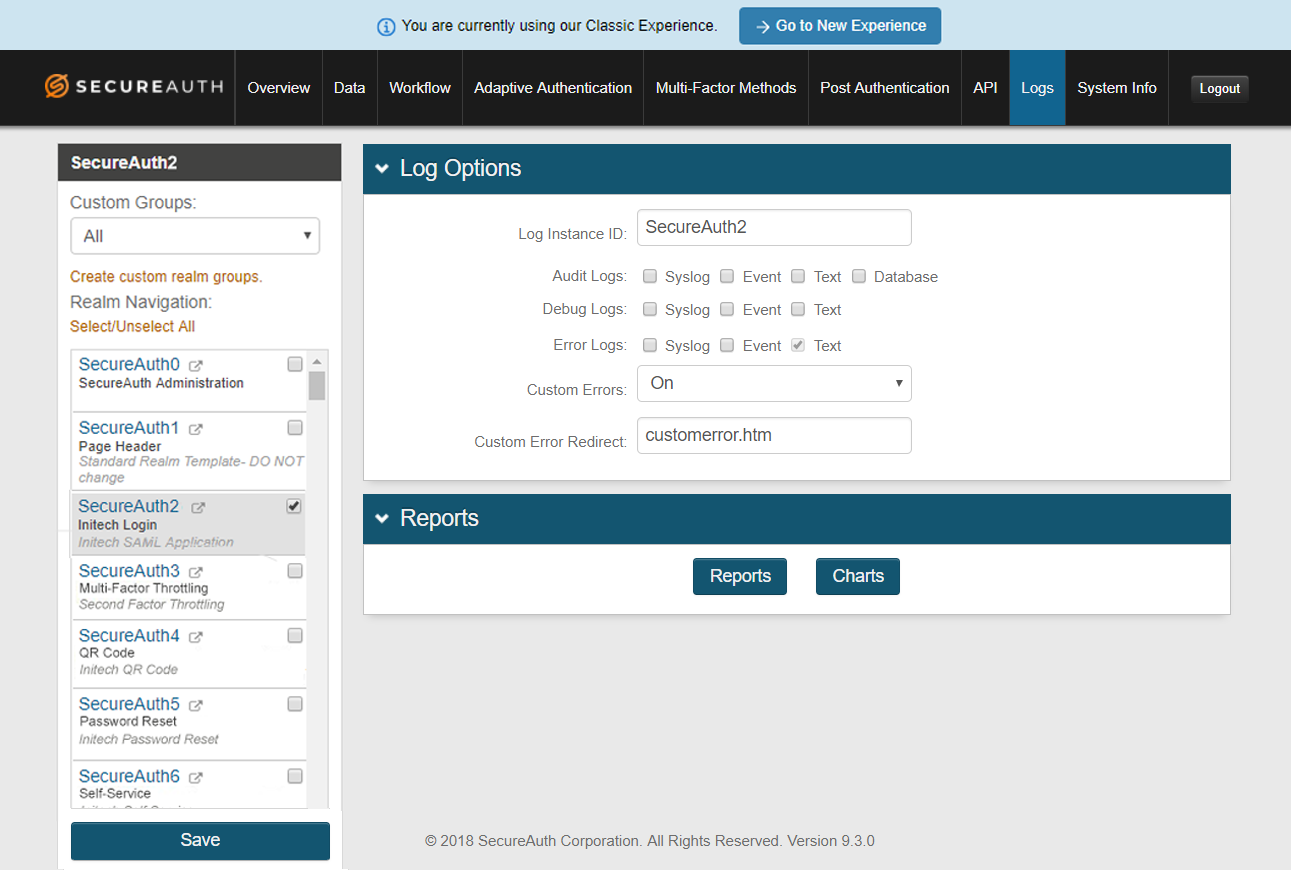
Logs tab
Enable logs to monitor specified functions on the SecureAuth IdP realm.
See Logs Tab Configuration for more information.
 |
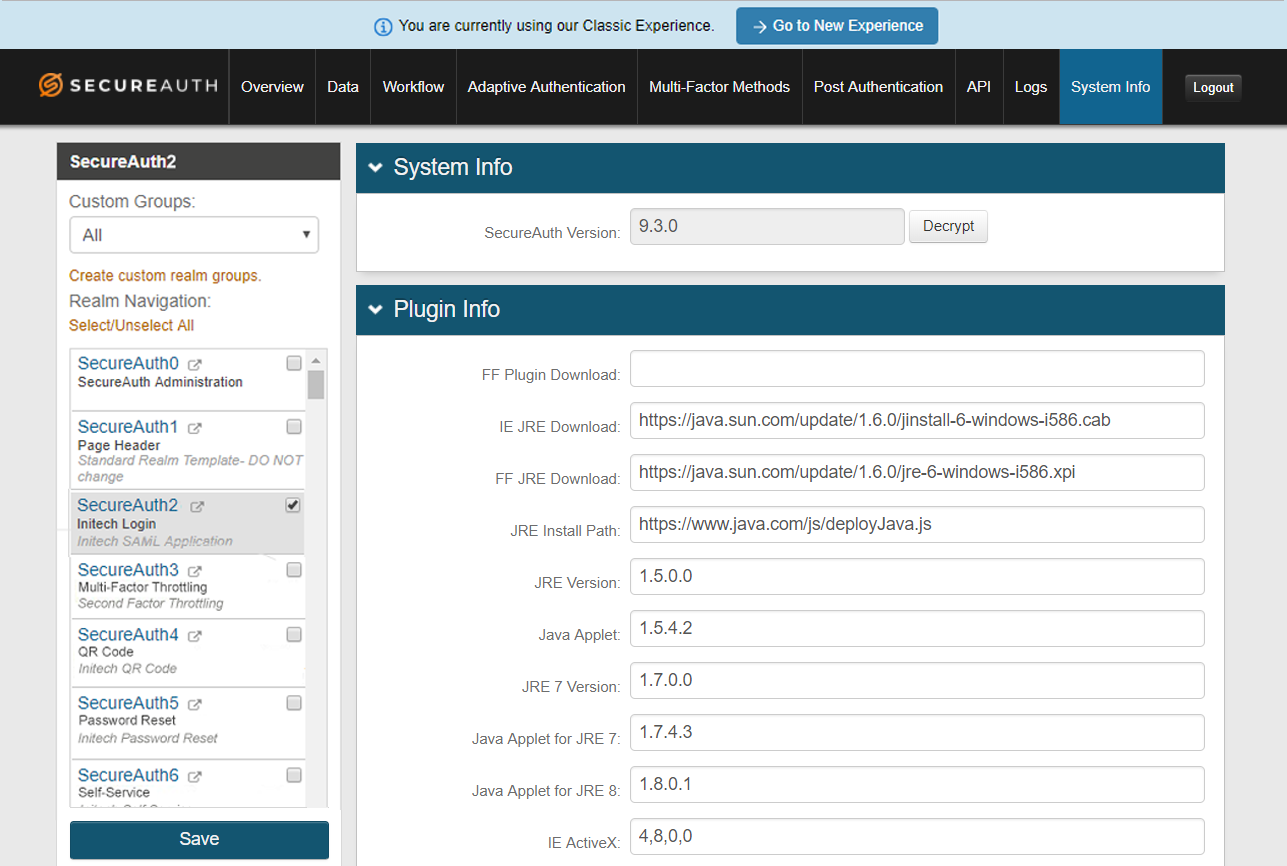
System Info tab
Evaluate and maintain the health of the SecureAuth IdP realm by performing functions on this tab.
See System Info Configuration for more information.
 |