Deploy SecureAuth IdP Microsoft Azure
Use this guide to deploy a SecureAuth IdP virtual appliance on the Microsoft Azure cloud environment.
Applies To
New SecureAuth IdP appliance images only
Notice
Note: Because SISU allows customers to select the IdP version during deployment, this configuration applies to SecureAuth IdP versions 8.1+, but only for new appliance images, not existing 8.1+ appliances
SecureAuth IdP Version | OS Version |
|---|---|
8.1+ new appliance images | Windows Server 2012 R2 |
Prerequisites
1. Obtain the SecureAuth IdP Azure Image from the SecureAuth Sales Team
Email: sales@secureauth.com
Phone: +1.949.777.6959
2. Prepare the Azure Environment (see Microsoft Azure Steps below)
Microsoft Azure Steps
To prepare the Azure Environment, VHD files must be uploaded and a VM must be created
Upload VHD Files
From the Azure files provided by SecureAuth, upload the following VHDs to a storage account:
SecureAuthIdp-Azure-DiskC-Dyn.vhd
SecureAuthIdp-Azure-DiskD-Dyn.vhd
Notice
For more information about uploading a VHD, refer to the Microsoft document, Upload a Windows VHD from an on-premises VM to Azure
Create VM
Create a VM and attach the VHDs:
SecureAuthIdp-Azure-DiskC-Dyn.vhd as the system disk
SecureAuthIdp-Azure-DiskD-Dyn.vhd as the data disk
Notice
The minimum size requirements for a SecureAuth IdP Appliance is Standard_A3
For more information about creating a VM in Azure, refer to the Microsoft document, Create a VM from a specialized VHD
SecureAuth IdP Steps
Warning
SecureAuth IdP appliances use the D Drive to store data, which conflicts with Azure's use of that drive as a temporary storage disk
Follow the instructions to use a different drive for the temporary disk to address this issue
Once complete, Azure will not take back the D drive if the VM moves to a different hypervisor
Appliance Login
1. Start the VM created in the Microsoft Azure Steps and connect to it via Remote Desktop Protocol (RDP)
2. Log into the appliance with the default credentials, Administrator / SecureAuthIdP!
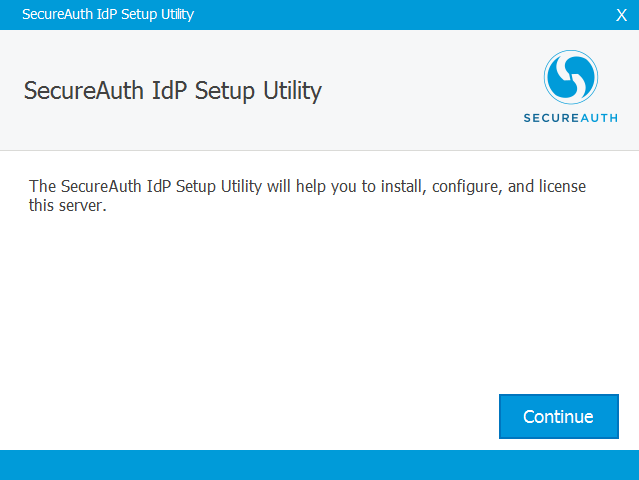
3. Close the SecureAuth IdP Setup Utility (SISU) window that displays to dismiss the utility
 |
Temporarily Move File
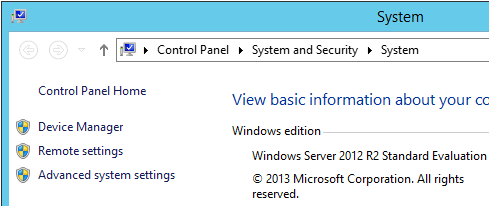
4. Temporarily move the pagefile.sys to the C Drive by right-clicking the Start menu and selecting System
5. In the left-side menu, select Advanced System Settings
6. In the Performance section, select Settings, and click the Advanced tab
7. In the Virtual Memory section, click Change...
8. Select Drive-C, then System Managed Size, and click Set
9. Select Drive-D (Temporary Storage), then No paging file, and click Set
10. Apply the settings
11. Once the prompt appears, warning that the computer requires restart for the changes to be applied, restart the virtual machine
 |
Change Drive Letters
 |
12. Right-click the Start menu, and select Disk Management, upon which the Windows Disk Management Utility starts
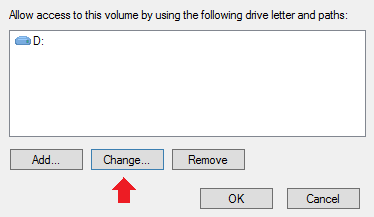
13. Right-click on Drive-D, the Temporary Storage Drive, and select Change Drive Letter and Paths
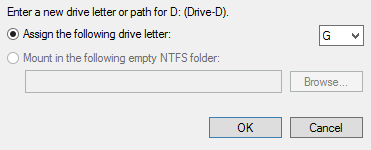
14. Click Change...
15. Select Assign the following drive letter, and then G from the dropdown
16. Right-click on the data disk (Drive-D) and select Change Drive Letter and Paths
17. Click Change...
18. Select Assign the following drive letter, and then D from the dropdown
19. Click OK
20. Right-click Drive-G, the Temporary Storage Drive, and select Change Drive Letter and Paths
21. Click Change...
22. Select Assign the following drive letter, and then E from the dropdown
23. Click OK
 |
Notice
The disk configuration should be as follows:
C: Drive-C
D: Drive-D
E: Temporary Disk
Move File Back to Temporary Storage
24. Move the pagefile.sys back to Temporary Storage by right-clicking the Start menu and selecting System
25. In the left-side menu, select Advanced System Settings
26. In the Performance section, select Settings, and click the Advanced tab
27. In the Virtual Memory section, click Change...
88. Select Drive-C, then No paging file, and click Set
29. Select Drive-E (Temporary Storage), then System Managed Size, and click Set
30. Apply the settings
31. Once the prompt appears, warning that the computer requires restart for the changes to be applied, restart the virtual machine
|
Product Configuration
32. Continue with the product configuration by clicking the Start menu, typing Secure, and selecting the SISU from the list
33. When the Utility launches, follow the setup instructions
|