Apache HTTP Server (SP-initiated) Configuration Guide (SAML 2.0)
Introduction
Use this guide to enable Multi-Factor Authentication access via SAML 2.0 to the Apache HTTP Server using Shibboleth SP.
Prerequisites
1. Have an Apache HTTP Server running IIS 7.X+
2. Have SecureAuth IdP 7.X+
3. Create a New Realm for the Apache HTTP Server integration
4. Configure the following tabs in the Web Admin before configuring the Post Authentication tab:
Overview – the description of the realm and SMTP connections must be defined
Data – an enterprise directory must be integrated with SecureAuth IdP
Workflow – the way in which users will access this application must be defined
Multi-Factor Methods – the Multi-Factor Authentication methods that will be used to access this page (if any) must be defined
Apache Configuration Steps
1. Read the NativeSPWindowsInstall Article
https://wiki.shibboleth.net/confluence/x/K4FC
2. Download the Shibboleth SP .msi file
http://shibboleth.net/downloads/service-provider/2.5.3/win64/shibboleth-sp-2.5.3-win64.msi
3. Install the .msi file on the client (application web server)
Warning
Do NOT install the .msi file on the SecureAuth IdP server
4. Reboot
IIS Configuration Steps
5. After rebooting, configure IIS for basic support
6. Start the Shibboleth Service from the command line
c:\> sc start shibd_default
Note
Shibboleth Service Information
The filter that is plugged into the web server connects to the
shibdprocess which processes the SAML assertionThe primary configuration file for the filter and the Shibboleth daemon,
shibd, is located at\etc\shibboleth\shibboleth2.xml(within the directory used to install the SP software)shibdcreates its own log at\var\log\shibboleth\shibd.logand must have appropriate read and write permissions itself for the entire installation directory
SecureAuth IdP Configuration Steps
Post Authentication
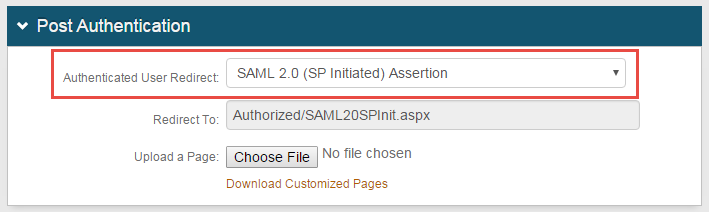 |
1. Select SAML 2.0 (SP-initiated) Assertion from the Authenticated User Redirect dropdown in the Post Authentication tab in the Web Admin
2. An unalterable URL will be auto-populated in the Redirect To field, which will append to the domain name and realm number in the address bar (Authorized/SAML20SPInit.aspx)
SAML Assertion / WS Federation
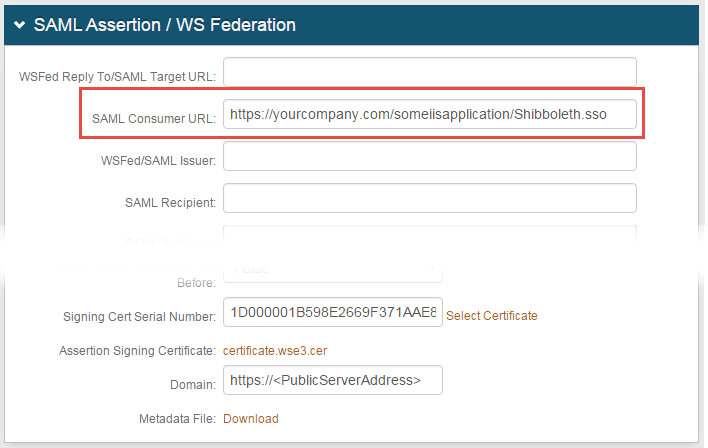 |
3. Set the SAML Consumer URL to the Fully Qualified Domain Name (FQDN) of the Apache server, followed by /nameofiisapplication/Shibboleth.sso, e.g. https://www.company.com/someiisapplication/Shibboleth.sso
4. Provide the Domain in order to Download the Metadata File to send to Apache (if required)
The SAML Issuer should match the entity ID in shibboleth2.xml and the idpmetadata file on the client
Ensure the <SSO> entity ID matches inshibboleth2.xml and the SecureAuth IdP metadata file
Warning
Click Save once the configurations have been completed and before leaving the Post Authentication page to avoid losing changes