SecureAuth Link-to-Accept Multi-Factor Authentication Method Configuration Guide
Introduction
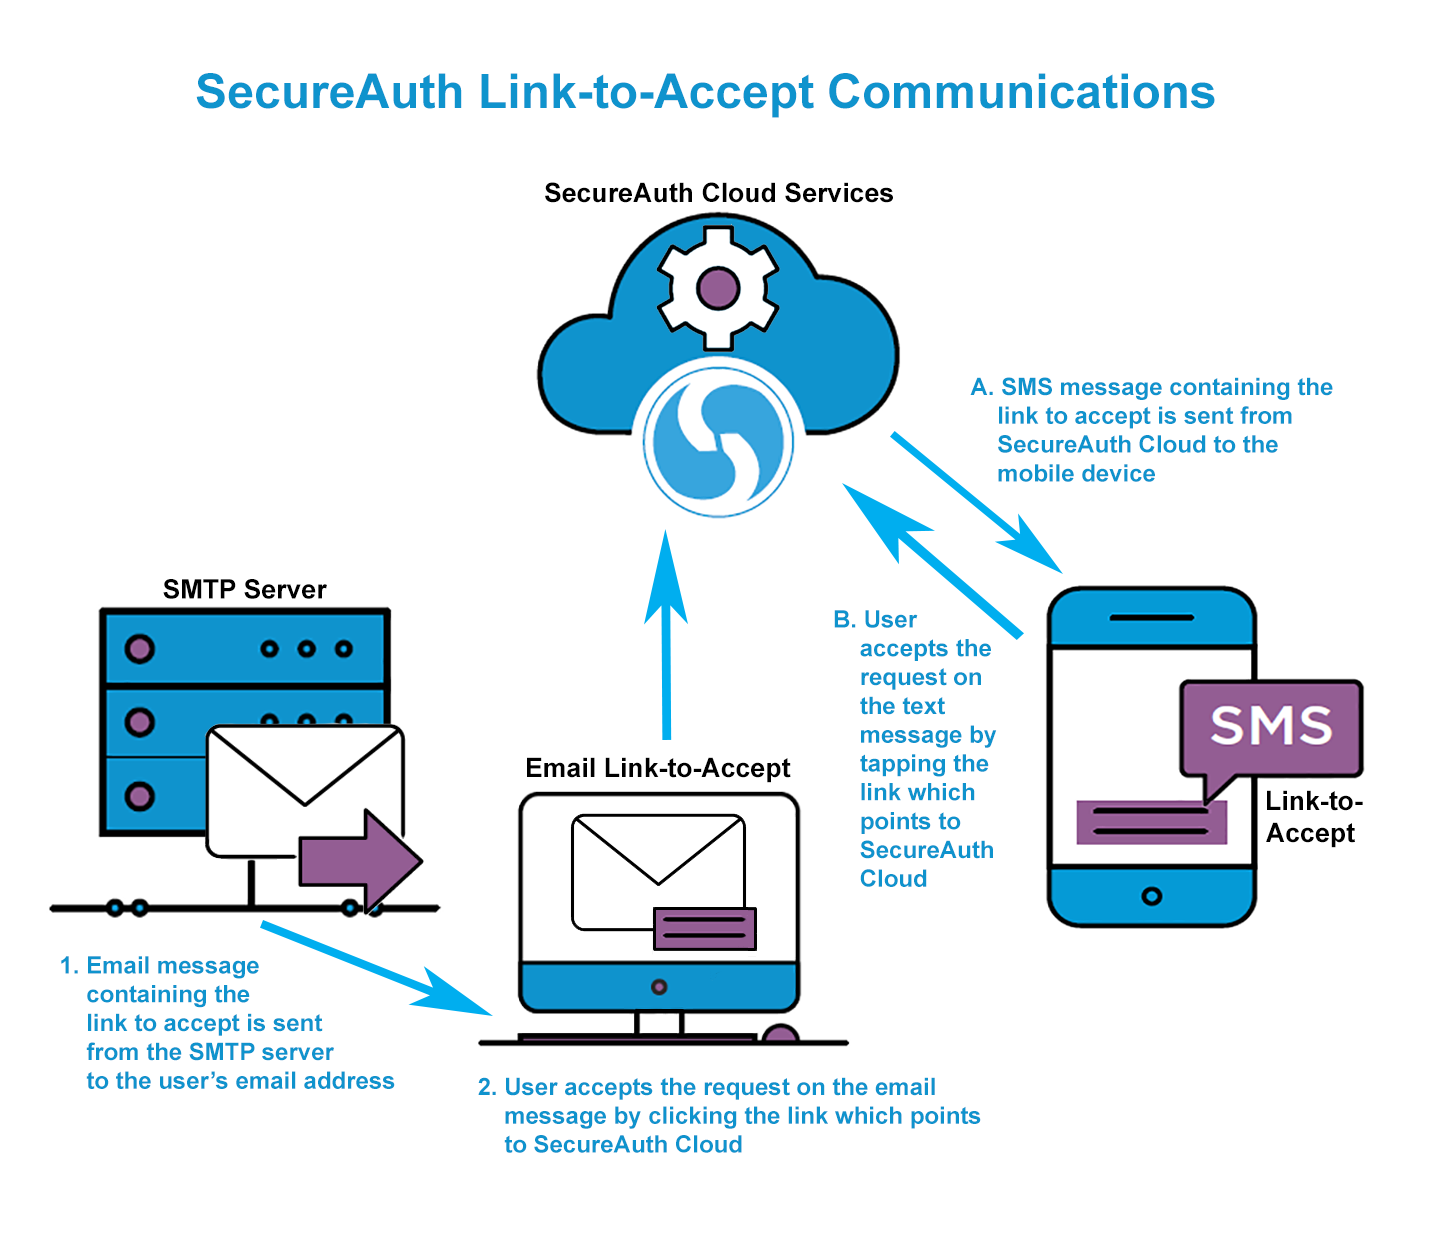
The SecureAuth Link-to-Accept Multi-Factor Authentication method provides end-users a way to process Login Requests via email and SMS (Short Message Service) text messages on mobile devices.
Notice
SecureAuth Link-to-Accept communications use SecureAuth cloud services.
When an email is sent from the SMTP server to the end-user's email address, the end-user's action (to approve the request, cancel the request, or let the request expire) is communicated to SecureAuth Cloud which responds appropriately.
When an SMS text message is sent from SecureAuth Cloud to the end-user's mobile device, the end-user's action (to accept the request, or let the request expire) is communicated to SecureAuth Cloud which responds appropriately.
NOTES:
In SecureAuth IdP v9.2, the Link-to-Accept URL is configurable on the WSE 3.0 / WCF Configuration section of the System Info Tab.
Link-to-Accept is not supported on the SecureAuth® RADIUS Server.
Prerequisites
1. Ensure SecureAuth IdP v9.1 or later is running
2. Configure a realm in which email and / or SMS text messages can be used for Multi-Factor Authentication
3. Configure the following tabs of the Web Admin on SecureAuth IdP
Overview– the description of the realm and SMTP connections must be defined
Data– one or more data stores can be integrated with SecureAuth IdP
Workflow– the way in which users will access the target must be defined
Multi-Factor Methods– the Multi-Factor Authentication method that will be used to access the target (if any) must be defined
Post Authentication– the target resource or post authentication action must be defined
Logs– the logs that will be enabled or disabled for this realm must be defined
SecureAuth IdP Web Admin Configuration
Overview
Look and Feel
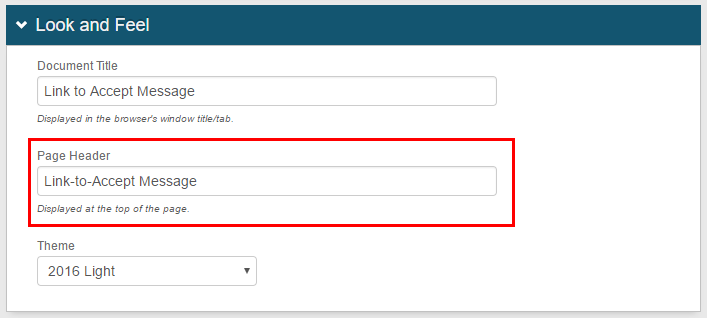 |
1. In the Look and Feel section on the Overview tab, enter the Page Header label to appear on the Multi-Factor Authentication login page
Warning
Click Save once the configuration is complete and before leaving the Overview page to avoid losing changes
Advanced Settings
 |
2. To configure a SecureAuth Link-to-Accept email, click Email Settings in the Advanced Settings section
If only configuring a SecureAuth Link-to-Accept SMS text message, skip to step 8 to configure the Verbiage Editor section
Email Settings
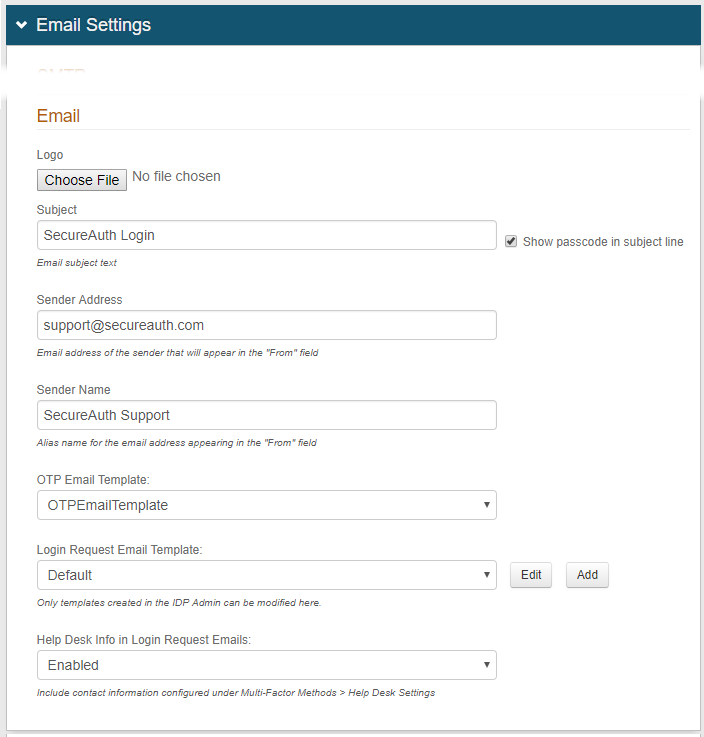 |
3. Enter the text to appear in the Subject line on the email page
4. Enter the Sender Address and Sender Name to appear above the Subject line on the email page
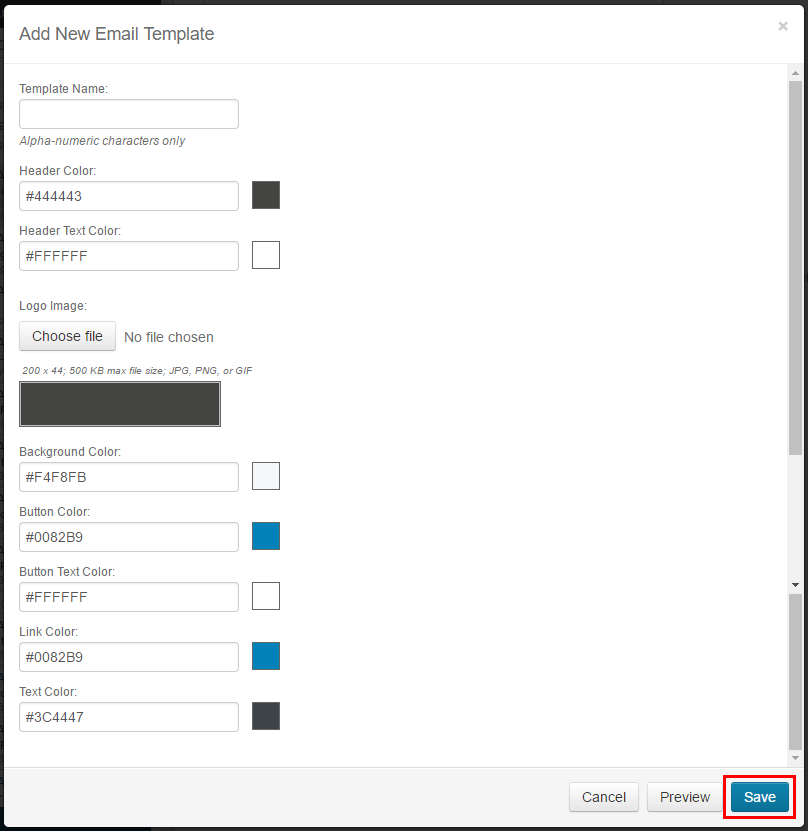
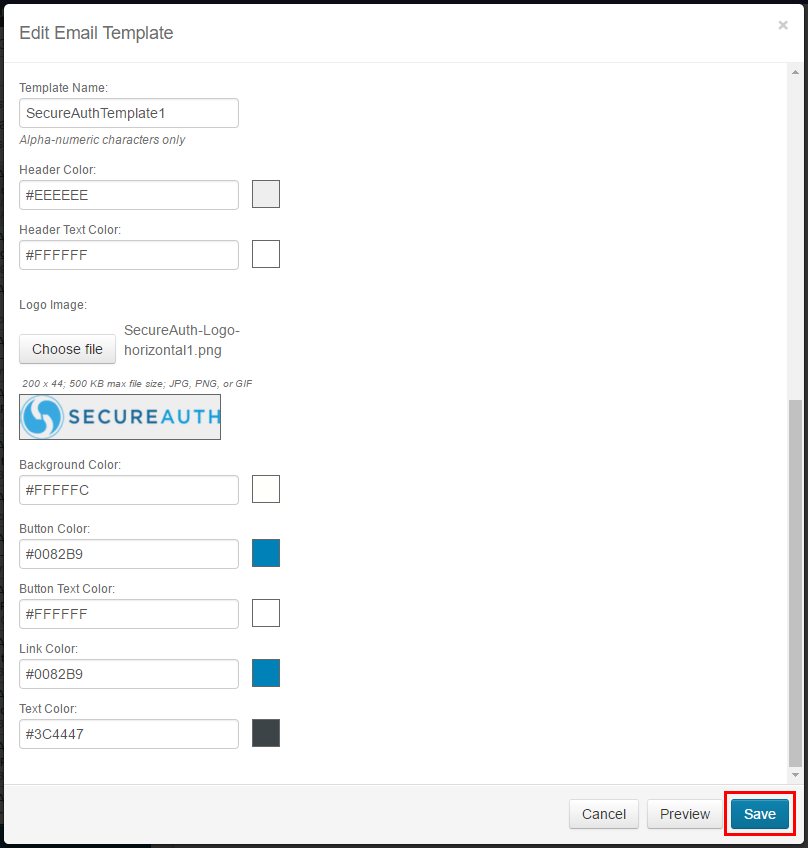
5. Select the Login Request Email Template from the dropdown to be used as is
Or click Edit to edit the selected template
Or click Add to create a new template
Notice
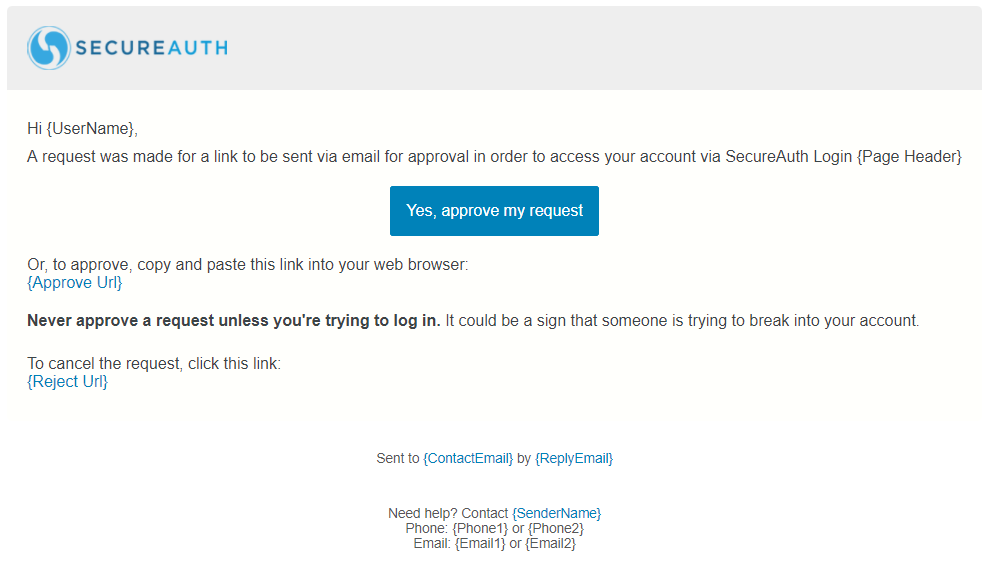
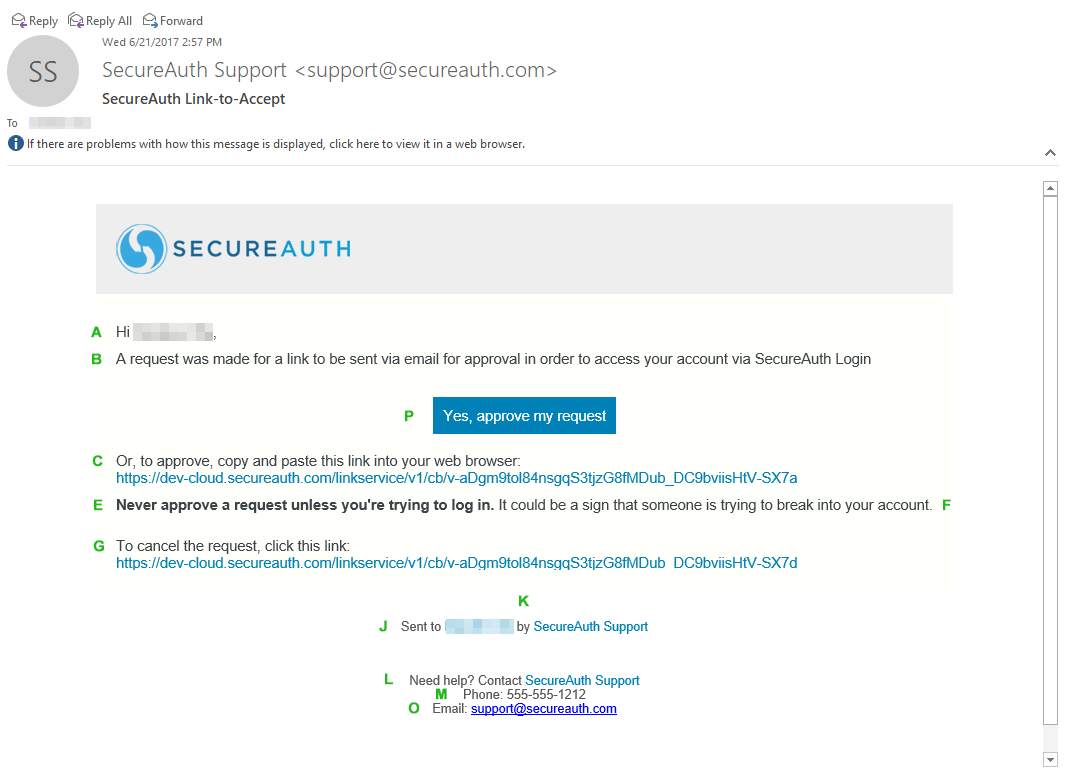
See sample HTML email image in the End-user experience section below for an example of how a customized template appears in the email message sent to the end-user
6. Select Enabled from the Help Desk Info in Login Request Emails dropdown to include Help Desk information (configured on the Multi-Factor Methods tab) in the email footer
Or select Disabled to not include Help Desk information in the email footer
Warning
Click Save once the configuration is complete and before leaving the Email Settings page to avoid losing changes
 |
7. Click Content and Localization in the Advanced Settings section
Verbiage Editor
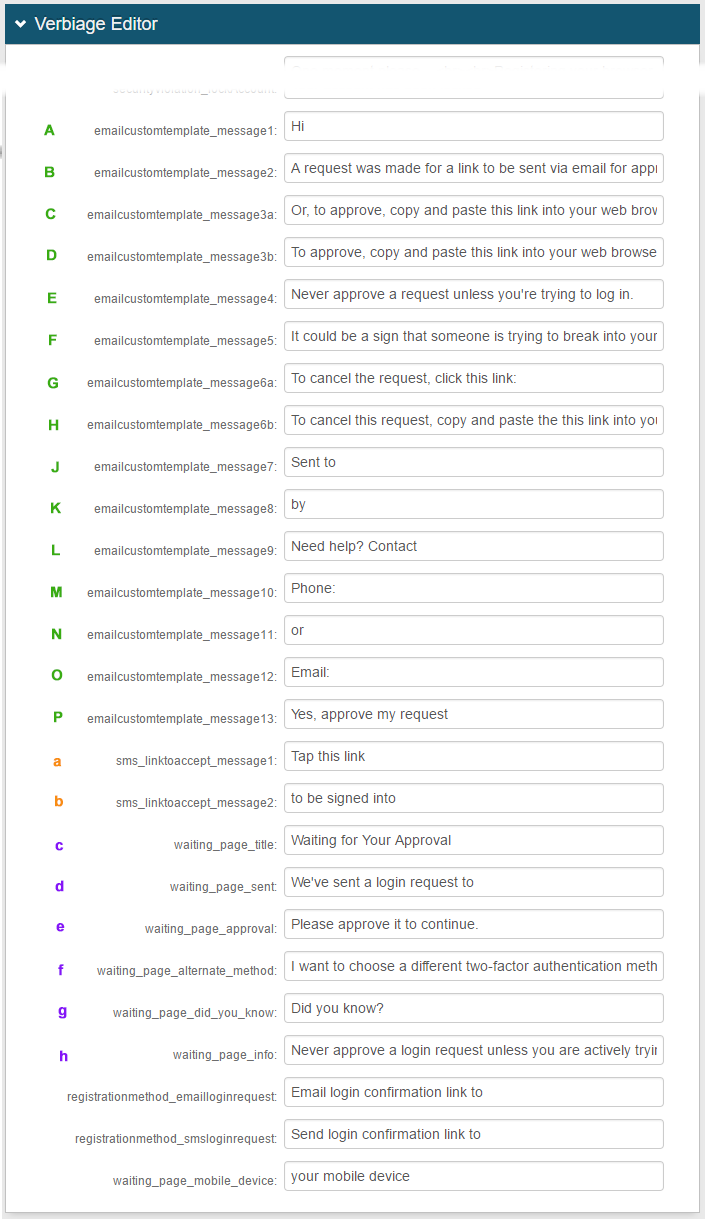 |
8. In the Verbiage Editor section, search to find entries pertinent to the type(s) of SecureAuth Link-to-Accept content to configure
See Email template... to configure content for the login request email message
See SMS template... to configure content for the login request SMS message
See Waiting page template... to configure content on the waiting page the end-user sees when the login request is dispatched
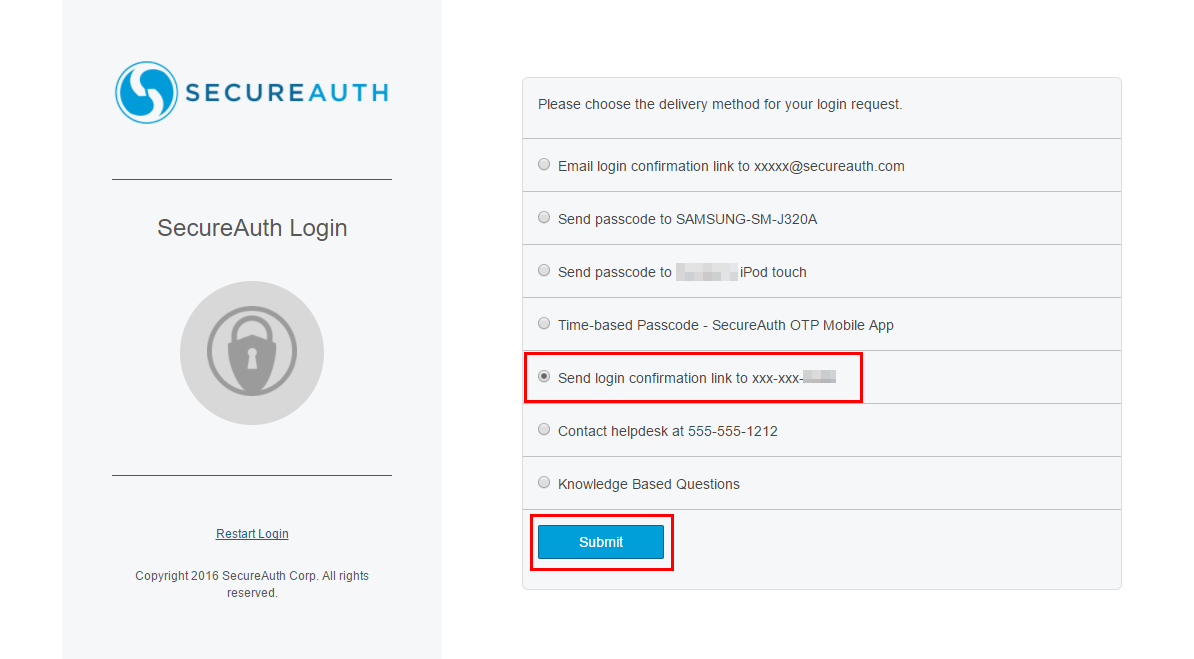
9. Optionally find registrationmethod_method and customize the text that appears on the delivery methods selection page
For example, modify this text to 'Please choose the delivery method for your login request.'
Warning
Click Save once the configuration is complete and before leaving the Verbiage Editor page to avoid losing changes
Workflow
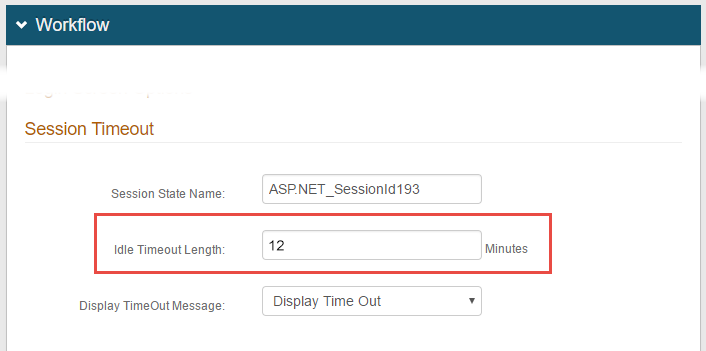 |
10. Under Session Timeout, optionally set the Idle Timeout Length to a value other than the default 10 Minutes to grant end-users more / less time than 10 minutes to respond to the email or SMS notification for requested access
NOTE: The email / SMS notification is valid for one minute less than the length of the session timeout
Warning
Click Save once the configuration is complete and before leaving the Workflow page to avoid losing changes
Multi-Factor Methods
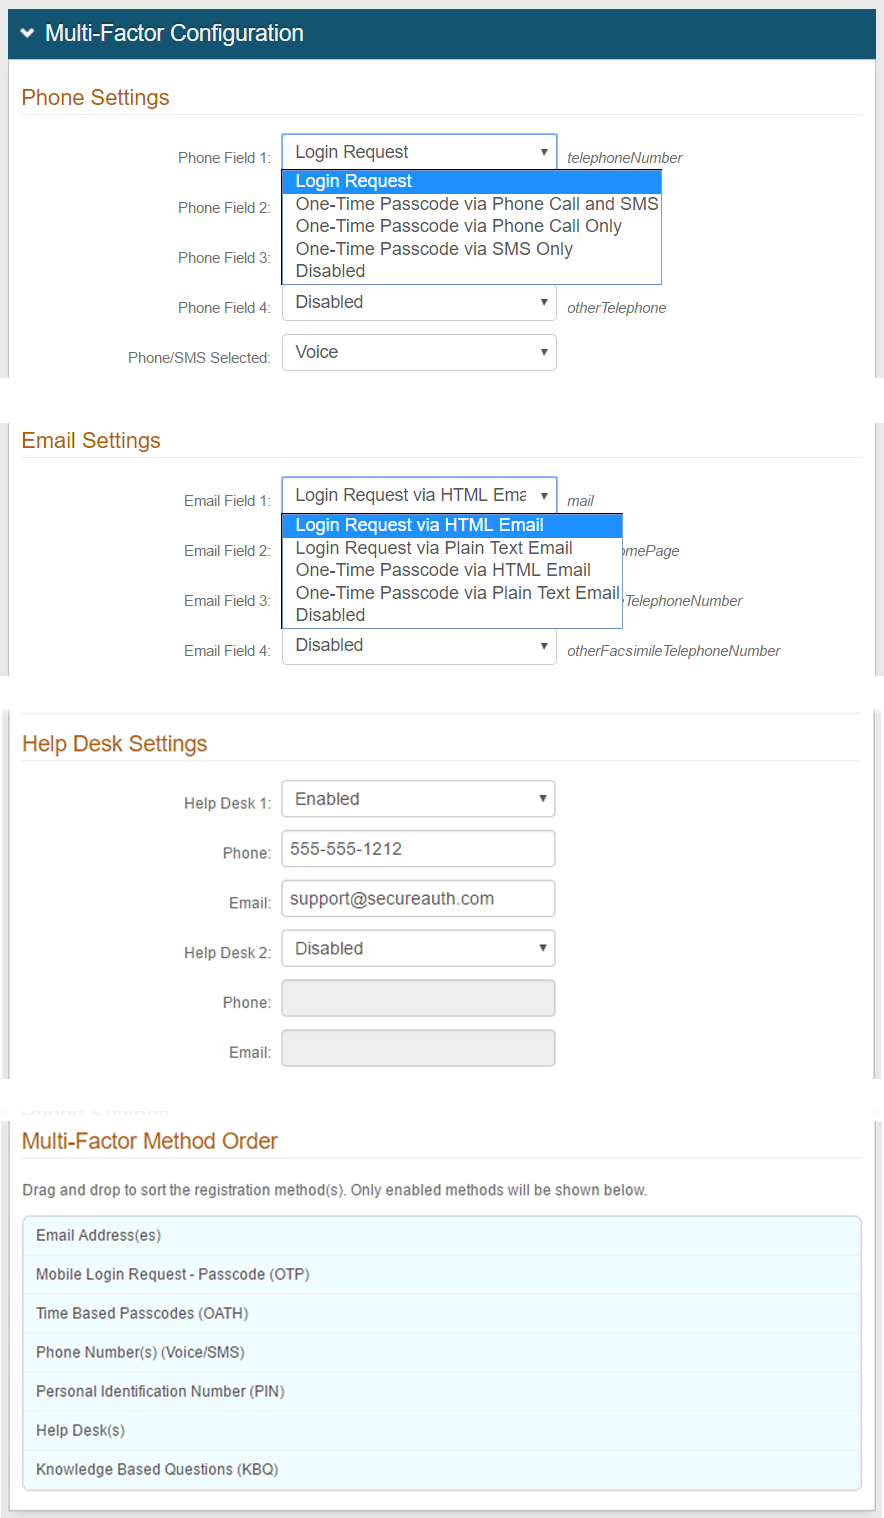 |
11. Build the Multi-Factor Methods selection page, configuring each option to be included on that page presented to end-users
12. For login requests to be received via SMS text message, under Phone Settings select Login Request from the Phone Field 1 dropdown – this phone number corresponds to the primary phone number on the end-user account
NOTE: Select Login Request from another Phone Field dropdown to enable an alternate phone number on the end-user account to receive login requests via text message
13. For login requests to be received via email, under Email Settings select the Login Request type from the Email Field 1 dropdown
For example, select Login Request via HTML Email for HTML to use the HTML format in emails sent to the primary email address on the end-user account
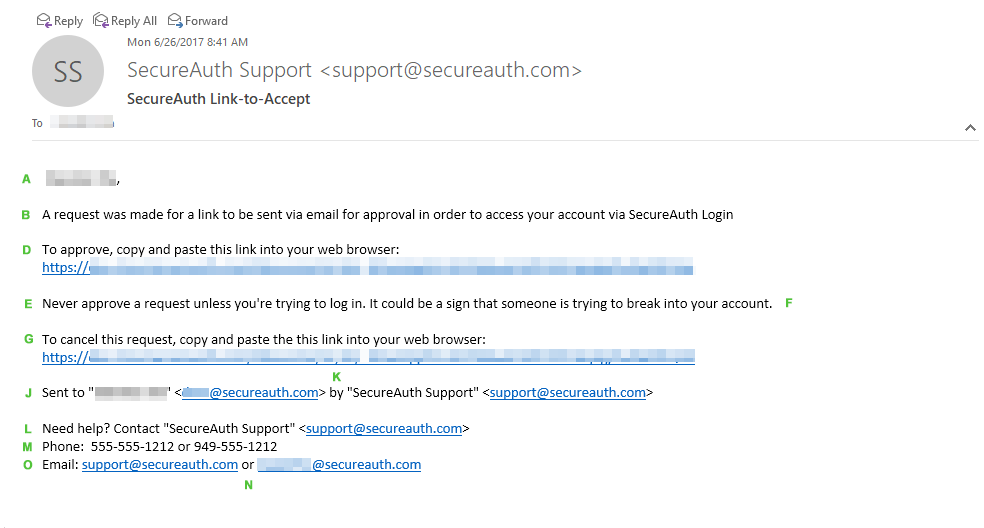
Select Login Request via Plain Text Email to use the text-based format in emails sent to the primary email address on the end-user account
NOTE: Select the Login Request option from another Email Field dropdown to enable an alternate email address on the end-user account to receive login requests via email
14. To include help desk contact information in the email footer, under Help Desk Settings select Enabled from the Help Desk 1 dropdown
Or select Disabled to not included help desk information in the email footer
15. If Help Desk 1 is enabled, then enter the Phone number and Email address for the primary help desk
NOTE: To include an alternate help desk phone number and / or email address in the email, select Enabled from the Help Desk 2 dropdown and make entries for that Phone number and / or Email address
16. Under Multi-Factor Method Order, arrange the order in which each included option will appear on the delivery methods page
Warning
Click Save once the configuration is complete and before leaving the Multi-Factor Methods page to avoid losing changes
End-user Experience
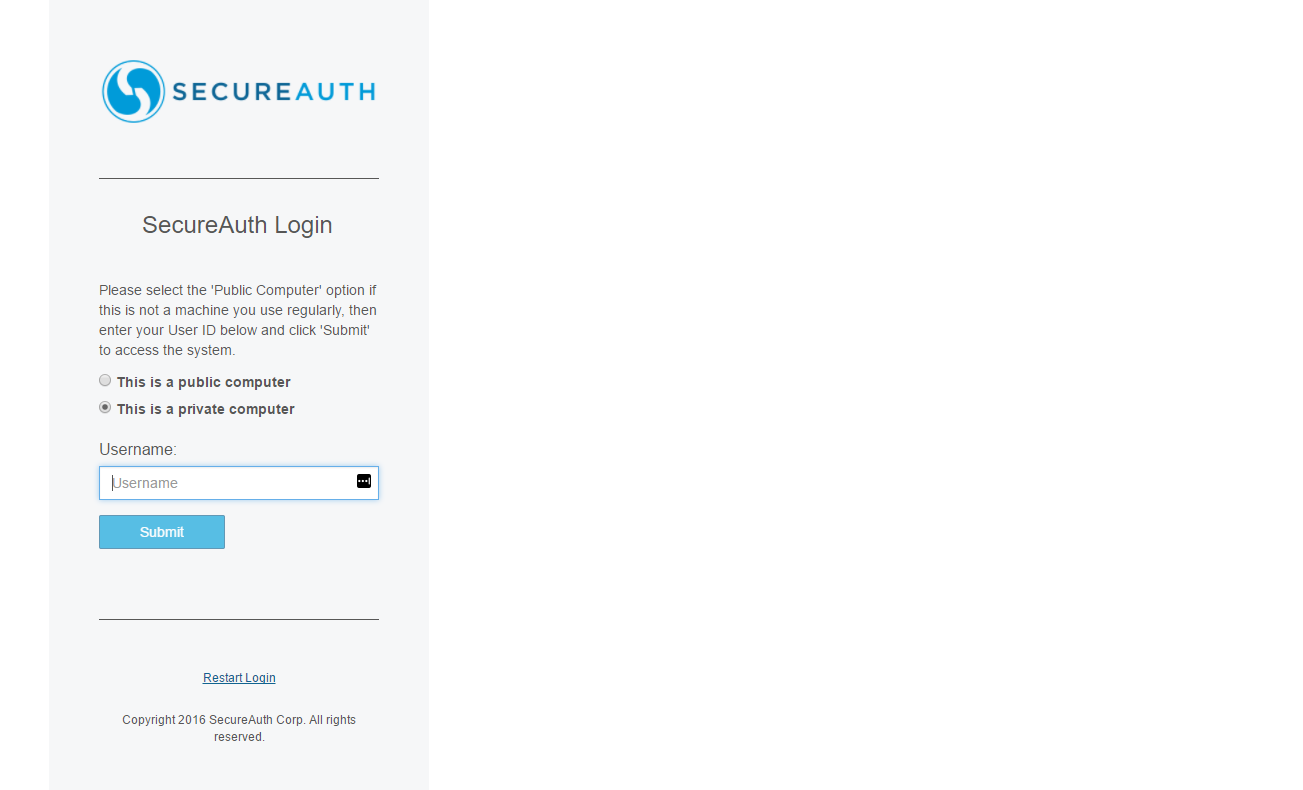 |
1. Go through the workflow configured for Multi-Factor Authentication
In this example, enter the Username and click Submit
2. Follow the instructions for the option to use for delivering the login request
Proceed to steps under the Email Login Request section below to have a login request submitted via email
Proceed to steps under the SMS Login Request section below to have a login request submitted via a phone text message
Email Login Request
3. For the email login request option, select Email login confirmation link to <email address>
4. Click Submit
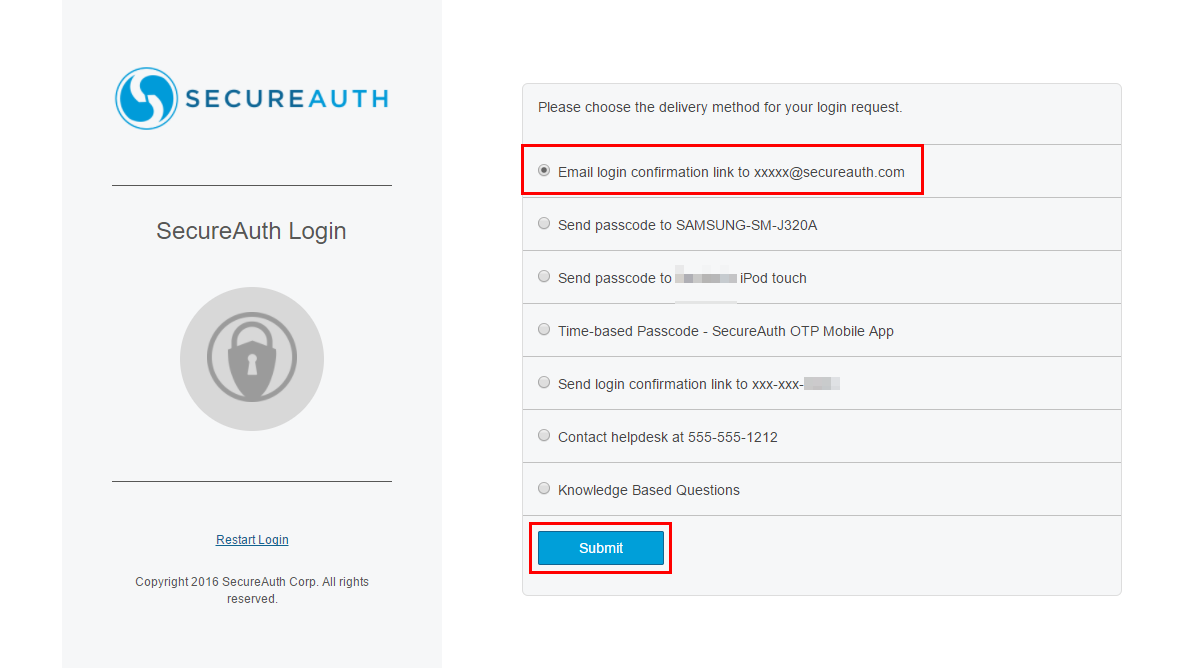 |
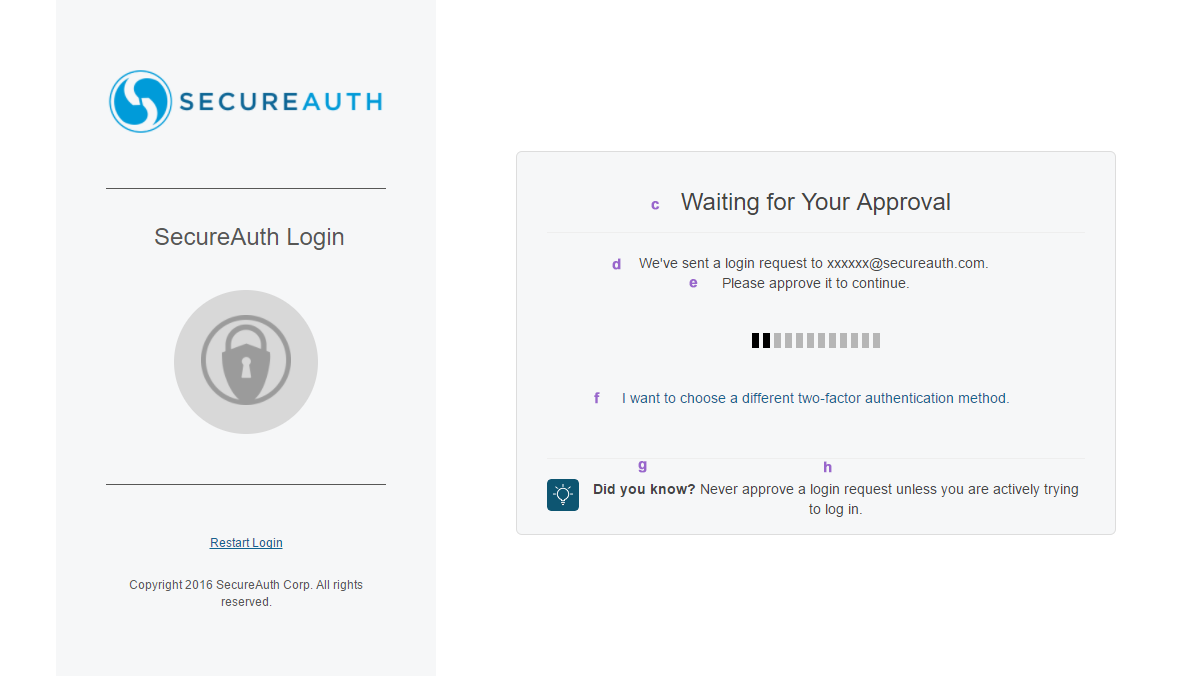
5. The waiting page appears and a message is sent to the designated email address
To change this request, click the link on the waiting page to return to the delivery methods page
 |
Notice
See Verbiage Editor for the key to the template settings resulting in the waiting page shown in the image above
6. Choose an action and see results for the selected option in the section below
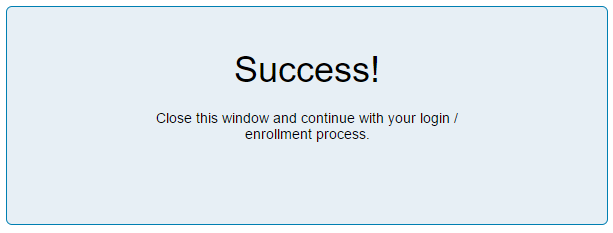
Approve request... – result of clicking the approve button or using the approve request link
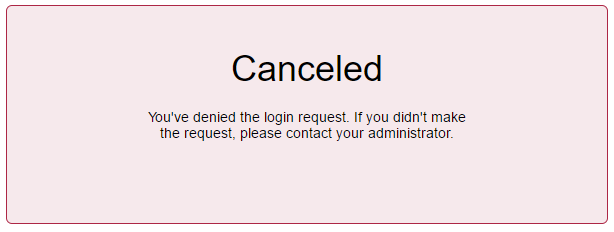
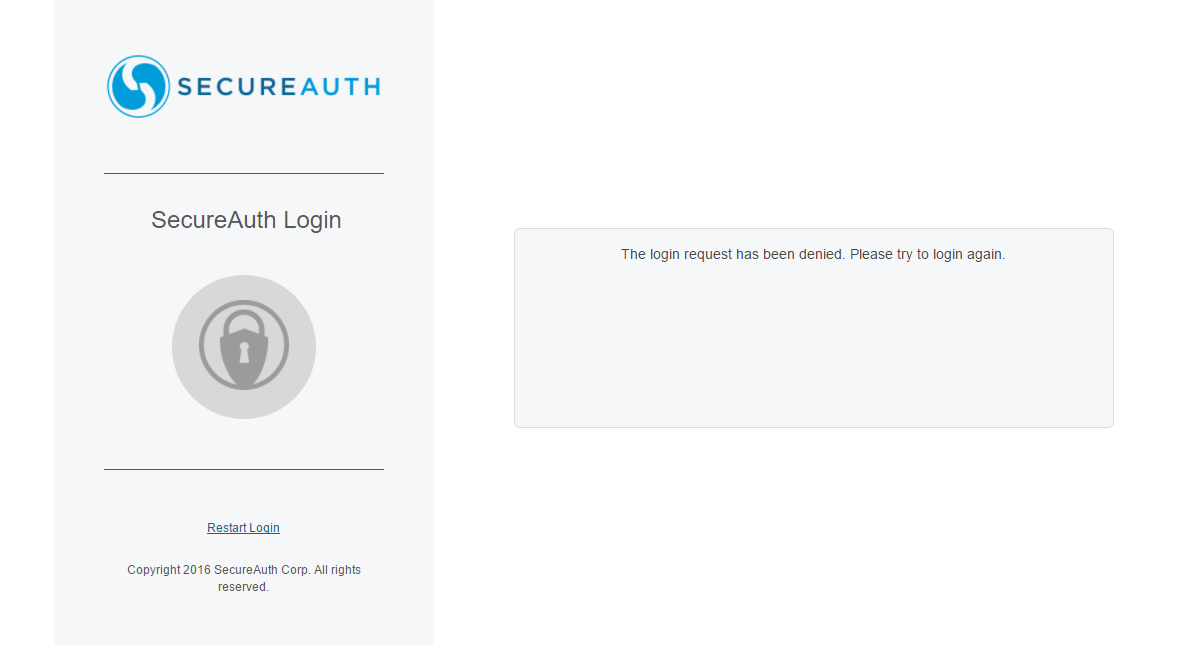
Cancel request...–result of using the cancel request link
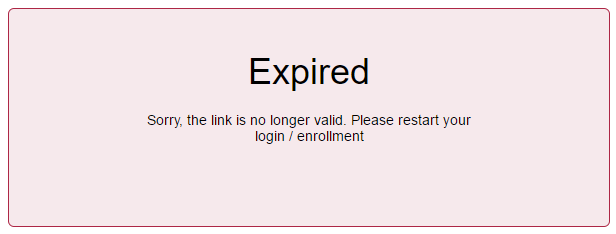
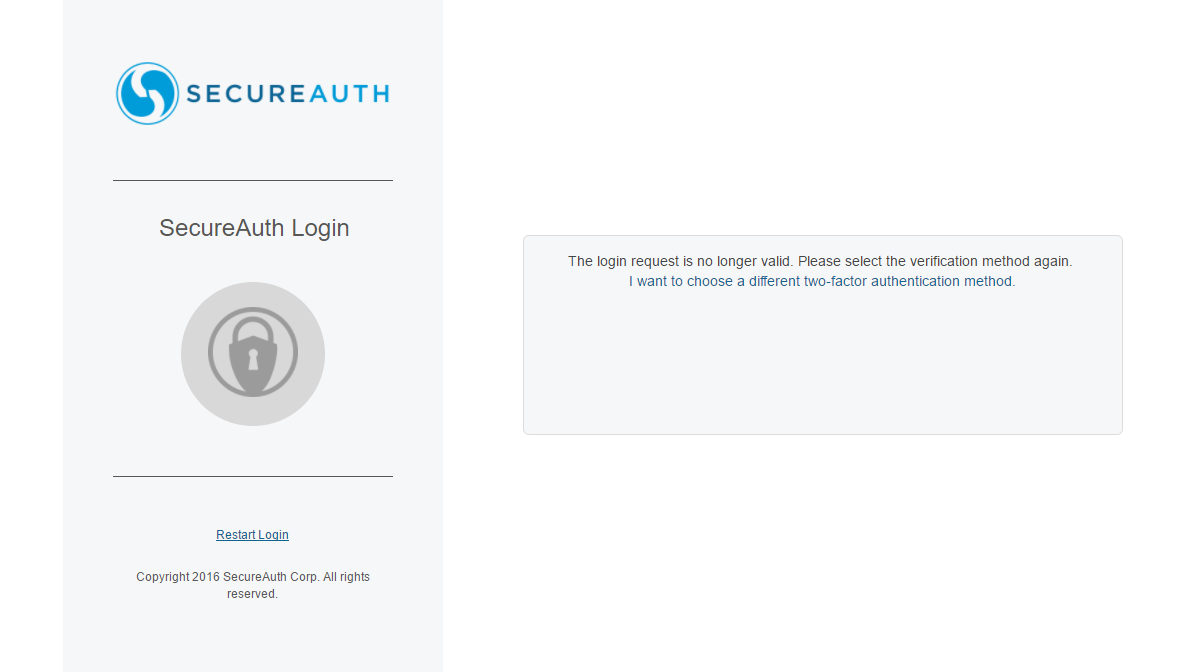
Request expired... – result of responding to the request after it has expired
Note
Or consult the help desk, if help desk contact information is included in the email and assistance is needed
 |
 |
Notice
See Verbiage Editor for the key to the template settings resulting in the HTML and plain text emails shown in the adjacent images
SMS Login Request
3. For the SMS login request option, select Send login confirmation link to <mobile device phone number>
4. Click Submit
 |
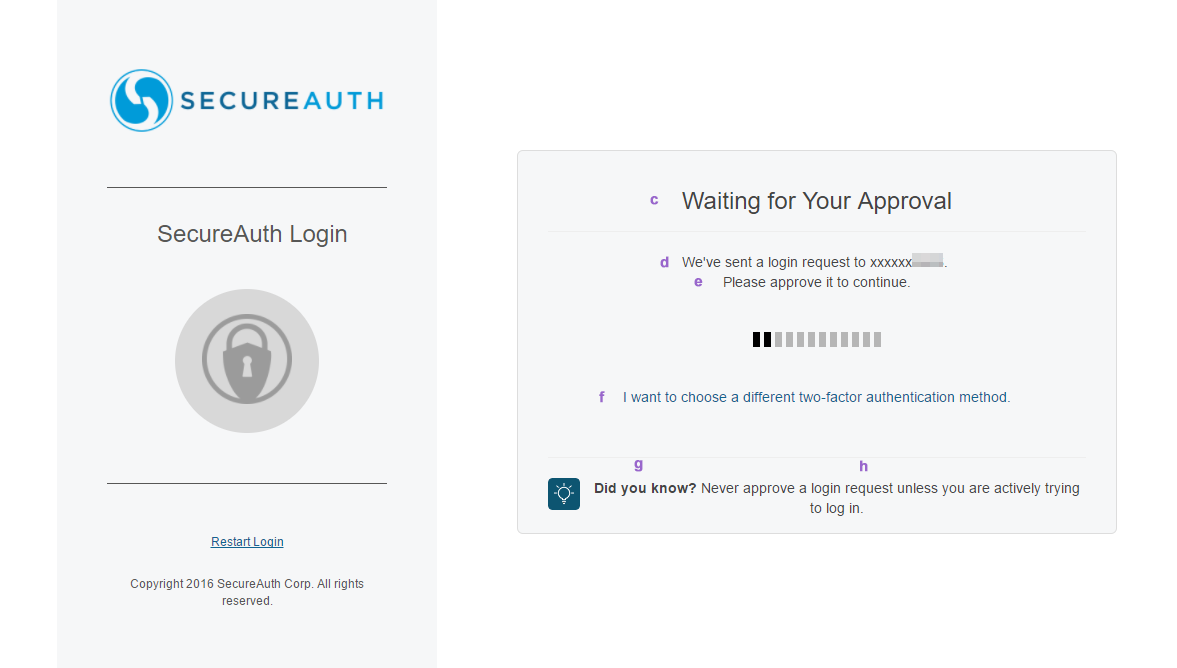
5. The waiting page appears and a text message is sent to the designated mobile phone number
To change this request, click the link on the waiting page to return to the delivery methods page
 |
Notice
See Verbiage Editor for the key to the template settings resulting in the waiting page shown in the image above
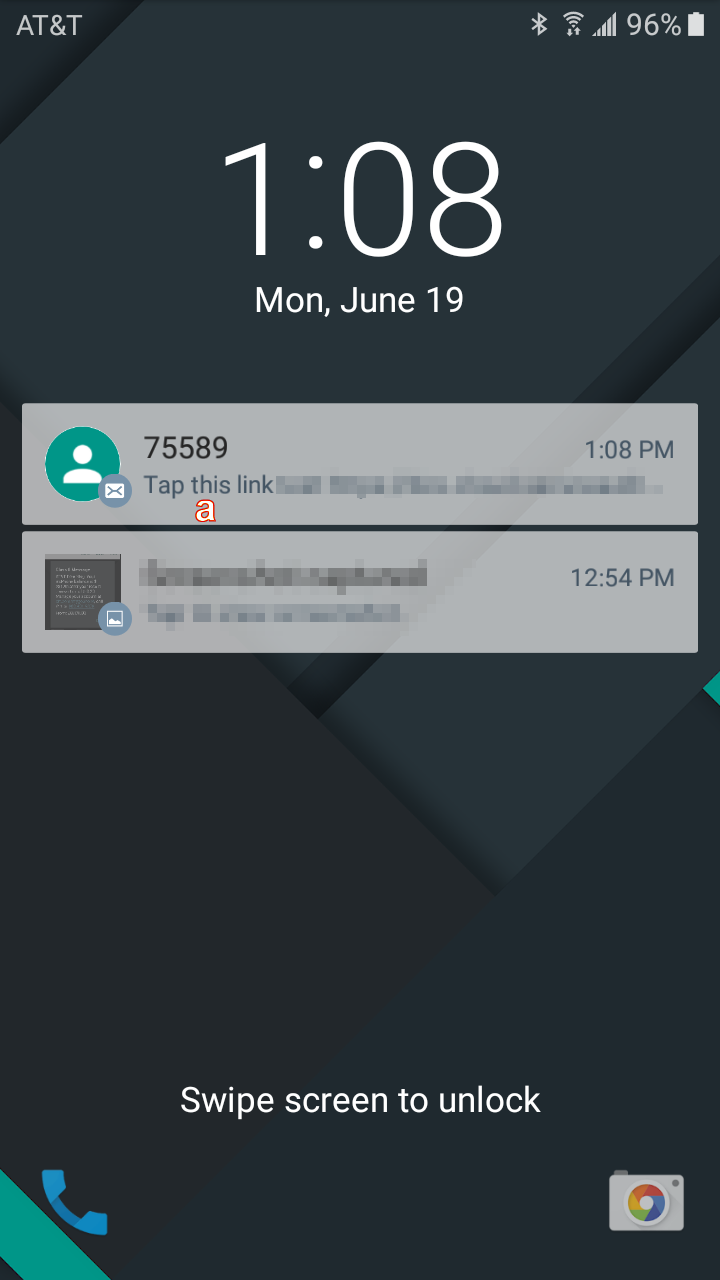
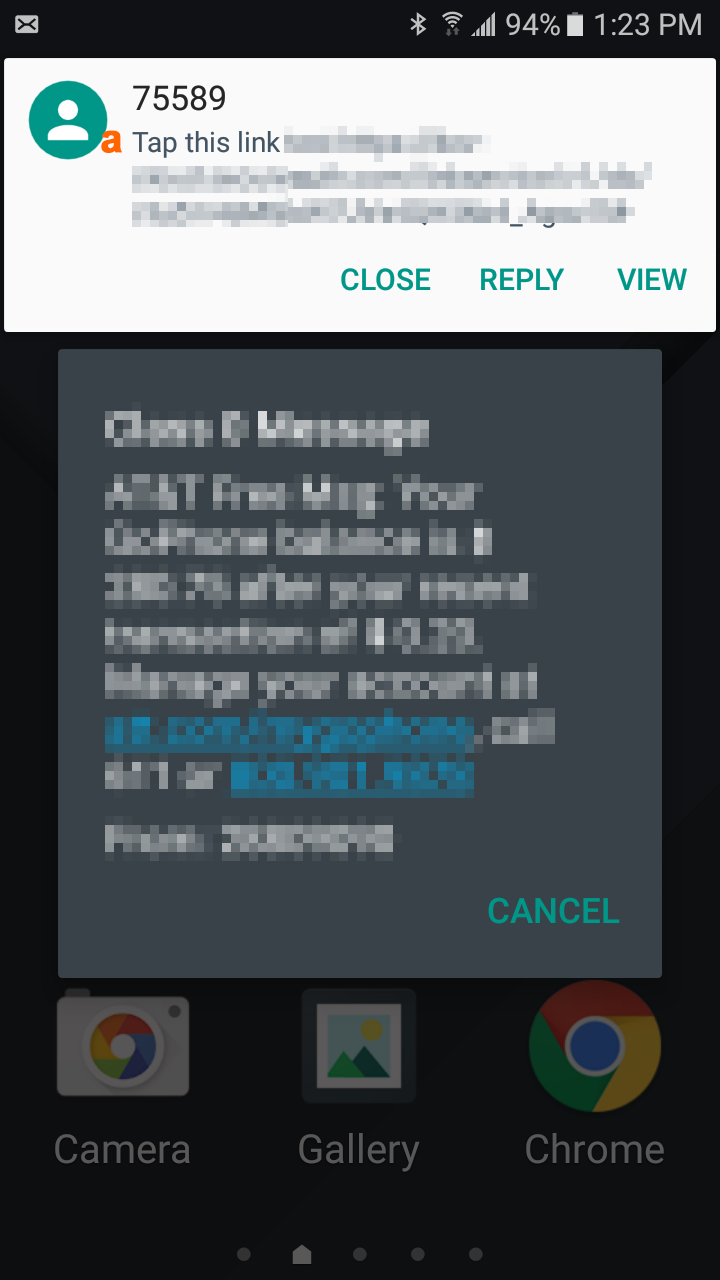
6. The login request appears on the mobile device screen with the message 'Tap this link' followed by a unique request acceptance link – this message and link can appear...
...on the home screen of a locked device...
 |
...on an unlocked screen
 |
...on the messages screen
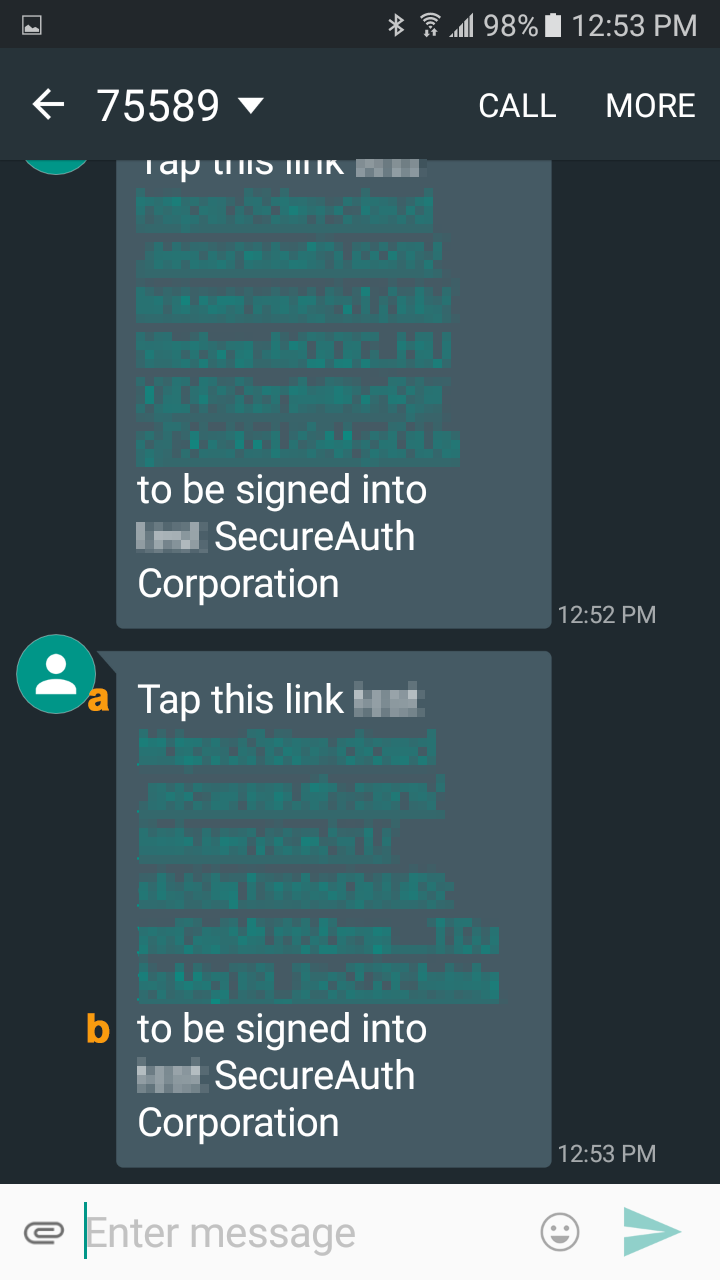 |
On the messages screen, explanatory text follows the link
Notice
See Verbiage Editor for the key to the template settings resulting in the content surrounding the link as shown in the images at left
7. Choose an action and see results for the selected option in the section below
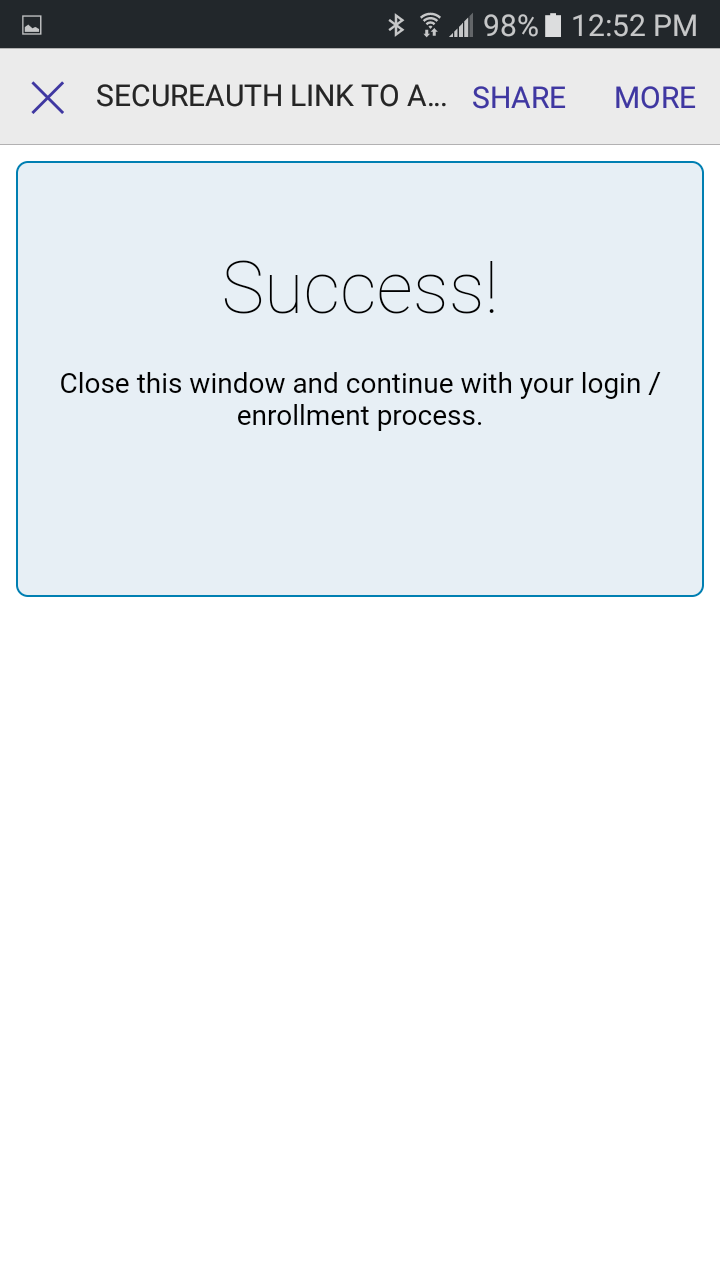
Accept request... – result of tapping the link in the SMS text message
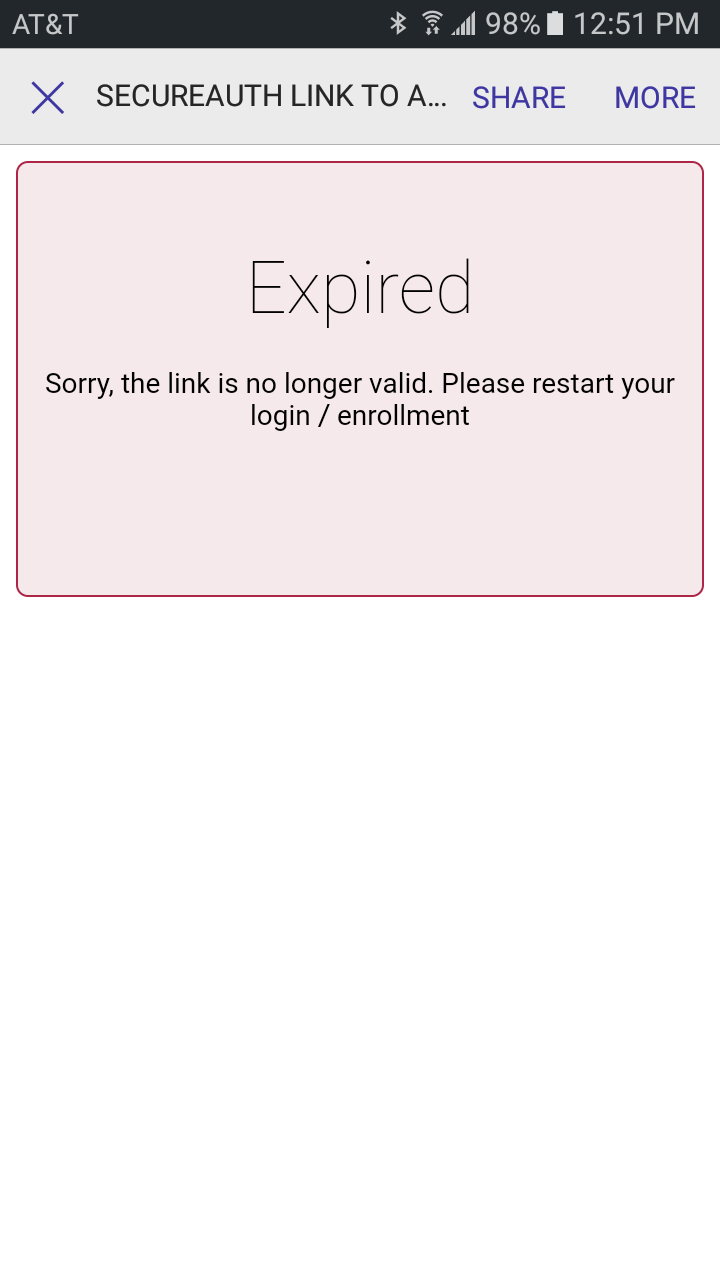
Request expired... – result of responding to the request after it has expired
