Realm Management Tool
Use this guide to install and use the Realm Management Tool, which enables the creation, deletion, and renaming of SecureAuth IdP realms.
Applies to
For supported Windows Server operating systems, see the SecureAuth compatibility guide for your release.
Disclaimer
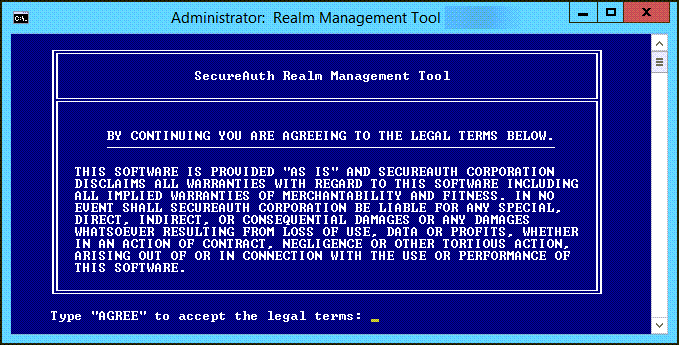
THIS SOFTWARE IS PROVIDED "AS IS" AND SECUREAUTH CORPORATION DISCLAIMS ALL WARRANTIES WITH REGARD TO THIS SOFTWARE INCLUDING ALL IMPLIED WARRANTIES OF MERCHANTABILITY AND FITNESS. IN NO EVENT SHALL SECUREAUTH CORPORATION BE LIABLE FOR ANY SPECIAL, DIRECT, INDIRECT, OR CONSEQUENTIAL DAMAGES OR ANY DAMAGES WHAT SO EVER RESULTING FROM LOSS OF USE, DATA OR PROFITS, WHETHER IN AN ACTION OF CONTRACT, NEGLIGENCE OR OTHER TORTIOUS ACTION, ARISING OUT OF OR IN CONNECTION WITH THE USE OR PERFORMANCE OF THIS SOFTWARE.
Realm Management Tool installation and utilization
Contact Support for the Realm Management Tool.
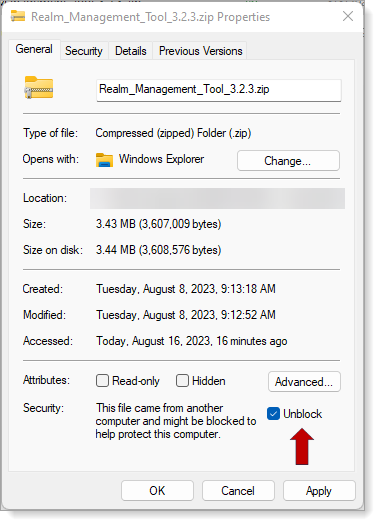
Right-click the ZIP file, select Properties > General tab.
Select the Unblock check box. Click OK to dismiss the Properties window.
Right-click the ZIP file and select Extract All.
Extract the files to to D:\MFCApp_Bin\Extras.
To create realms on the SecureAuth IdP instance, go to D:\MFCApp_bin\Extras\RealmManagementTool and run RealmManagementTool.bat.
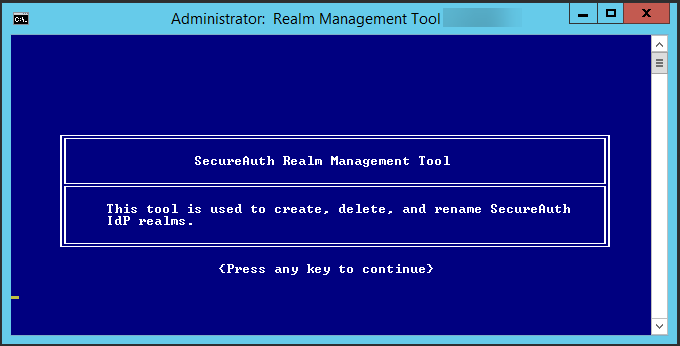
The Splash page displays. Press any key to continue.
On legal disclaimer page, type AGREE at the prompt to accept the terms, and press Enter.
Note
If you do not agree with the terms, press Enter to exit the script.
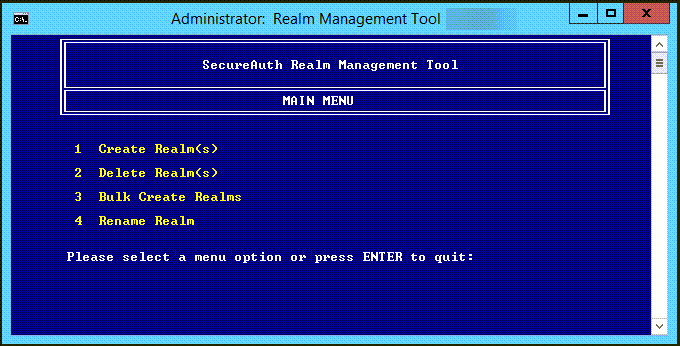
On the Main Menu, to create realms, type 1 and press Enter.
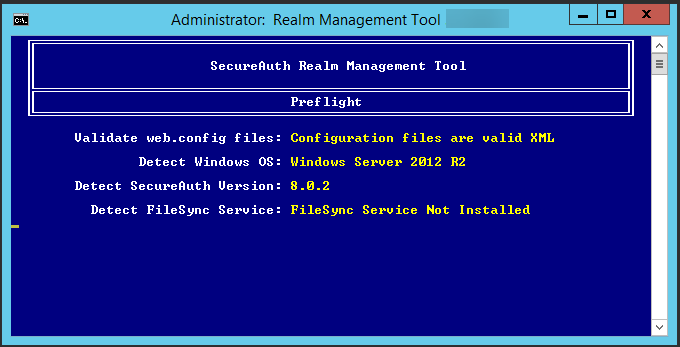
The Preflight screen briefly displays.
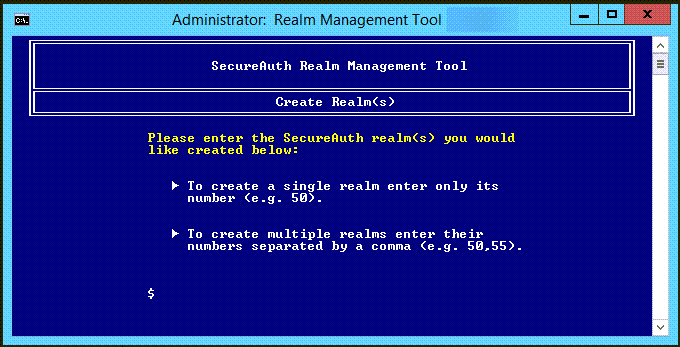
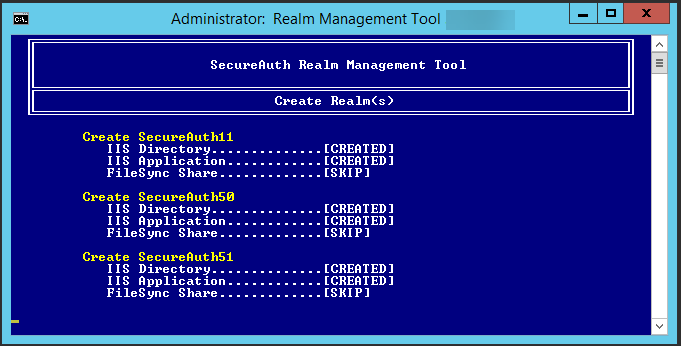
On the Create Realms page, do one of the following:
To create a single realm, enter a single number, like 50
To create multiple realms, enter their numbers, separated by a comma like 50,51,52
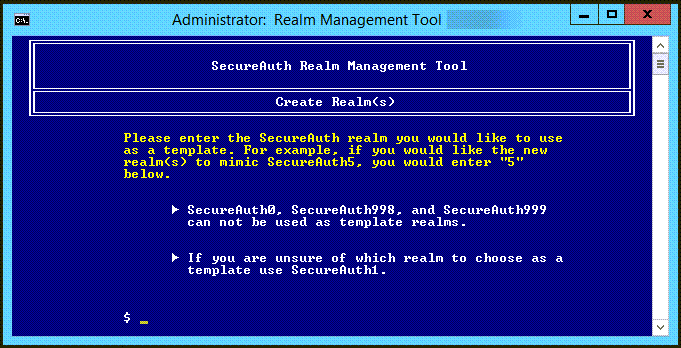
Enter the realm number that is to be used as a template.
Note
You cannot use realm numbers SecureAuth0, SecureAuth998, and SecureAuth999 as a template.
The selected realms will be created.
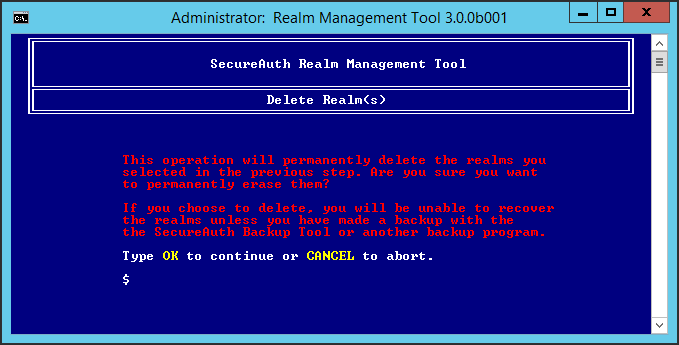
Warning
The delete operation will permanently remove the realm(s) from the SecureAuth IdP instance.
You cannot recover these realms unless you make a backup with the SecureAuth Backup Tool or another backup program.
To delete realms on the SecureAuth IdP instance, go to D:\MFCApp_bin\Extras\RealmManagementTool and run RealmManagementTool.bat.
The Splash page displays. Press any key to continue.
On legal disclaimer page, type AGREE at the prompt to accept the terms, and press Enter.
Note
If you do not agree with the terms, press Enter to exit the script.
On the Main Menu, to delete realms, type 2 and press Enter.
The Preflight screen briefly displays.
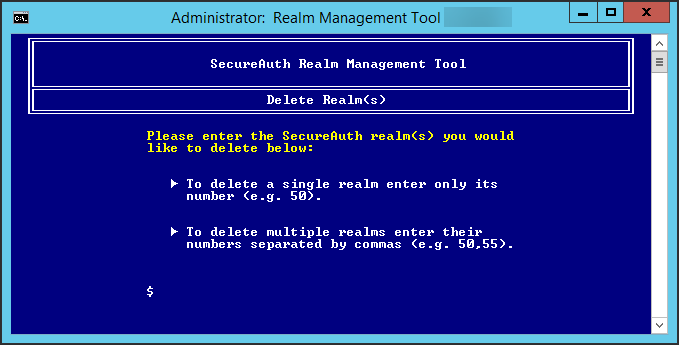
On the Delete Realms page, do one of the following:
To delete a single realm, enter a single number, like 50
To delete multiple realms, enter their numbers, separated by a comma like 50,51,52
Carefully read the warning message and type OK to continue with the delete operation, or type CANCEL to abort the delete operation.
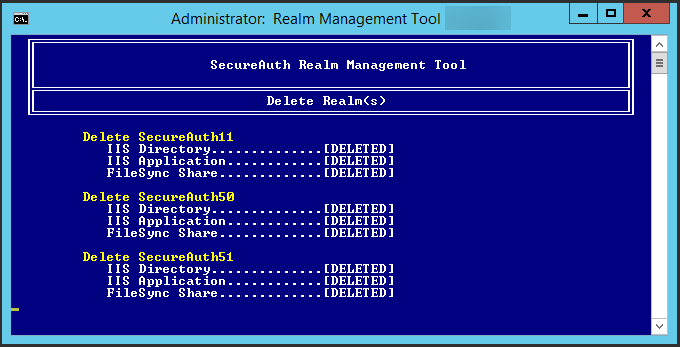
The selected realms will be deleted.
Use the Bulk Create Realms feature when you need to create many realms at once.
Note
For this option to work, the realm numbering must be contiguous. For example, realm numbers 10 to 30.
To bulk create realms on the SecureAuth IdP instance, go to D:\MFCApp_bin\Extras\RealmManagementTool and run RealmManagementTool.bat.
The Splash page displays. Press any key to continue.
On legal disclaimer page, type AGREE at the prompt to accept the terms, and press Enter.
Note
If you do not agree with the terms, press Enter to exit the script.
On the Main Menu, to bulk create realms, type 3 and press Enter.
The Preflight screen briefly displays.
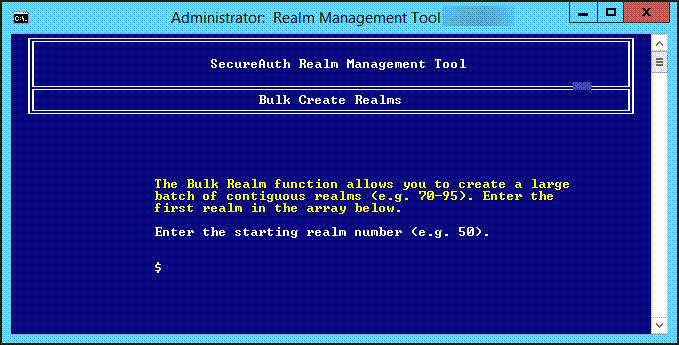
On the Bulk Create Realms page, enter the starting realm number of the range to create. do one of the following:
For example, enter realm number 10 to create realms 10 through 30.
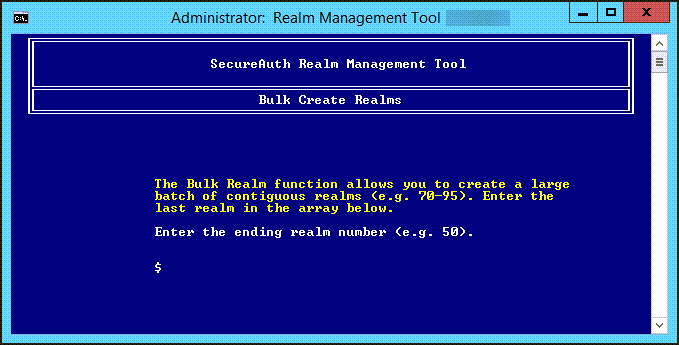
Enter the ending realm number of the range to create.
For example, enter realm number 30 to create realms 10 through 30.
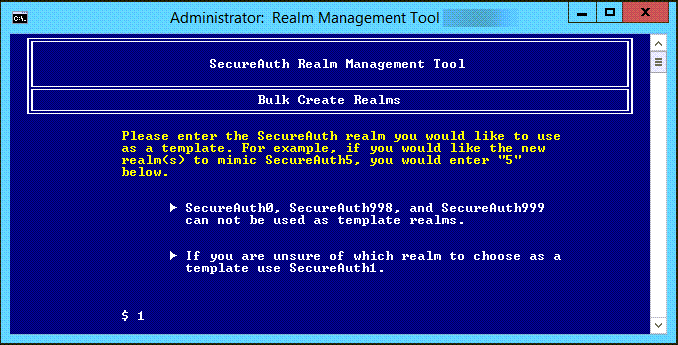
Enter the realm number that is to be used as a template.
Note
You cannot use realm numbers SecureAuth0, SecureAuth998, and SecureAuth999 as a template.
The selected realms will be created.
Portal Page
Do not use these instructions if your site has a Portal page it does not yet support SecureAuth realms with custom naming schemes. Changing a realm name will break the link on the portal page and present users with an error. As an alternative you can create a User Friendly (vanity) URL. Please see the SecureAuth support document User Friendly URL Best Practice for further information on that process
To rename a realm on the SecureAuth IdP instance, go to D:\MFCApp_bin\Extras\RealmManagementTool and run RealmManagementTool.bat.
The Splash page displays. Press any key to continue.
On legal disclaimer page, type AGREE at the prompt to accept the terms, and press Enter.
Note
If you do not agree with the terms, press Enter to exit the script.
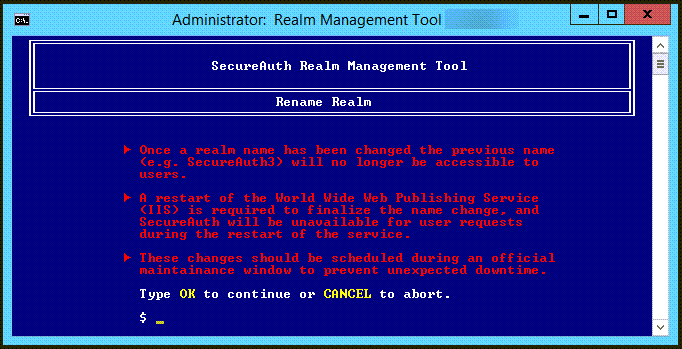
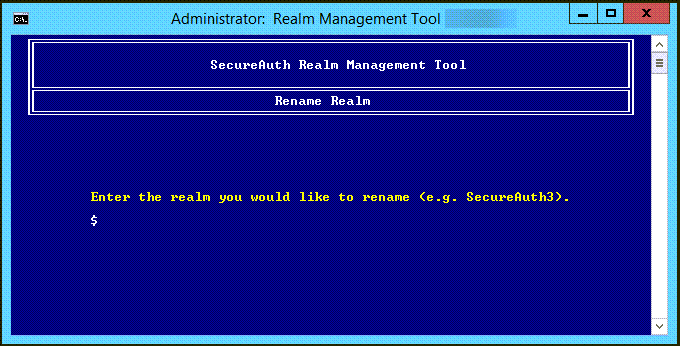
On the Main Menu, to rename a realm, type 4 and press Enter.
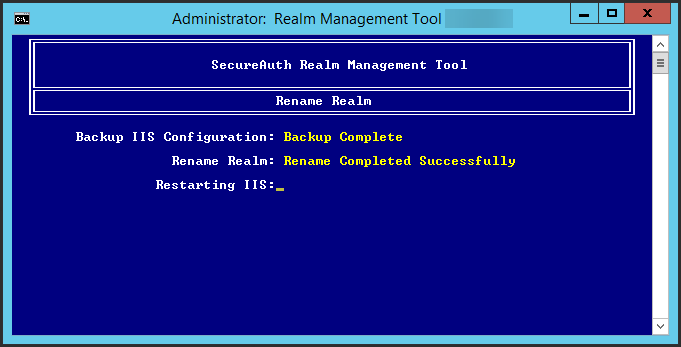
Carefully read the warning message and type OK to continue with the rename operation, or type CANCEL to abort the rename operation.
Enter the name of the realm you want to rename.
For example, SecureAuth9
Enter a new name for this realm.
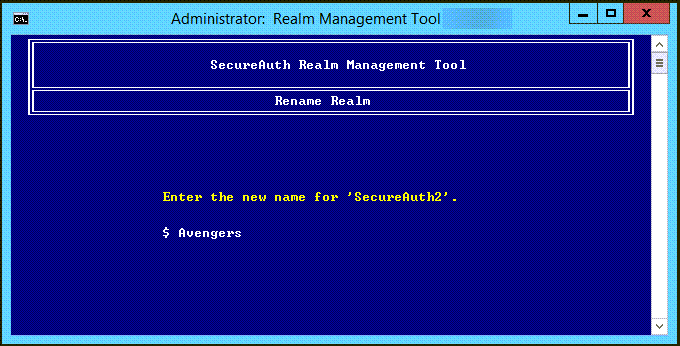
The realm name is changed.