Account Management page configuration
The Identity Management (IdM) tool contains the Account Management (Help Desk) page function to change and update user profiles.
The Account Management page contains various help desk features to manage user accounts:
Username search to retrieve accounts
Add new user information (for example, mobile number and personal email address)
Update user information (for example, new home address and last name change)
Password reset
Account status options (for example, lock, unlock, disable, enable)
Update multi-factor authentication (MFA) information
Set PIN
Select knowledge-based questions (KBQs)
Reset device recognition information
Revoke devices and browsers provisioned for time-based passcode generation, push notifications, and push-to-accept login requests
The data store for your organization receives the user profile updates made on the Account Management page. This depends on the configured data store write permissions. And it reduces directory management time and costs.
Prerequisites
Data store with service account write privileges to add and change user information
A realm for the Account Management page function with the following tabs configured before setting up the Post Authentication tab:
Overview
Data
Workflow
Multi-Factor Methods
Data store limitations
Note the following issues for certain data stores on the Help Desk page.
Create user with group is not supported (you can still create a user without groups) is not supported in Azure AD cloud
Disable account is not supported in Azure AD cloud
Enable, disable, or delete accounts not supported in Oracle DB
Lock and disable accounts are not supported in Active Directory cloud, LDAP, and NetIQ eDirectory
System error appears when updating last name, even though it works correctly in NetIQ eDirectory
Using Reset All Registrations does not reset YubiKey in Active Directory, Azure AD cloud, Oracle DB, LDAP and NetIQ eDirectory. Workaround: Manually reset YubiKey
Identity Platform configuration
Go to the Data tab.
Note
If you are using an Active Directory data store, make sure you use the following settings:
Datastore Type = Active Directory (samAccountName)
Search Attribute = samAccountName
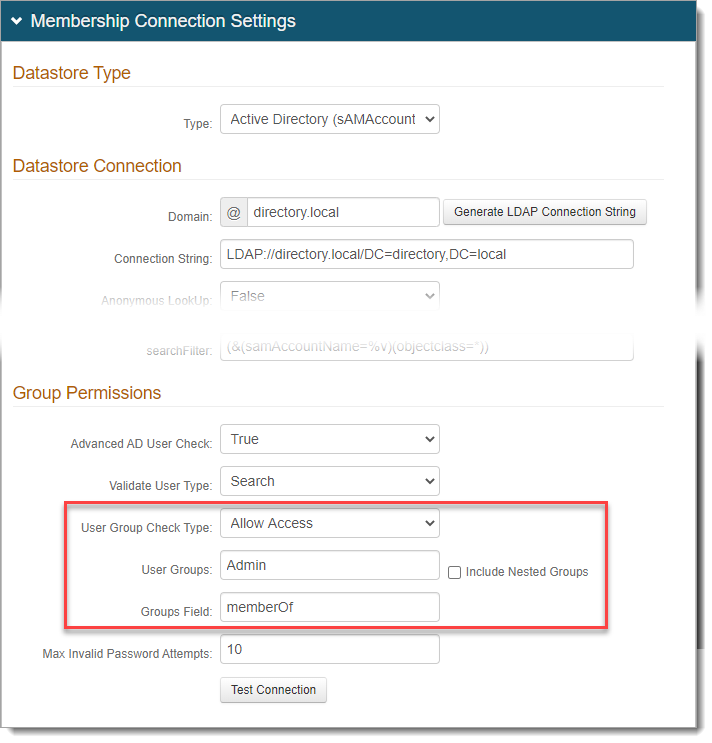
In the Membership Connection Settings section, set the following to restrict this realm to to only administrators in the Group Permissions subsection.
Note: This not required if your organization wants to allow admins to create their own accounts.
User Group Check Type
Set to Allow Access.
User Groups
Enter the group name to which administrators belong. For example, Admins.
Groups Field
The groups field in the data store directory containing the group information for each user.
Save your changes.
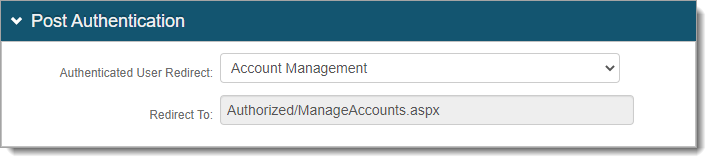
Go to the Post Authentication tab.
In the Post Authentication section, set the following configuration.
Authenticated User Redirect
Set to Account Management.
Redirect To
This field is autopopulated with the post authentication .aspx page. This is appended to the domain name and realm number in the web address bar. For example, Authorized/ManageAccounts.aspx.
In the User ID Mapping section, set the type of User ID to assert in the Account Management page. This is usually the Authenticated User ID.
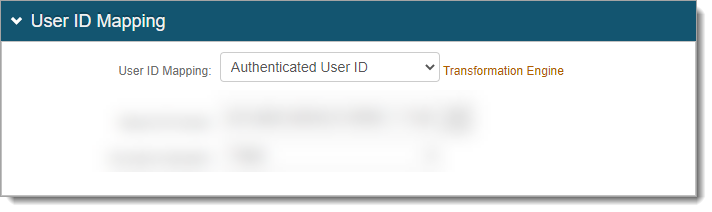
Click Save.
In the Identity Management section, to configure the functions of the Help Desk page, click the Configure help desk page link.

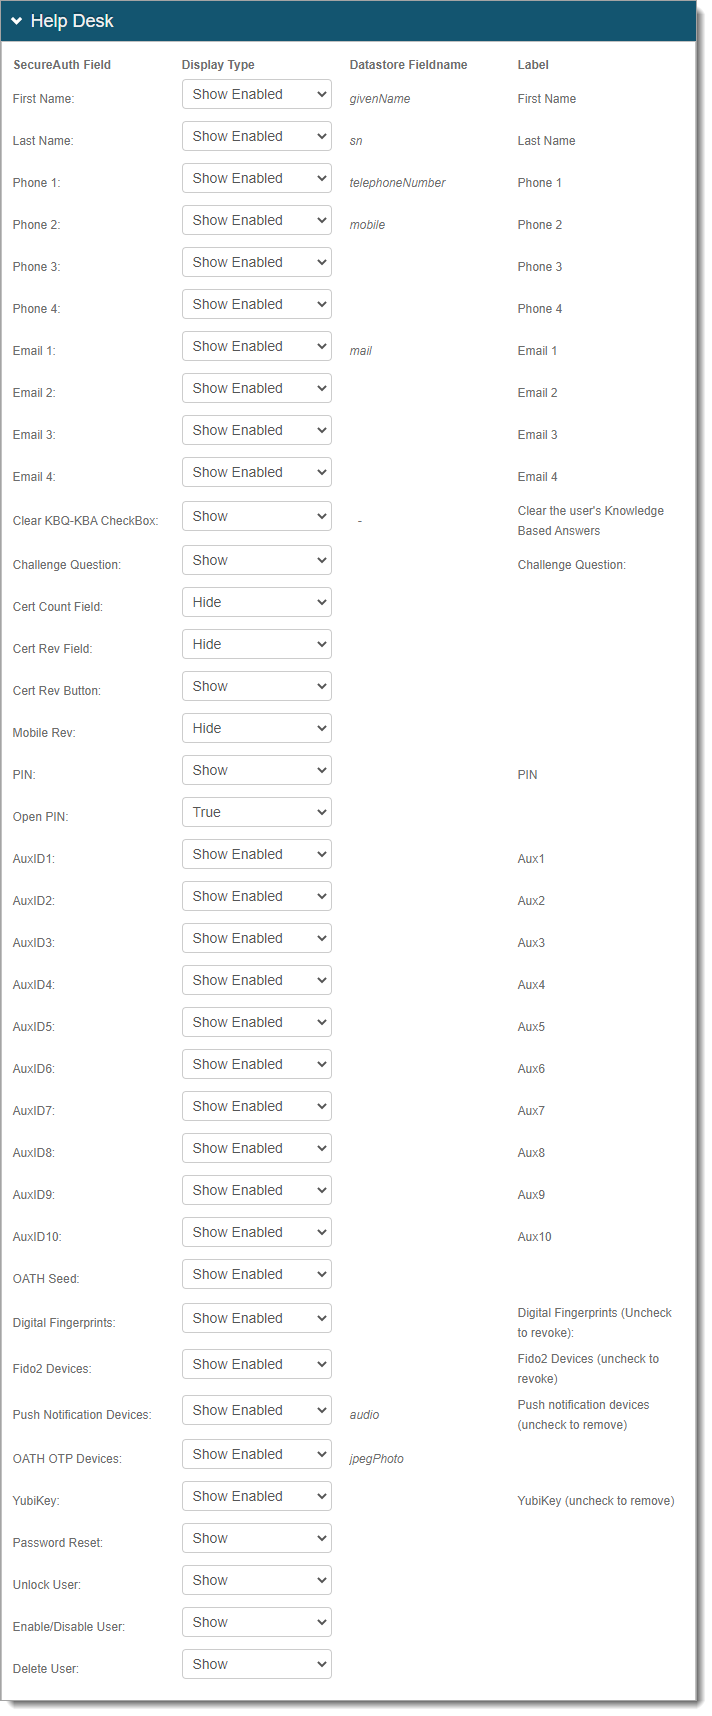
In the Help Desk section, set the user field (and its settings) you want to appear on the Account Management (Help Desk) page. The SecureAuth Field corresponds to the Profile Properties in the Data tab.
For most field settings, use the following Display Type, while others are self-explanatory:
Hide – Do not show the SecureAuth Field on the Account Management (Help Desk) page.
Show Enabled – Show the SecureAuth Field on the Account Management (Help Desk) page. You can edit this field.
Show Disabled – Show the SecureAuth Field on the Account Management (Help Desk) page. You cannot edit this field.
Notice
The field configurations for Password Reset, Unlock User, Enable/Disable User, and Delete User are explained in Optional configurations for managing users.
Save your changes.
Optional configurations for token or cookie settings and SSO
In the Forms Auth/SSO Token section, you can optionally configure the token or cookie settings, and single-sign on (SSO) for this realm.
 |
To configure token or cookie settings, see Configure token or cookie settings.
To configure this realm for SSO, see SecureAuth IdP single sign-on configuration.
To configure this realm for Windows Desktop SSO, see Windows desktop SSO configuration.
Optional configurations for managing users
This section covers the various Help Desk page configurations for managing user accounts.
In the Account Management (Help Desk) realm, go to Post Authentication tab > Identity Management section > Configure help desk page link.
In the Help Desk section, set the following configurations.
Password Reset
To use password reset functions on the Account Management (Help Desk) page, set to Show.
Unlock User
To use the Unlock User function on the Account Management (Help Desk) page, set to Show.
The Unlock User function requires the selection of the Lock user account after exceeding attempts option in the Multi-Factor Throttling subsection on the Multi-Factor Methods tab.
Enable / Disable User
To use the enable and disable functions for a user on the Account Management (Help Desk) page, set to Show.
Delete User
To use the delete user function on the Account Management (Help Desk) page, set to Show.

Save your changes.
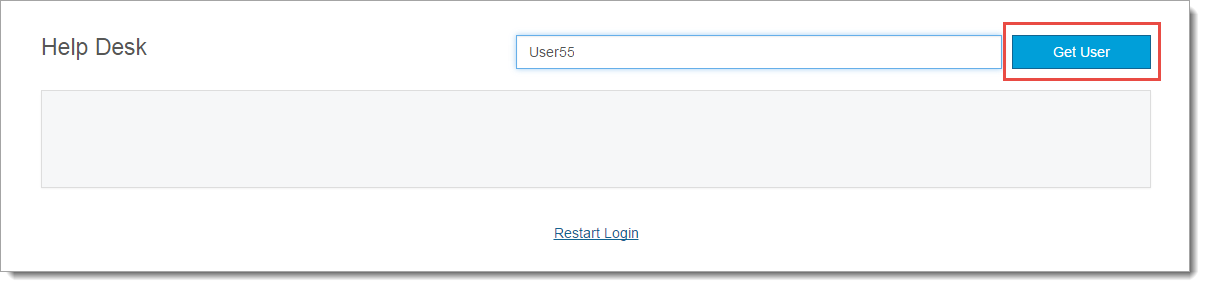
Help Desk - Get User page
Log in as an administrator to the Help Desk page.
Enter the username and click Get User to search for a user.
Help Desk - Manage User Account page
Information and options for managing the account appear on the Help Desk page.
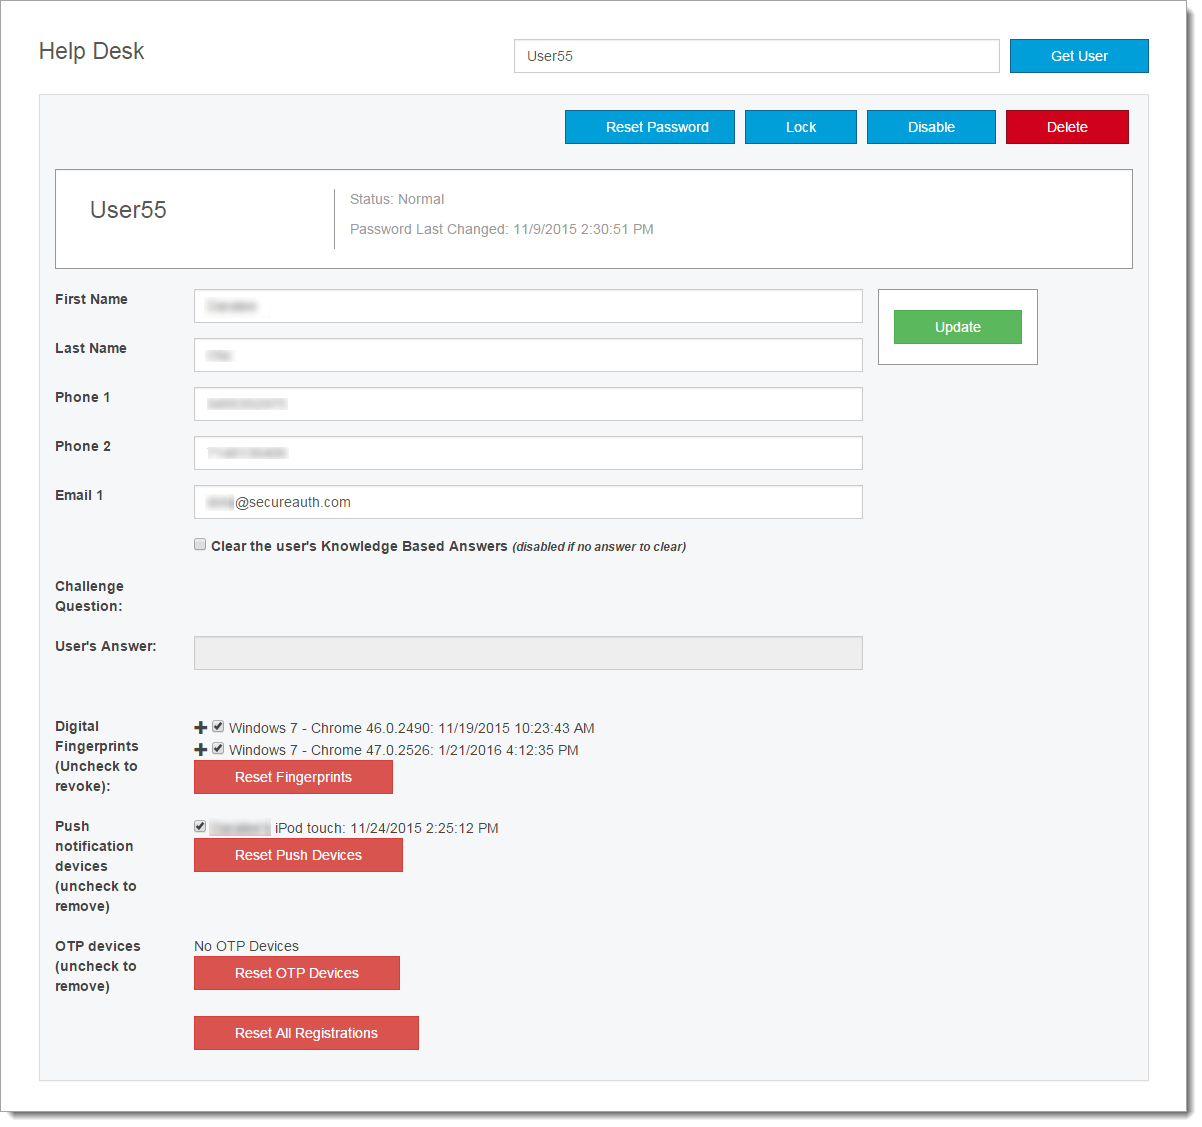 |
You can use the following functions:
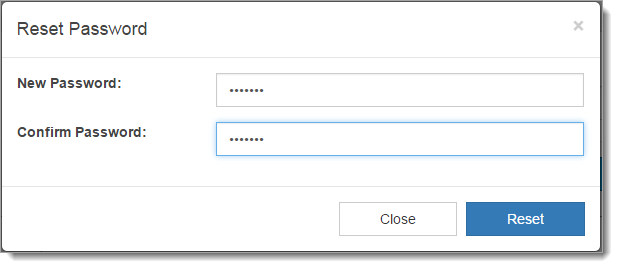
Reset Password
Click Reset Password.
Enter the new password in both fields.
Click Reset.
Unlock and Lock user account
Information about user account status comes from the data store
Depending on the account status, do one of the following:
To lock a user account, click Lock.
To unlock a user account, click Unlock.
Enable and disable user account
Information about user account status comes from the data store
Depending on the account status, do one of the following:
To disable a user account, click Disable.
To enable a user account, click Enable.
Delete user account
To remove a user account from the system, click Delete.