Web Admin Part II - Admin Realm Configuration Guide
Introduction
Use this guide to configure the Admin Realm for remote access in the SecureAuth IdP Web Admin.
Warning
SecureAuth recommends configuring the Admin Realm first to ensure the security of the appliance and the realms within it.
The Admin Realm (SecureAuth0) can be accessed locally (Remote Desktop Protocol – RDP) or remotely (through web interface). If accessed remotely then no directory integration is required, but the Data tab must be configured to allow external access. It is also recommended to configure the workflow to require Multi-Factor Authentication to increase security.
Prerequisites
To enable Multi-Factor Authentication to the Admin Realm (SecureAuth0), an enterprise data store is required with which SecureAuth IdP can integrate.
Admin Realm Configuration Steps
Overview
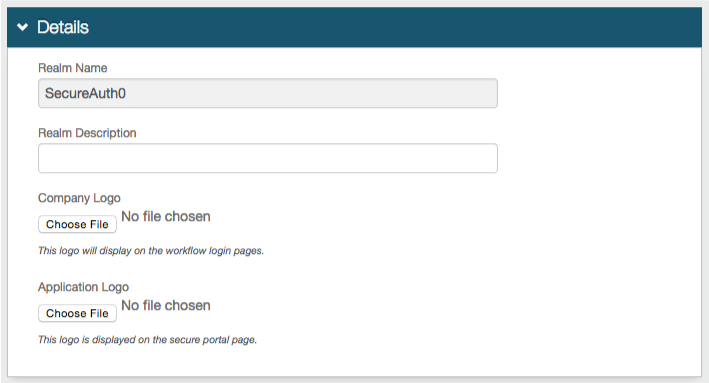 |
1. In the Details section, SecureAuth0 is set as the Realm Name
2. (optional) Provide a Realm Description
Warning
Click Save once the configurations have been completed and before leaving the Overview page to avoid losing changes
Advanced Settings
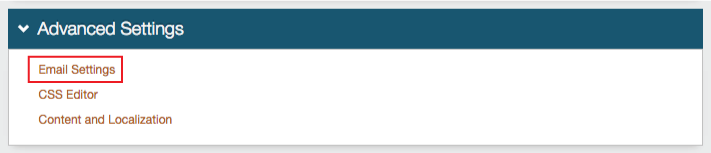 |
3. Click Email Settings to configure the SMTP settings
Email Settings
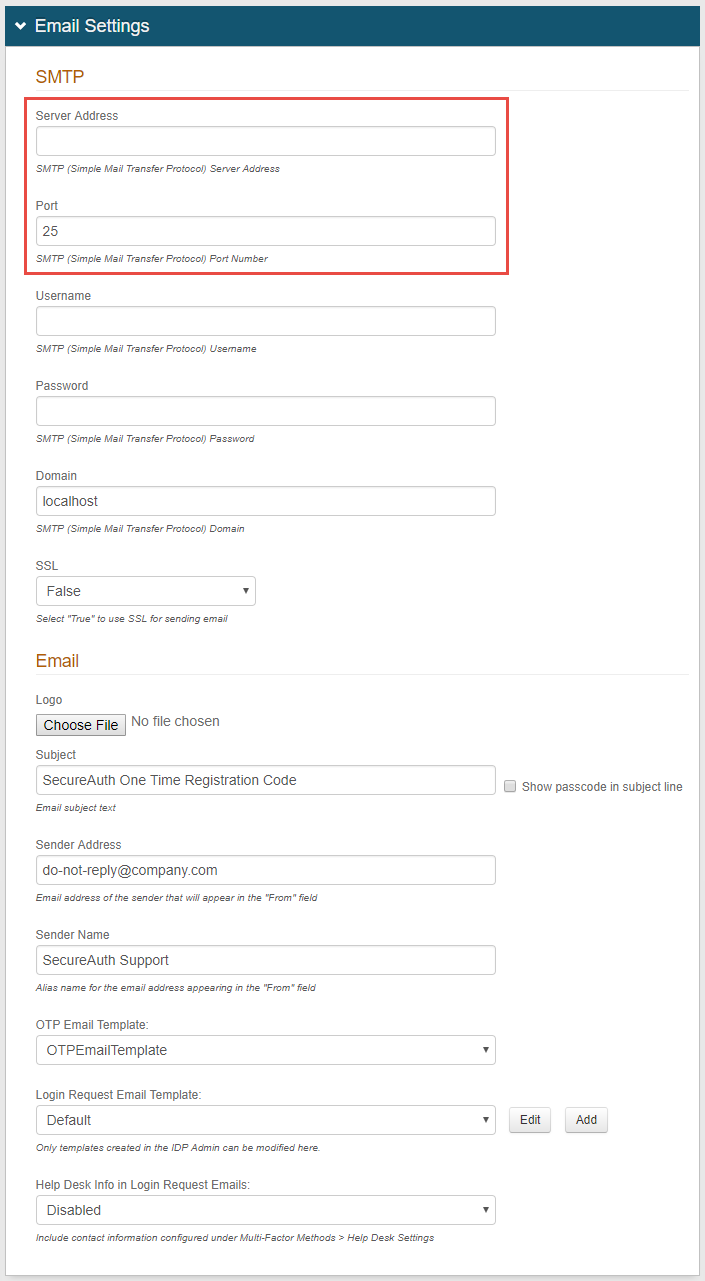 |
4. Provide the Simple Mail Transfer Protocol (SMTP) Server Address through which SecureAuth IdP will send emails
5. Change the Port from the defaulted 25 if the SMTP server utilizes a different one
6. Provide the Username, Password, and/or Domain if required by the SMTP Relay
Note
If the fields are not required by the SMTP Server, then only the Server Address and Port number need to be set
7. If emails will be sent through a Secure Socket Layer (SSL), then select True from the SSL dropdown
8. (optional) Upload a Logo that will be used in the SecureAuth IdP email messages
9. Provide the Subject of the SecureAuth IdP email messages
10. Provide the Sender Address of the SecureAuth IdP email messages
11. Provide the Sender Name of the SecureAuth IdP email messages
12. Select a Template that will be used for the SecureAuth IdP email messages
Warning
Click Save once the configurations have been completed and before leaving the Email Settings page to avoid losing changes
Notice
For all Overview configuration steps, refer to Overview Tab Configuration
Data
 |
Notice
Notes
Steps 13 - 21 are only required if allowing remote access (through web interface) to SecureAuth0 (Web Admin)
Step 22 is only required if utilizing Multi-Factor Authentication for remote access
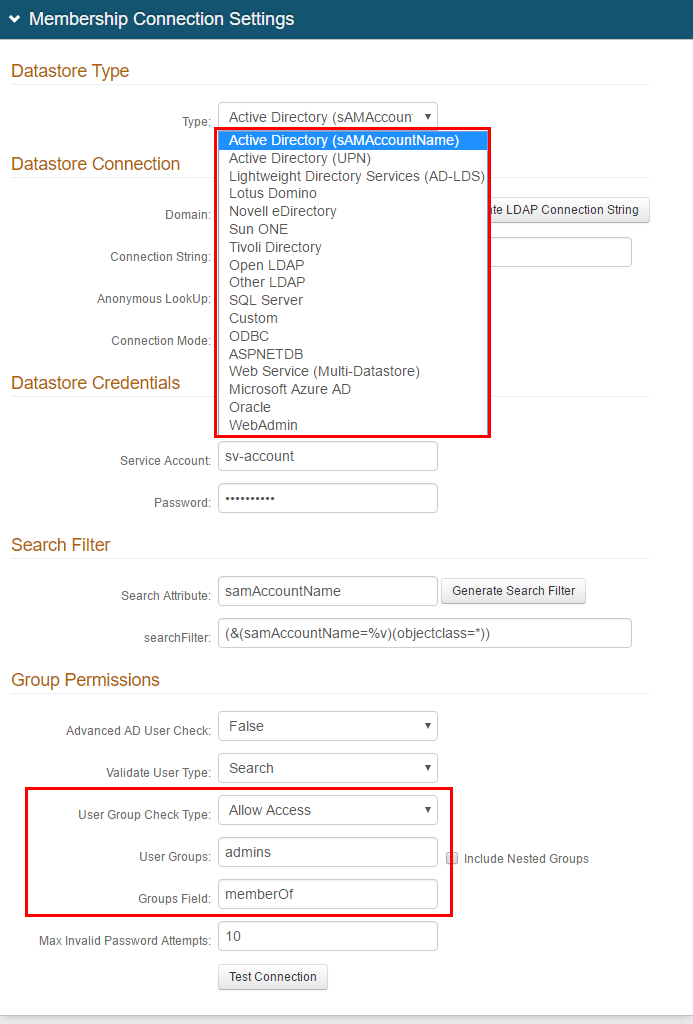
13. In the Membership Connection Settings section, select the directory with which SecureAuth IdP will integrate for Multi-Factor Authentication and assertion from the Data Store dropdown
14. Follow the distinct configuration steps for the specific data store in additional to the configuration steps on this page:
Custom – for directories not listed. This would require custom coding, so please contact SecureAuth for configuration steps / requirements
WebAdmin (for SecureAuth0 Admin Realm only)
Tip
SecureAuth advises configuring access to the SecureAuth0 realm with security best practices in mind. Recommendations are listed below, but it is the customer's responsibility to determine the best settings for their specific deployment. These recommendations do not constitute a guarantee of security.
15. Restrict access to SecureAuth0 to a specific admin group.
In the corporate data store, create an admin user group comprised of only those members who will have access to the Web Admin
In the User Groups (AD/LDAP) or Allowed Groups (SQL) field, enter the name of the admin group
(AD/LDAP) In the User Group Check Type field, select Allow Access
(AD/LDAP) Set the Groups Field field to the LDAP attribute that contains user group information, e.g. memberOf
Profile Fields
Notice
This section is for LDAP data stores only; refer to the specific directory configuration guide for more information
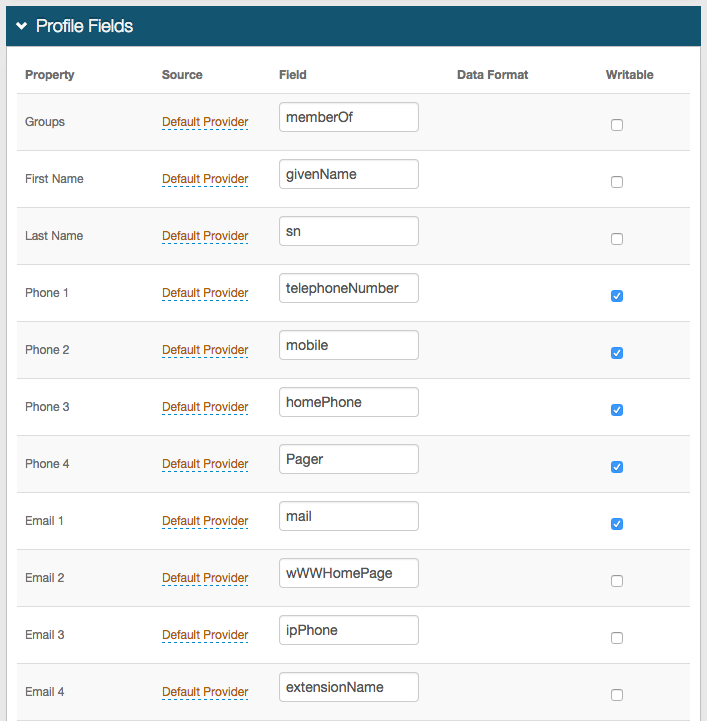 |
16. Map the SecureAuth IdP Property to the appropriate data store Field
For example, Groups is located in the memberOf data store Field
17. If another directory is enabled in the Profile Connection Settings section and contains the Property, then change the Source from Default Provider
18. Check Writeable for a Property that will be changed in the data store by SecureAuth IdP
For example, user account information (telephone number) or authentication mechanisms (knowledge-based questions, fingerprints)
Notice
The Fields listed are only examples as each data store is organized differently and may have different values for each Property
Notice
For all Data configuration steps, refer to Data Tab Configuration
Warning
Click Save once the configurations have been completed and before leaving the Data page to avoid losing changes
Workflow
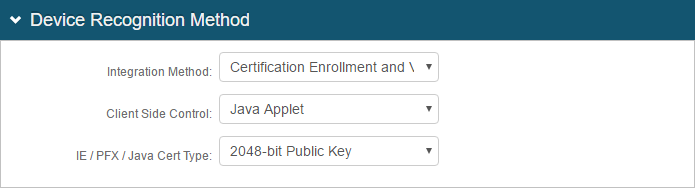 |
19. In the Device Recognition Method section, select the Integration Method, and the Client Side Control and IE / PFX / Java Cert Type that apply to the first selection
See variations in Workflow Tab Configuration
Workflow
 |
Tip
SecureAuth advises configuring remote access to the SecureAuth0 realm with security best practices in mind. Recommendations are listed below, but it is the customer's responsibility to determine the best settings for their specific deployment. These recommendations do not constitute a guarantee of remote security.
Enforce full authentication requirements for every logon attempt to the Admin realm (SecureAuth0)
20. Set the Default Workflow to Username | Second Factor | Password
21. Set the Public/Private Mode field to Public Mode Only
This forces users to authenticate fully on every logon attempt
Notice
For all Workflow configuration steps, refer to Workflow Tab Configuration
Warning
Click Save once the configurations have been completed and before leaving the Workflow page to avoid losing changes
Multi-Factor Methods
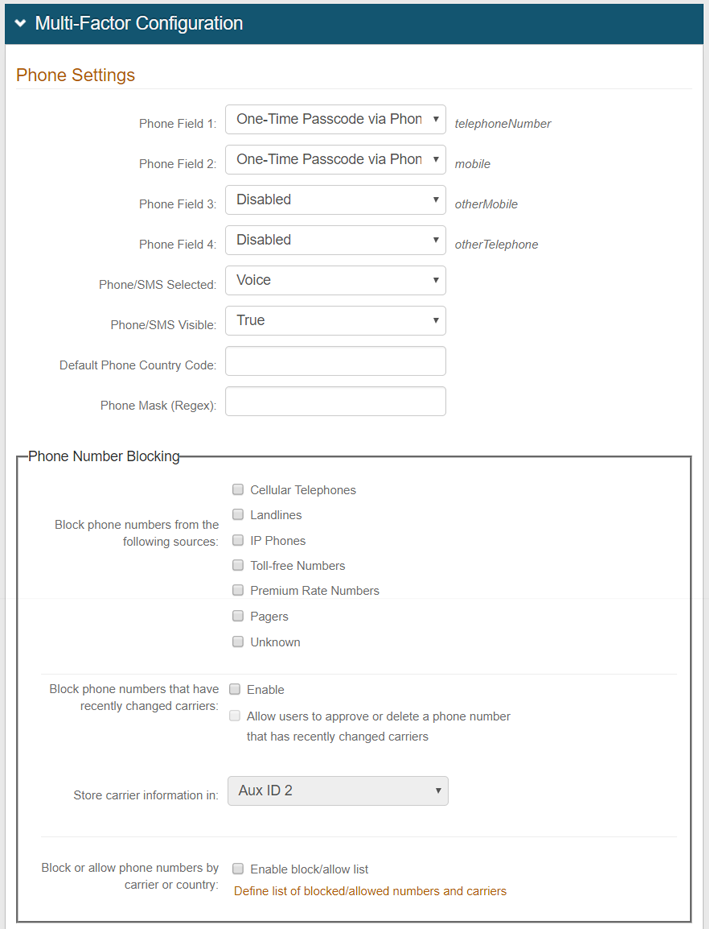 |
22. In the Registration Configuration section, enable at least one of the many authentication mechanisms if a Multi-Factor Authentication Default Workflow is selected in the Workflow tab
Notice
For all Multi-Factor Methods configuration steps, refer to Multi-Factor Methods Tab Configuration
Warning
Click Save once the configurations have been completed and before leaving the Multi-Factor Methods page to avoid losing changes
Post Authentication
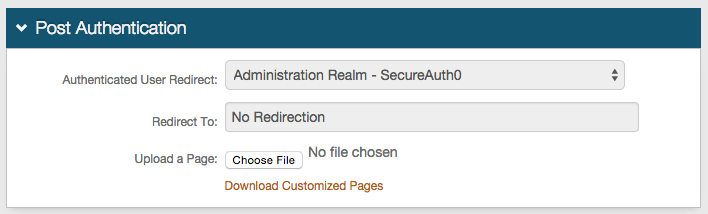 |
23. In the Post Authentication section, the Authenticated User Redirect and Redirect To fields are auto-populated
Warning
Click Save once the configurations have been completed and before leaving the Post Authentication page to avoid losing changes
Forms Auth / SSO Token
 |
24. (optional) Click View and Configure FormsAuth keys / SSO token to configure SecureAuth0's token/cookie settings
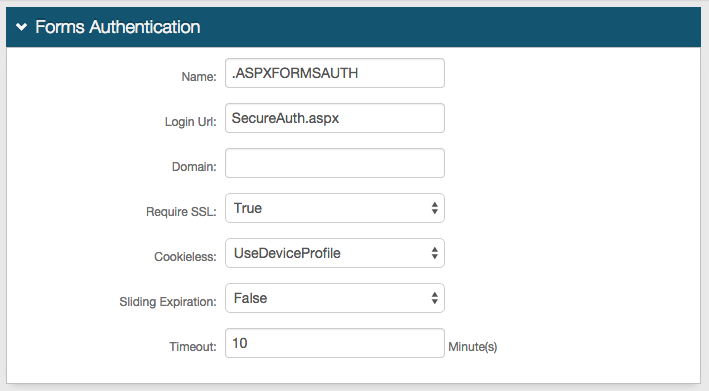 |
1. If SSL is required to view the token, select True from the Require SSL dropdown
2. Choose whether SecureAuth IdP will deliver the token in a cookie to the user's browser or device:
UseCookies enables SecureAuth IdP to always deliver a cookie
UseUri disables SecureAuth IdP to deliver a cookie, and instead deliver the token in a query string
AutoDetect enables SecureAuth IdP to deliver a cookie if the user's settings allow it
UseDeviceProfile enables SecureAuth IdP to deliver a cookie if the browser's settings allow it, no matter the user's settings
3. If the cookie remains valid as long as the user is interacting with the page, set the Sliding Expiration to True
4. Set the Timeout length to determine for how many minutes a cookie is valid
Note
No configuration is required for the Name, Login URL, or Domain fields
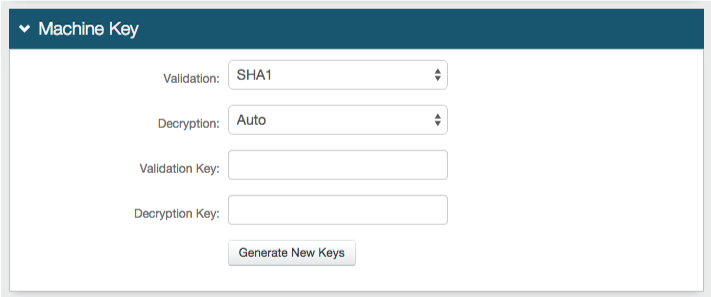 |
5. No changes are required in the Validation field unless the default value does not match the company's requirement
If a different value is required, select it from the dropdown
6. No changes are required in the Decryption field unless the default value does not match the company's requirement
If a different value is required, select it from the dropdown
Note
No configuration is required for the Validation Key or Decryption Key fields
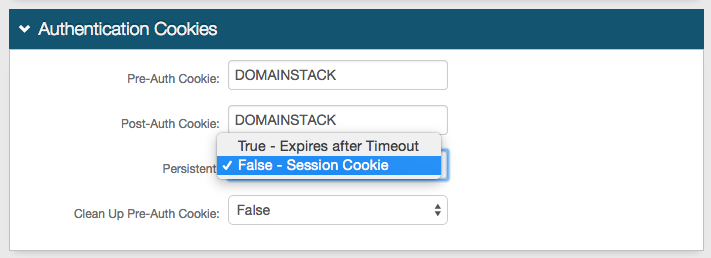 |
7. Enable the cookie to be Persistent by selecting True - Expires after Timeout from the dropdown.
Selecting False - Session Cookie enables the cookie to be valid as long as the session is open, and will expire once the browser is closed or the session expires.
Notice
No configuration is required for the Pre-Auth Cookie, Post-Auth Cookie, or the Clean Up Pre-Auth Cookie fields
Warning
Click Save once the configurations are completed and before leaving the Forms Auth / SSO Token page to avoid losing changes
Logs
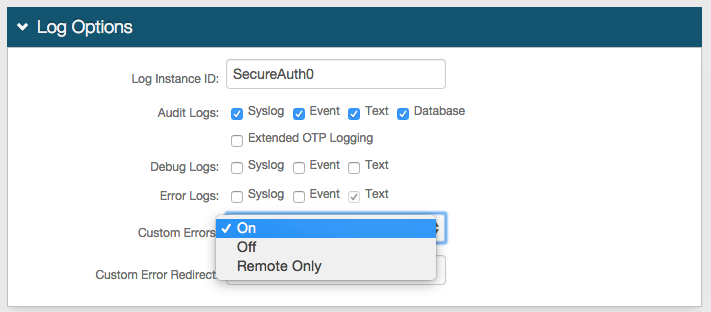 |
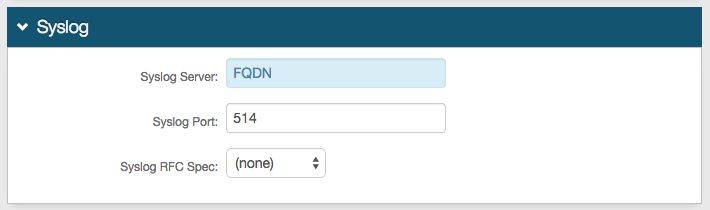
25. In the Log Options section, provide the Log Instance ID, e.g. the Application Name or the realm name (SecureAuth3)
26. Check which Audit, Debug, and Error Logs to enable
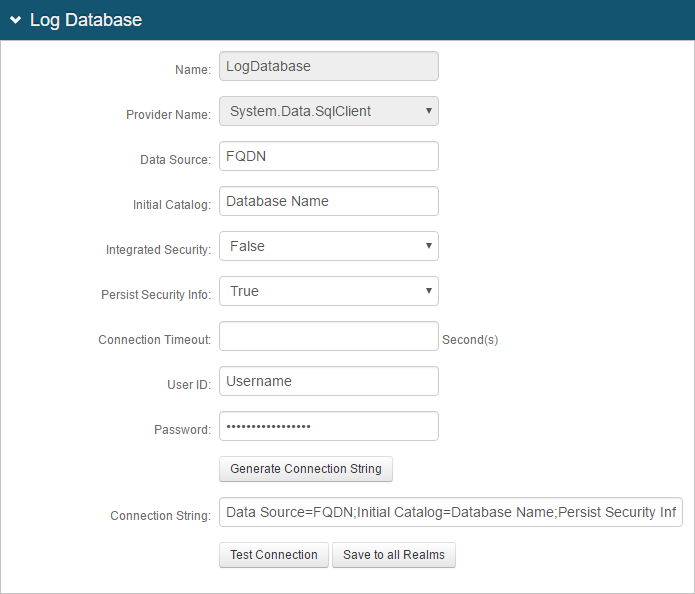 |
Configure the following settings:
1. Data Source: Provide the FQDN or the IP Address of the database
2. Initial Catalog: Provide the Database Name
3. Integrated Security: If the webpage's ID is to be included in the Connection String, select True
4. Persist Security Info: Select True if access to username and password information is allowed
5. Connection Timeout: Set an amount of time (in seconds) before the connection times out and the admin must re-authenticate
6. User ID: Provide the User Id of the Database
7. Password: Provide the Password associated with the User ID
8. Click Generate Connection String
The Connection String will auto-populate based on the previous fields
9. Click Test Connection to ensure that the integration is successful
10. If these Database settings are to be used in each SecureAuth IdP realm, click Save to all Realms
Notice
For all Logs configuration steps, refer to Logs Tab Configuration
Warning
Click Save once the configurations have been completed and before leaving the Logs page to avoid losing changes
What's Next
Move on to Web Admin Part III - Configure a Blueprint Realm to configure a realm with common settings that should be used across all realms
For further information
Learn more about SecureAuth IdP Realms
Refer to the Administration section of topics for specific configuration and integration guides. Additional methods of support are listed below.
Support options
Web: https://support.secureauth.com
Phone: 949-777-6959 option 2
Support Documentation Searchable Database: https://docs.secureauth.com
SecureAuth Services Status and Notification Service: https://www.secureauth.com/Support/Current-Service-Status-and-Alerts.aspx