Salesforce (SP-initiated) Integration Guide
Use this guide to enable Service Provider (SP)-initiated Multi-Factor Authentication and Single Sign-on (SSO) access via SAML to Salesforce.
For SecureAuth IdP-initiated access, see the Salesforce (IdP-initiated) Integration Guide.
Prerequisites
Salesforce account
Salesforce domain name URL (configuration steps below)
SecureAuth IdP version 9.1 or later, with a realm ready for the Salesforce integration
SecureAuth IdP configuration
Log in to SecureAuth IdP and find the new realm to be used for the Salesforce integration.
Go to the Data tab.
In the Profile Fields section, set the following:
Property
Map the directory field that contains the Salesforce ID of the user to the SecureAuth IdP Property.
For example, in the Email 2 Property, add Salesforce ID as the directory field.
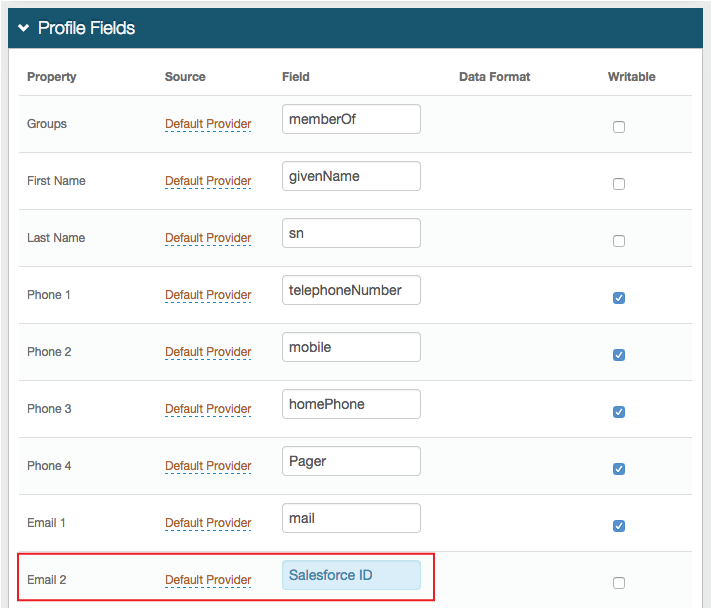
Save your changes.
Go to the Post Authentication tab.
In the Post Authentication section, set the following:
Authenticated User Redirect
Set to SAML 2.0 (SP Initiated) Assertion.
Redirect To
This field is auto-populated with an URL, which appends to the domain name and realm number in the address bar. For example, Authorized/SAML20SPInit.aspx.
Upload a Page
Optionally, you can upload a customized post authentication page.

In the User ID Mapping section, set the following:
User ID Mapping
Set to the SecureAuth IdP Property that corresponds to the directory field that contains the Salesforce ID. For example, Email 2.
Name ID Format
Set to urn:oasis:names:tc:SAML:1.1:nameid-format:unspecified. (Default setting)
Choose a different option if Salesforce requires it, to which the Service Provider (SP) will provide.
Encode to Base64
Set to False.

In the SAML Assertion / WS Federation section, set the following:
WSFedSAML Issuer
Set to a unique name that will be shared with Salesforce.
The value in WSFed/SAML Issuer must match exactly on both the SecureAuth IdP side and the Salesforce side.
SAML Audience
Set to https://saml.salesforce.com .
SP Start URL
Provide the starting URL to enable SSO and to redirect users to access Salesforce.
For example, https://company.my.salesforce.com.
SAML Offset Minutes
Set the minutes to make up for time differences between devices.
SAML Valid Hours
Set the number of hours to limit how long the SAML assertion is valid.
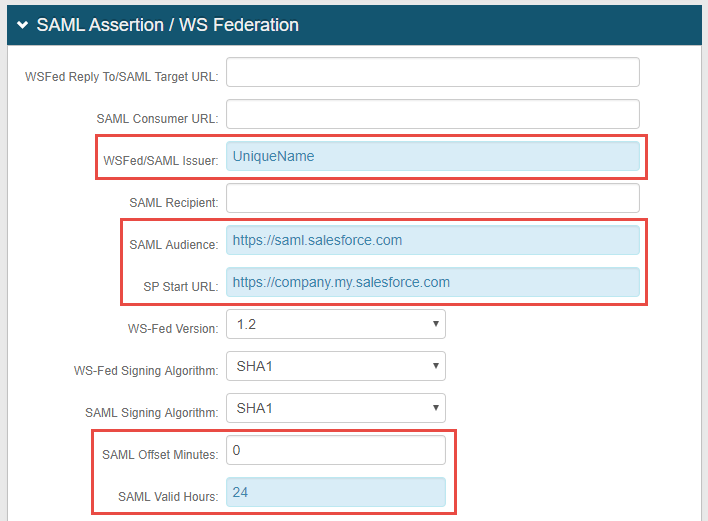
Scroll down to the end of the SAML Assertion / WS Federation section, and set the following:
Signing Cert Serial Number
Leave the default value, unless there is a third-party certificate being used for the SAML assertion.
To use a third-party certificate, click the Select Certificate link and choose the appropriate certificate.
Domain
If required, provide domain to download the Metadata File to send to Salesforce.

Save your changes.
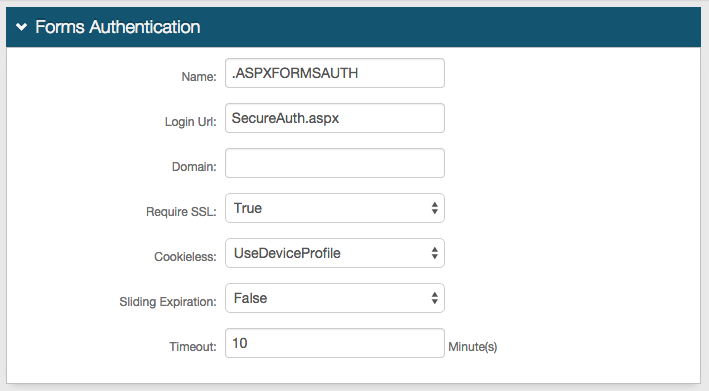
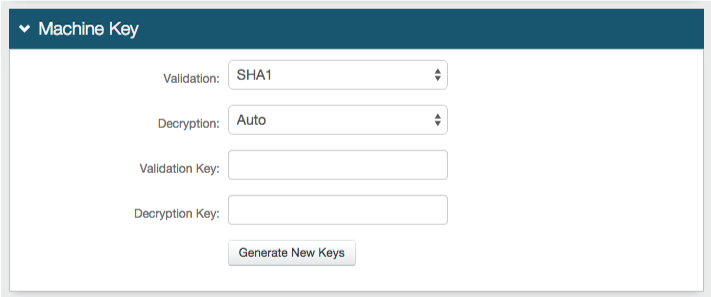
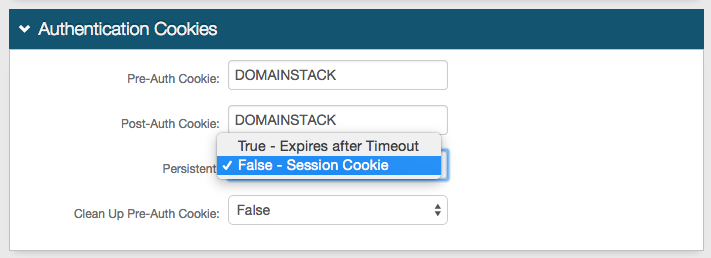
Optionally, in the Forms Auth / SSO Token section, click the View and Configure FormsAuth keys/SSO token link to configure the token/cookie settings and configure this realm for SSO.

Note
To configure this realm for SSO, refer to SecureAuth IdP Single Sign-on Configuration
Note
To configure this realm for Windows Desktop SSO, refer to Windows desktop SSO configuration
Salesforce configuration
To configure the Salesforce domain
Log in to the Salesforce Control Panel.
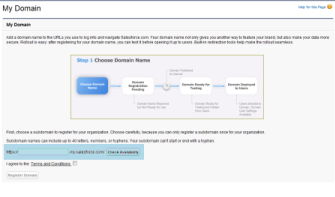
Click Setup, expand Domain Management, and then click My Domain.
Specify a unique Salesforce URL that is associated to the corporate account.
Supply a subdomain name, which can be anything; but a subdomain name can be registered only once.
It takes Salesforce about a day to process the subdomain request, but the URL might be testable within an hour.
To configure single sign-on in Salesforce
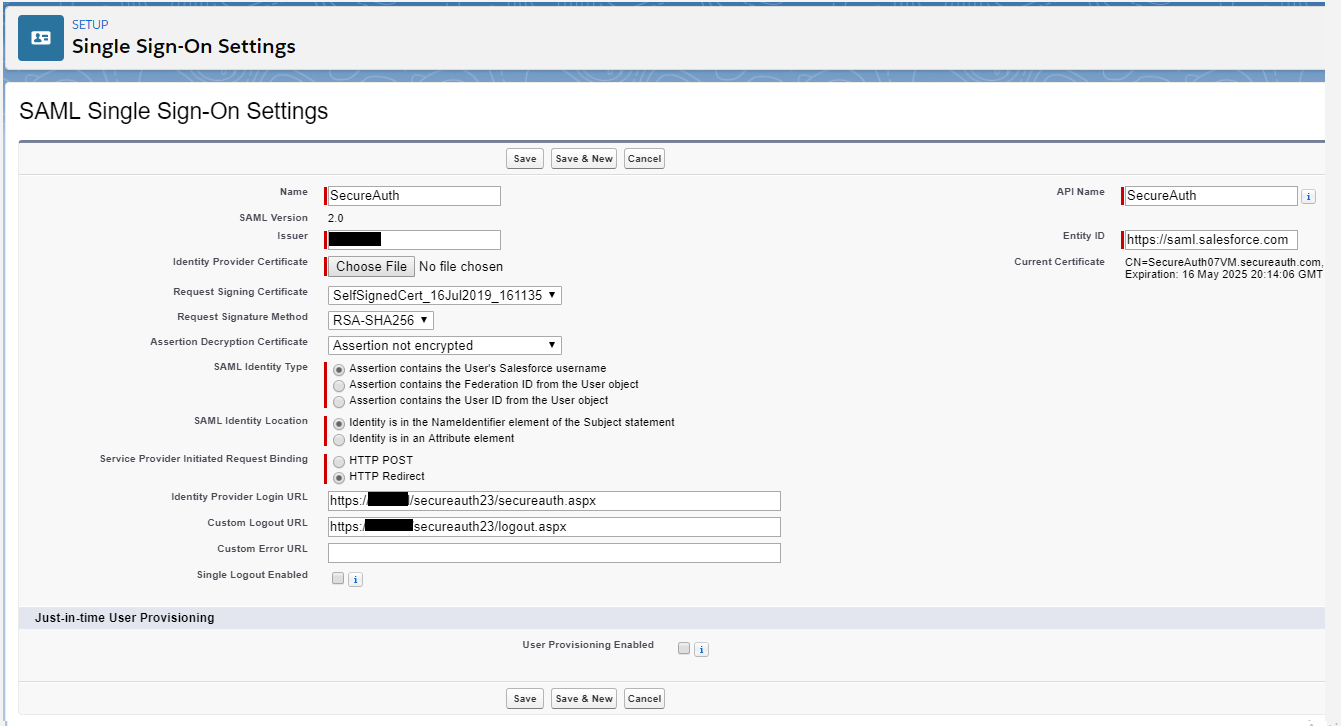
After the domain configurations, click Setup, expand Security Controls, and click Single Sign-On Settings.
Click New and set the following:
Issuer
Set the value to the same unique name value as provided to SecureAuth IdP in the SAML Assertion / WS Federation section.
Identity Provider Certificate
Click Choose File to choose the certificate used in SecureAuth IdP in the SAML Assertion / WS Federation section.
SAML Identity Type
Set to Assertion contains the User's Salesforce username.
SAML Identity Location
Set to Identity is in the NameIdentifier element of the Subject statement.
Service Provider Initiated Request Binding
Set to HTTP Redirect.
If set to HTTP POST, then in the SecureAuth IdP, go to the Post Authentication tab, in the Post Authentication section, set the Authenticated User Redirect option to SAML 2.0 (SP Initiated by Post) Assertion.
Identity Provider Login URL
Set to the Fully Qualified Domain Name (FQDN) of the SecureAuth IdP appliance followed by the realm number of the Salesforce integration and secureauth.aspx.
For example, https://secureauth.company.com/secureauth23/secureauth.aspx
Custom Logout URL
Set the URL to where end users are redirected when logging out of Salesforce.
Entity ID
Set to https://saml.salesforce.com.
Click User Interface, expand Sites and Domains, and click Domains.
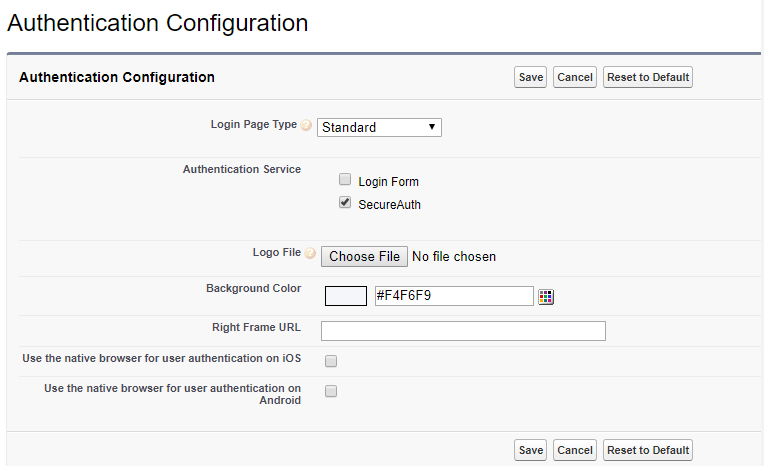
Select the Authentication Service created in SAML Single Sign-On Setting.
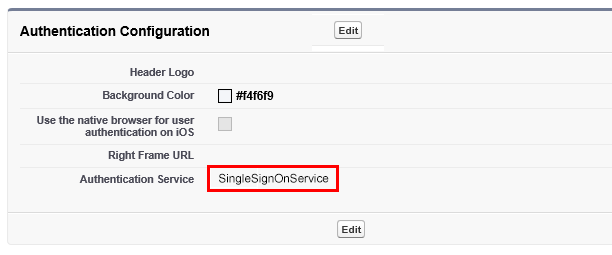
Review the configuration, make any necessary edits, and then click Save.
