SecureAuth IdP Appliance Certificate Renewal Utility (ACRU)
Use this guide to install and run the SecureAuth IdP Appliance Certificate Renewal Utility (ACRU) tool.
The ACRU tool helps to renew digital certificates on the SecureAuth IdP appliance. These certificates are crucial for establishing secure connections between SecureAuth IdP and other systems, such as Service Providers (SPs).
Prerequisites
Review
Be sure to meet all Prerequisites before installing and running the ACRU tool.
For any questions, please contact SecureAuth Support.
Have the latest intermediate certificates: SecureAuth Intermediate Certificates X1, X2, Sigma1, and Sigma2.
Download link for the Intermediate Certificate zip bundle: CertsXSigma.zip
If you use SecureAuth Certificate Services with VPNs or MDMs, the latest intermediate certificates must be uploaded to VPN and MDM devices before running the ACRU tool.
If SecureAuth IdP is integrated with any VPN or Gateway (Juniper, Cisco, Citrix, F5) using a vendor-specific thick client and a native X.509 personal certificate, then upload the SecureAuth CA Public Certificates to the VPN or Gateway, and all client workstations before running the ACRU.
If there are no VPNs or gateways integrated with SecureAuth IdP, you can immediately use the ACRU tool.
If any firewalls are in place, open the following ports to enable access to the necessary IP addresses and URLs:
TCP
IP
URL
TCP 80 and 443
208.82.207.89
208.74.31.114
146.88.110.112
146.88.110.114
162.216.42.110
162.216.42.111
us-certs.secureauth.com
us-cloud.secureauth.com
TCP 443
us-audit.secureauth.com
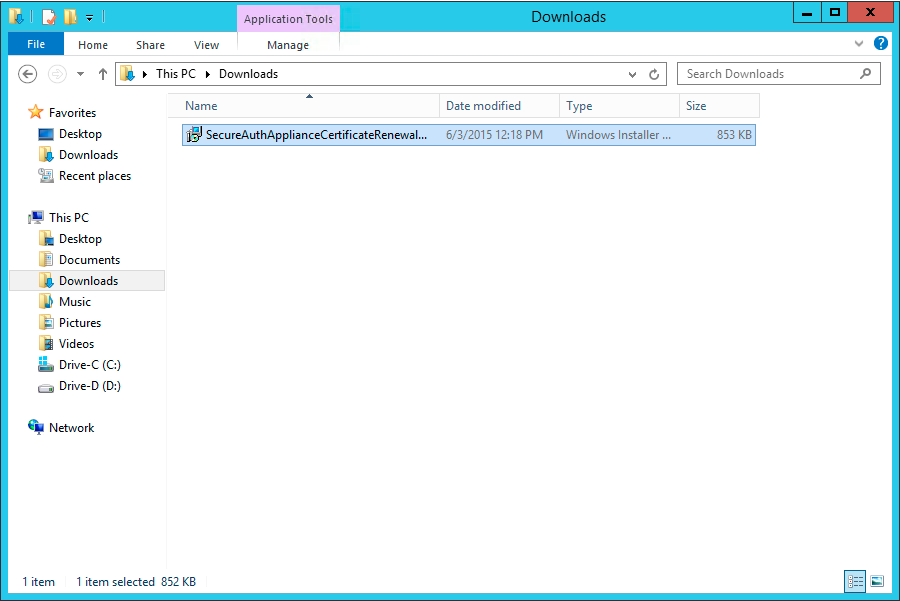
Contact Support to download the SecureAuth IdP Appliance Certificate Renewal Utility file.
The name, size, and hash of this file is:
File name: SecureAuthApplianceCertificateRenewalUtility.msi
File size: 1.79 MB (1,886,208 bytes)
MD5 hash: 64653A9E0309C061AFE6FE840E13EDDC
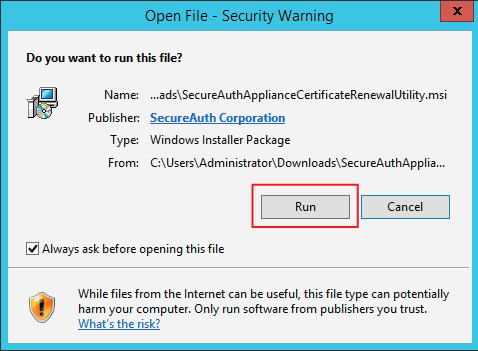
Double-click the downloaded ACRU file, SecureAuthApplianceCertificateRenewalUtility.msi.
Click Run.
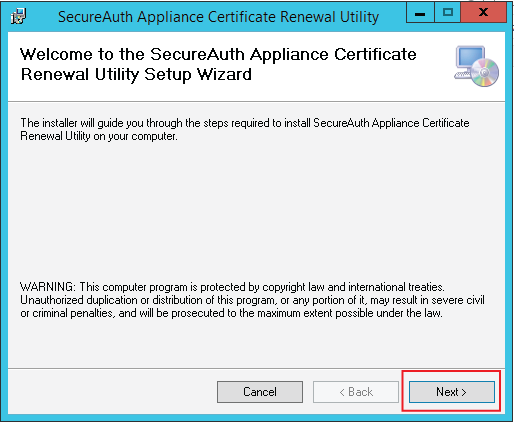
Once the ACRU Installation Wizard opens, click Next.
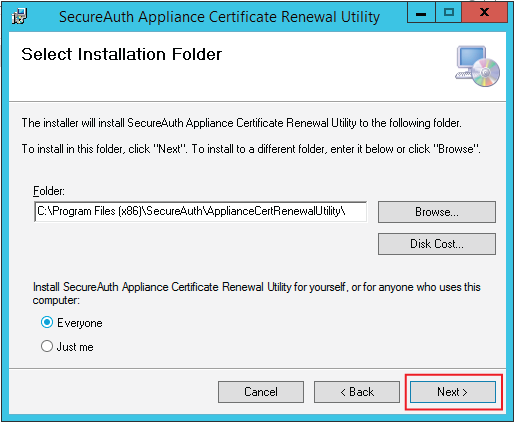
Leave the fields at their default values and click Next.
Click Next to confirm the installation.
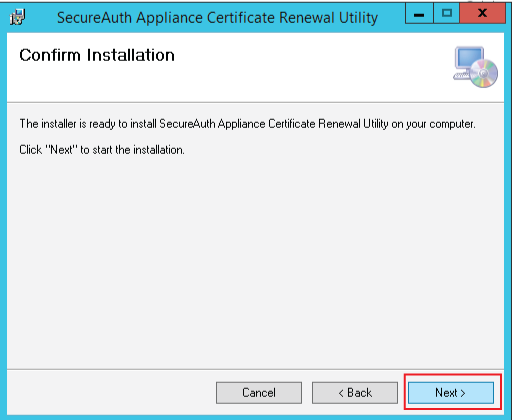
Result: The installation runs.
Once the installation is complete, click Close.
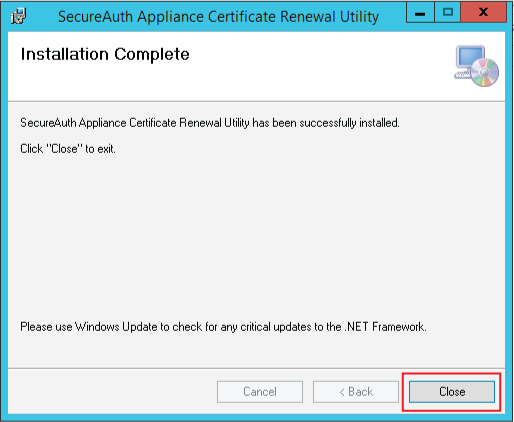
Proceed to the next section, Running ACRU.
Maintenance window
Run the ACRU tool during a maintenance window to avoid service disruptions.
After installing ACRU, run the tool on the primary SecureAuth IdP appliance.
Locate the ACRU Tool in Drive-C > Program Files (x86) > SecureAuth > ApplianceCertRenewalUtility.
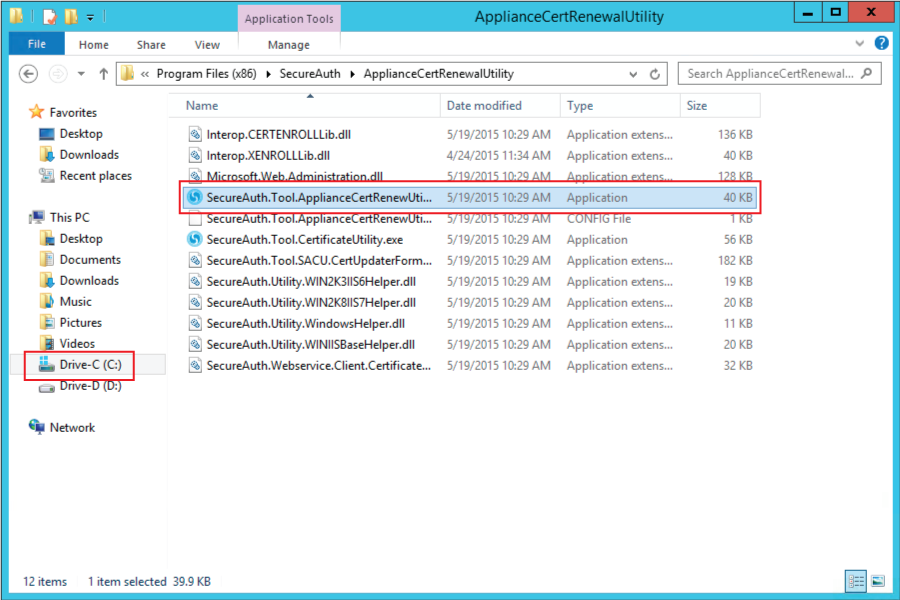
Double-click to open the SecureAuth.Tool.ApplianceCertRenewUtility.exe file.
Run only once
Run the ACRU tool to apply the updated certificates to the SecureAuth IdP appliance. Once completed, do not re-run the tool unless a future certificate update requires it.
Result: The ACRU tool opens.
Leave the configurations at their default values.
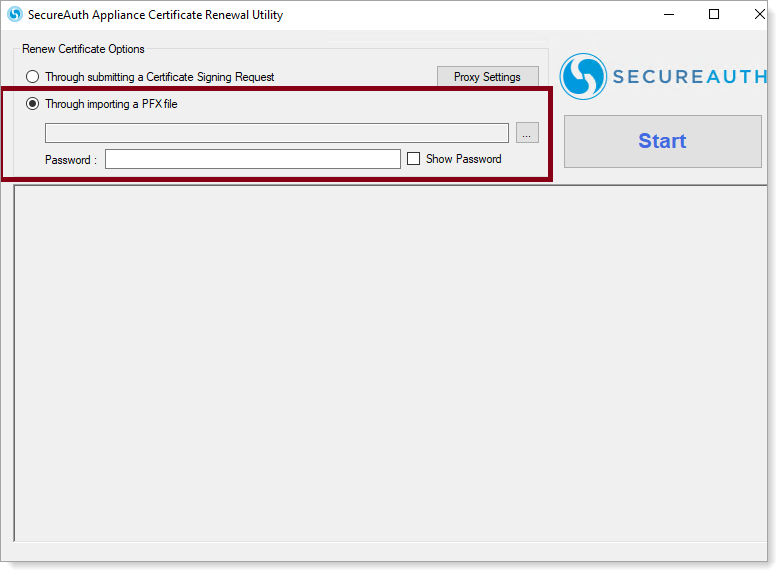
Use default option
Use the Through importing a PFX file option only if explictly instructed by SecureAuth Support. Otherwise, leave the default option selected as Through submitting a Certificate Signing Request.
If a proxy is configured on the SecureAuth IdP appliance, click Proxy Settings before proceeding and perform the steps described in Proxy settings.
To set proxy settings:
In the Proxy Settings dialog box, select the Use a proxy server for your internet connection check box.
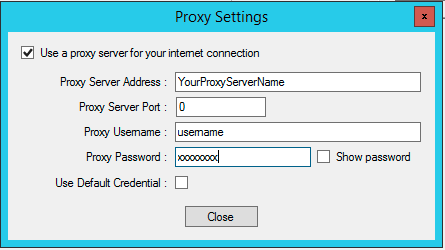
Provide the Proxy Server Address, Proxy Server Port, Proxy Username, and Proxy Password fields as required.
Click Close.
Note
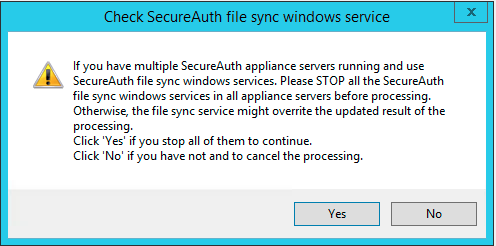
A Check SecureAuth file sync windows service prompt may appear. If so, ensure that all file sync windows services are stopped and click Yes.
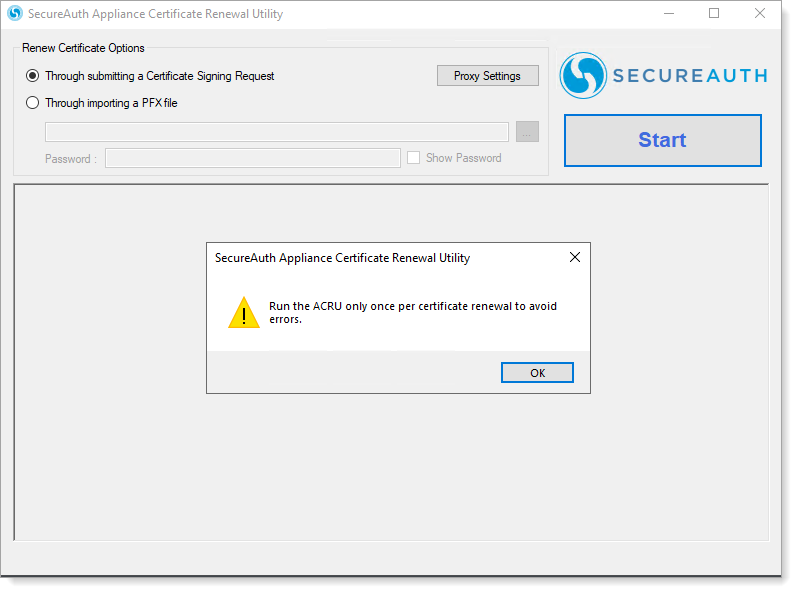
Result: A warning message appears, click OK to confirm.
Click Start.
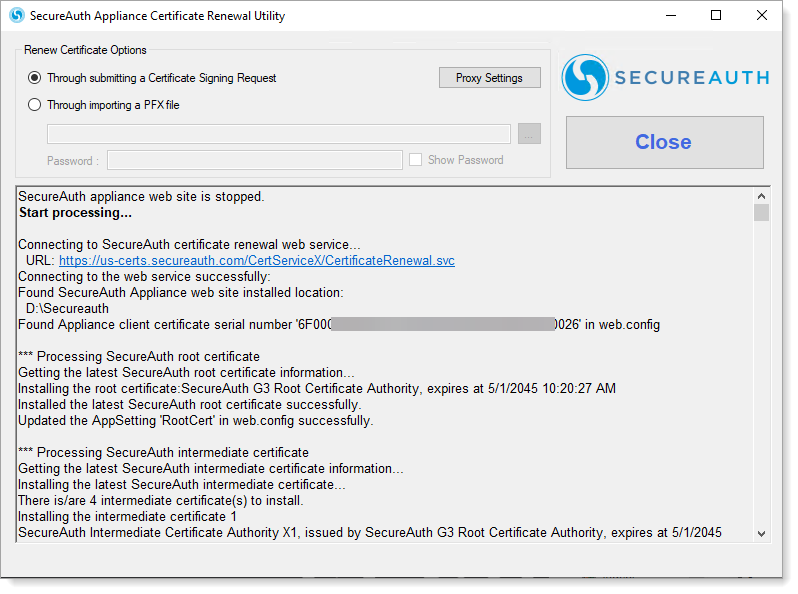
Result: The ACRU tool installs the certificates and updates the web.config.
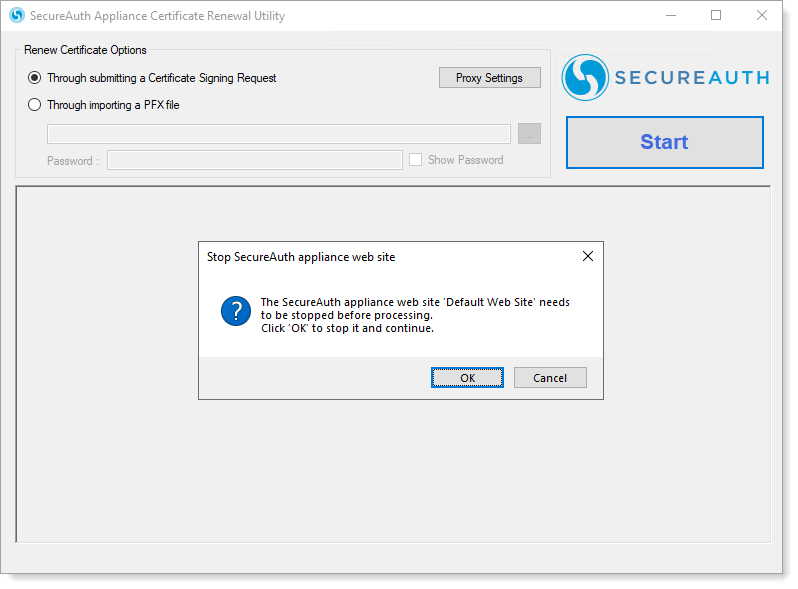
A prompt displays to stop the appliance instance. Click OK to continue.
Result: The ACRU tool starts next phase of updates.
Wait for the ACRU tool to update.
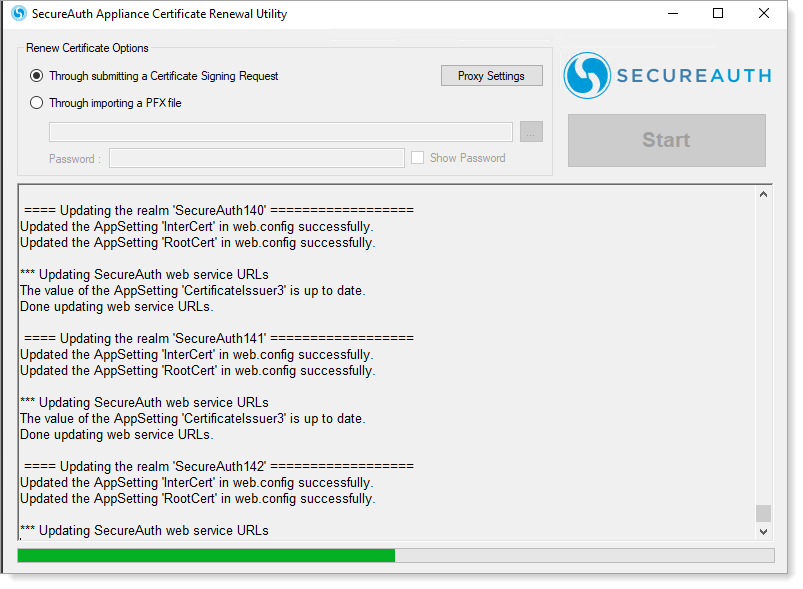
Result: The ACRU updates the intermediate and root certificates in each SecureAuth IdP realm.
When ACRU completes the updates, a prompt displays to reset the IIS server. Click Yes.
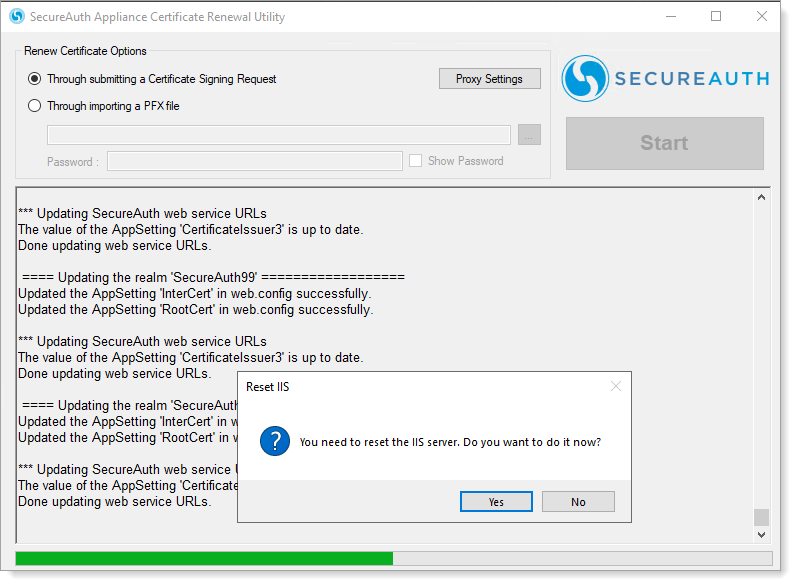
Prompt to restart IIS server
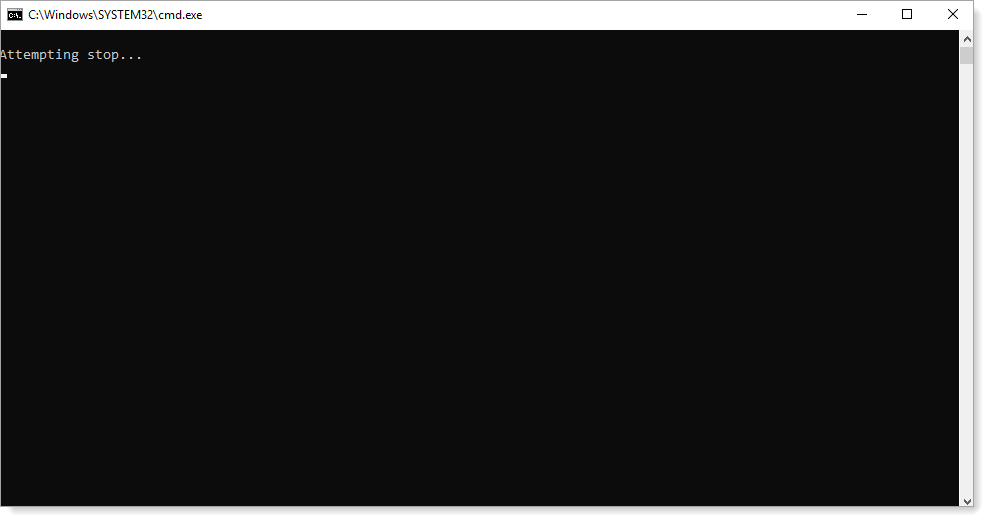
Restarting IIS server
Result: It will restart the IIS server.
Once the ACRU updates are complete, click Close.
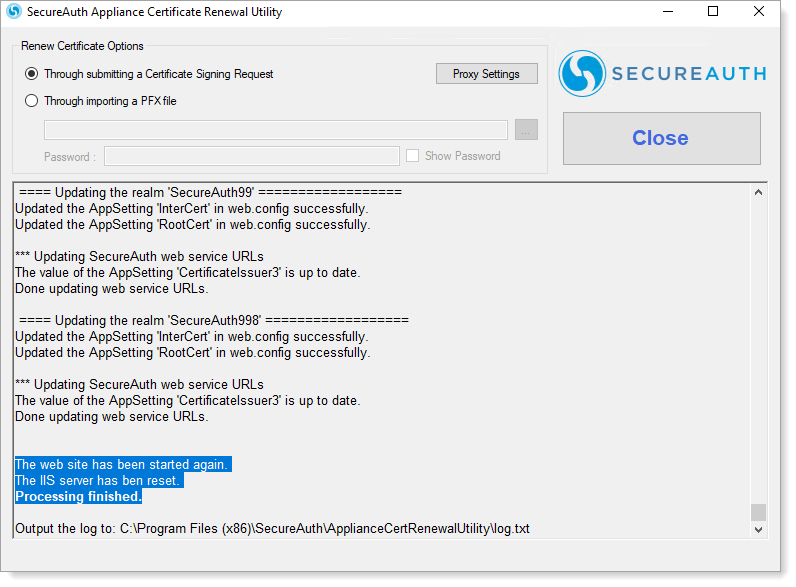
Result: The latest certificate updates are installed and updated on the SecureAuth IdP appliance.
Confirm that the certificate updates are applied. See Confirm certificate updates.
Running ACRU on secondary IdP appliances
If you have secondary SecureAuth IdP appliances, you can apply certificate updates in the following ways:
Option 1 - Secondary IdP (non-file-synced) to have and use its own certificate: Repeat the same steps above to install and run the ACRU tool on the secondary IdP appliance.
Option 2 - Secondary IdP is synced with the primary IdP appliance: Export the new certificate from the primary IdP.
To export a PFX correctly, see the Support article: How to export a PFX.
Then, Run the ACRU tool and select the Through importing a PFX file option.
Confirm certificate updates
Once the installation and update has been completed, confirm that the changes have been applied to the operating system of the appliance. These changes include:
Certificates Console
In the Certificates Console, verify the new appliance certificate. It should have the newest expiration date, in the year 2045.
 |
Old certificates may still be present in the Certificates Console, so make sure to select the correct one. To do this, look in the Certificate Details.
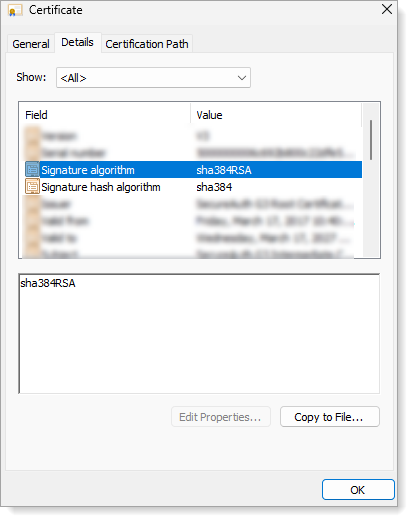
Certificate Details
Double-click the certificate, and on the Details tab, make sure that it shows:
X1 / X2 cert details
Signature algorithm: sha512ECDSA
Signature hash algorithm: sha512
Sigma1 / Sigma2 (RSA) cert details
Signature algorithm: sha384RSA
Signature hash algorithm: sha384
 |
SecureAuth IdP Web Admin - System Info
Verify that you have the correct certificate URLs in the SecureAuth IdP realms.
In the SecureAuth IdP Web Admin for a selected realm, select the System Info tab.
Scroll down to the SecureAuth Cloud Services section.
In the Certificate URL, make sure the URL includes wither CertServiceX or CertServiceSigma (for RSA).
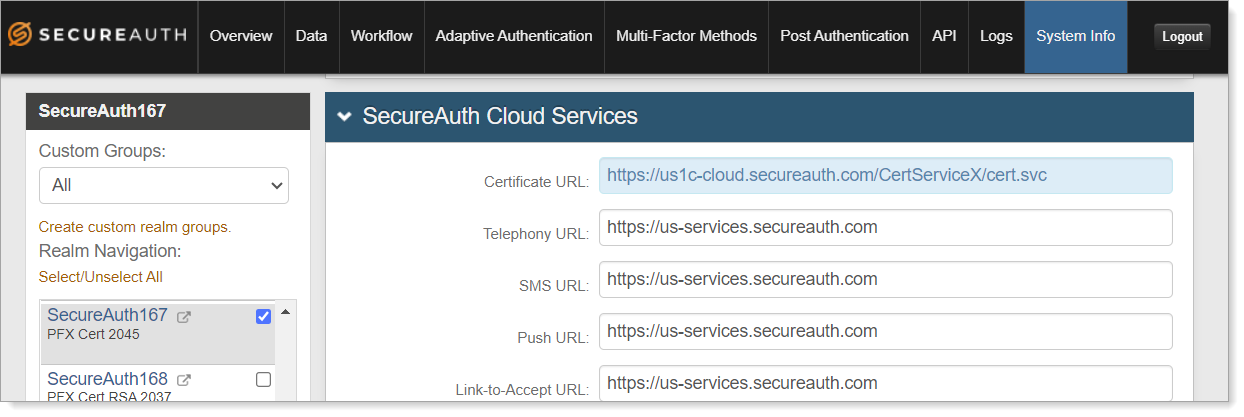
CertServiceX in cert URL
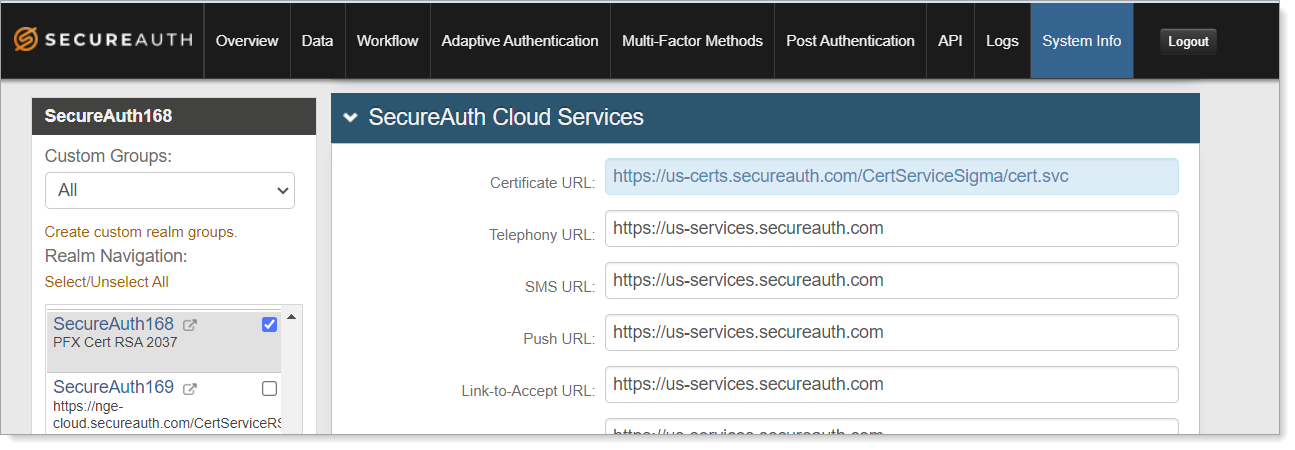
CertServiceSigma in cert URL