Cyxterra AppGate (IdP-initiated) integration guide
Introduction
Use this guide to enable Multi-Factor Authentication and Single Sign-on (SSO) access via SAML to Cyxterra AppGate.
Prerequisites
SecureAuth IdP version 9.1 or later with a realm ready for the Cyxterra AppGate integration
Cyxterra AppGate configuration steps
1. Log in to Admin Ports (https://appliance.domainname.com:444/).
2. From the Dashboard, select Configuration > Identity Providers.
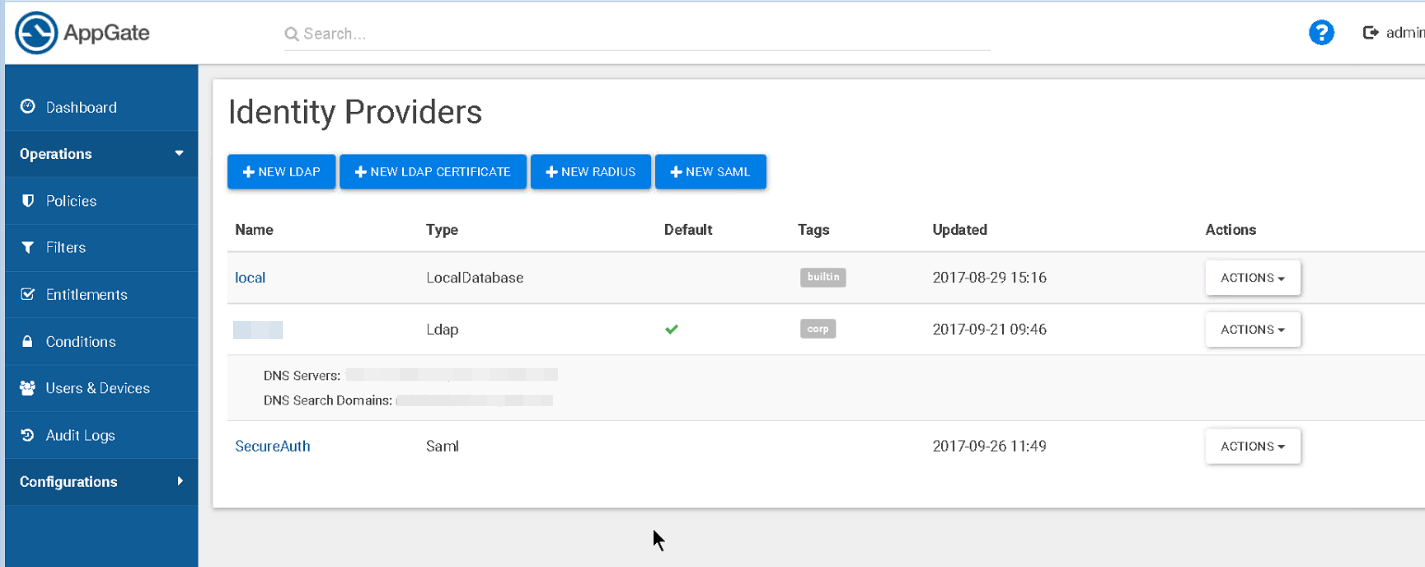 |
3. Click the NEW SAML button and add the SecureAuth IdP as a new identity provider by configuring in the required entries:
a. Name
b. Display Name
c. Single Sign-On URL
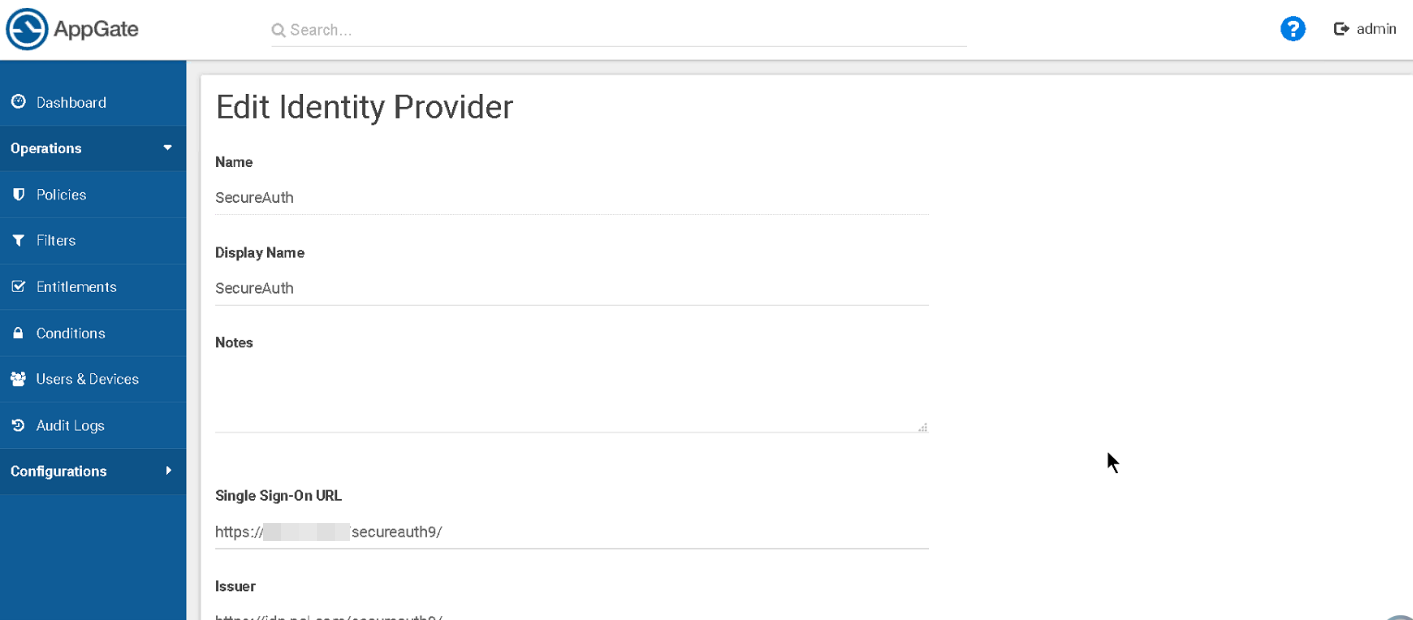 |
4. Continue your configuration settings for the following fields:
a. Issuer
b. Audience
c. For the certificate, paste or upload the certificate file
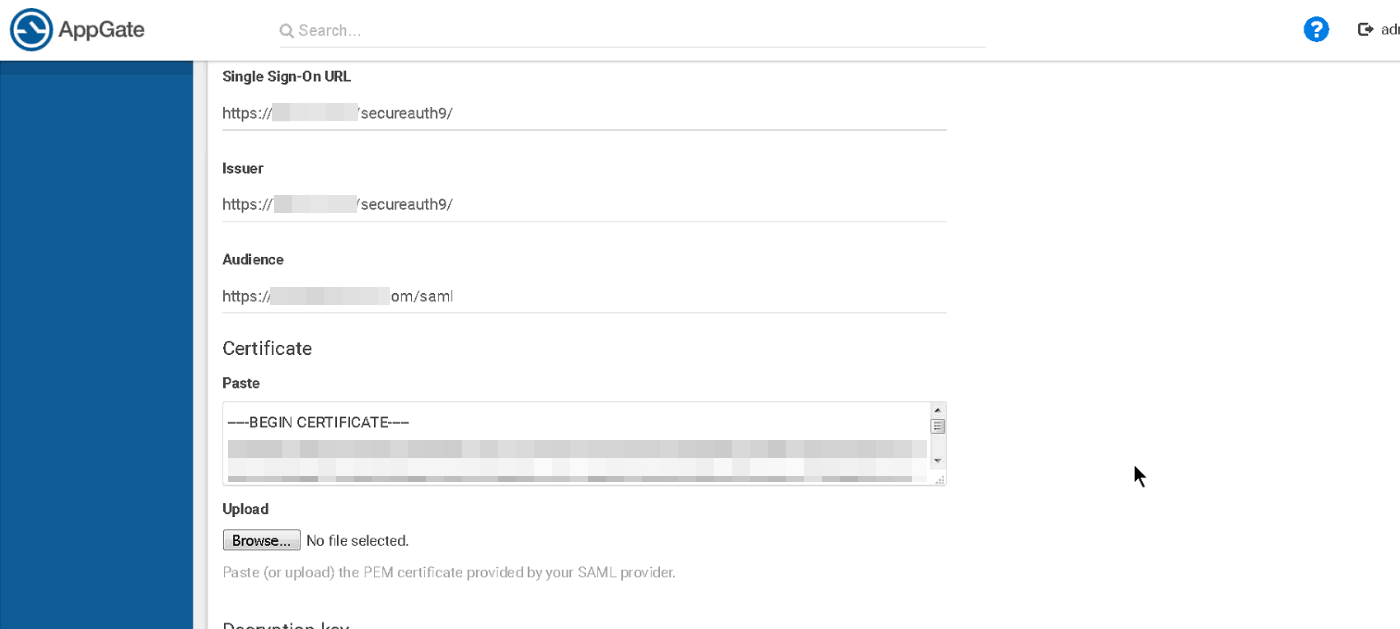 |
5. Scroll down and continue your configuration settings for the remaining fields, as required:
a. IPv4 Pool
b. IPv6 Pool
c. On-boarding
d. Display on Controller UI (select or clear this check box)
e. Display on Client UI (select or clear this check box)
f. Set as default (select or clear this check box)
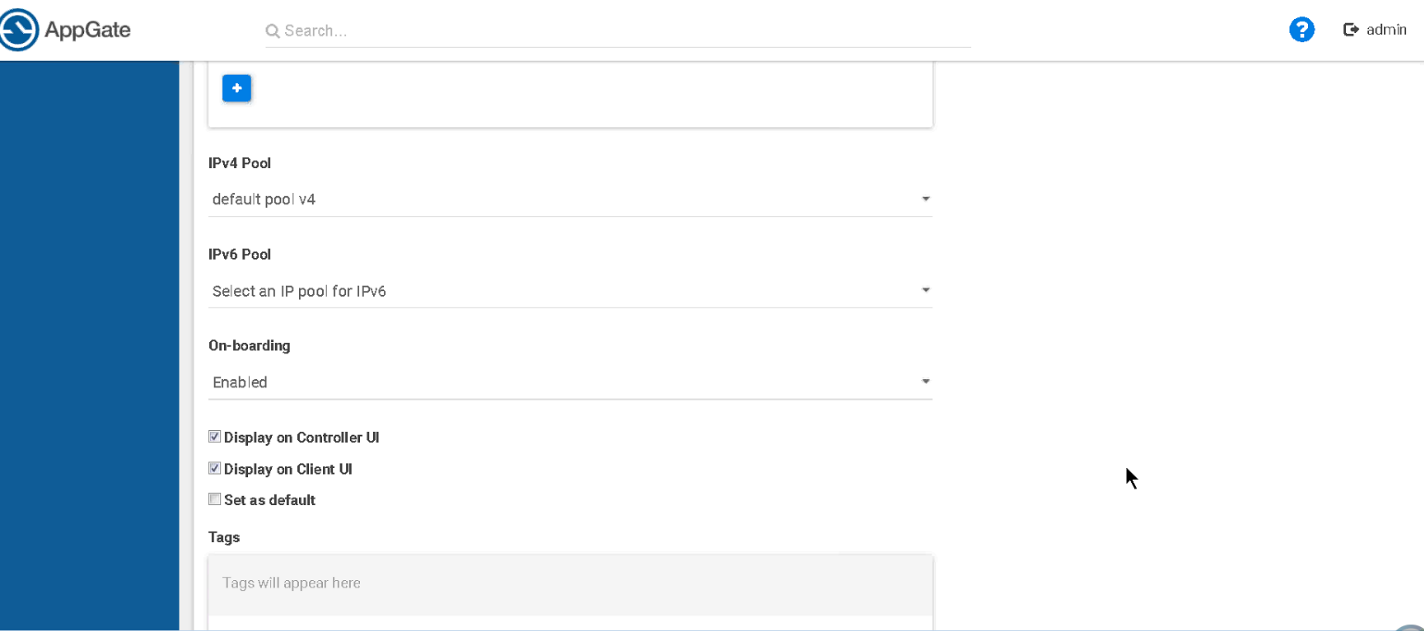 |
6. Scroll down and finish your configuration settings for the remaining field, as required:
a. Set any applicable tags
 |
7. Click Save Changes.
8. From the Actions menu, click Map User Claims.
 |
9. Set the SAML user attributes for the SecureAuth IdP as follows:
a. Set samlNameId to user.username
b. Set FirstName to user.firstName
c. Set LastName to user.lastName
d. Set GroupList to user.groups
SecureAuth IdP configuration steps
1. Login to your SecureAuth IdP Admin console.
Post Authentication tab
2. Select the Post Authentication tab.
3. In the Post Authentication section, make the following entry:
a. Set Authenticated User Redirect to SAML 2.0 (IdP Initiated) Assertion.
The Redirect To field automatically fills with an URL that appends to the domain name and realm number in the address bar (for example, Authorized/SAML20IdPInit.aspx).
 |
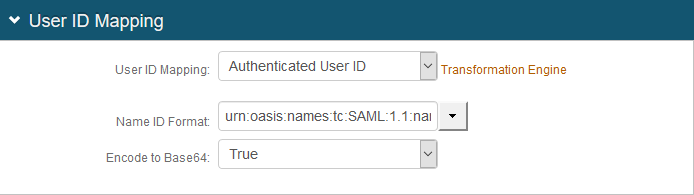
4. In the User ID Mapping section, make the following entries:
a. Set User ID Mapping to Authenticated User ID.
b. Set Name ID Format to urn:oasis:names:tc:SAML:1.1:nameid-format:unspecified.
c. Set Encode to Base 64 to True.
 |
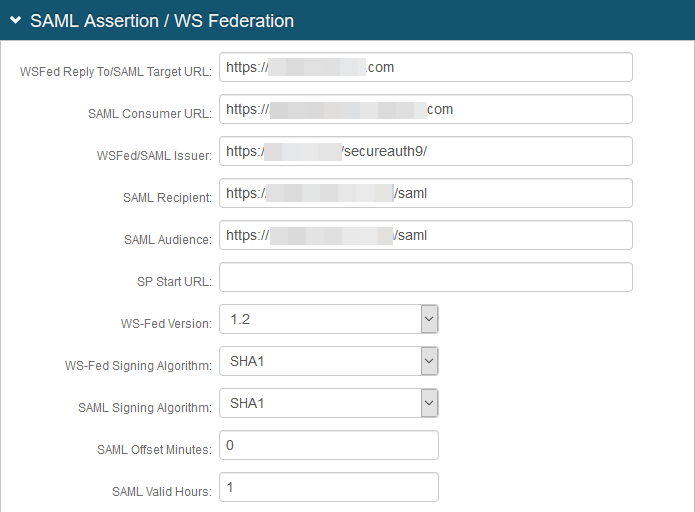
5. In the SAML Assertion / WS Federation section, make the following entries:
a. Set the WSFed Reply To / SAML Target URL to the absolute URL of the application, to where end-users are redirected upon successful authentication.
b. Set the SAML Consumer to the Cyxterra AppGate URL used to accept a SAML assertion.
c. Set the WSFed/SAML Issuer to a unique name that identifies the SecureAuth IdP to the application (as the SAML ID).
This value is shared with the application and can be any word, phrase, or URL, but must match exactly in the SecureAuth IdP and Cytxterra AppGate configurations.
d. Set the SAML Recipient to the identifiable information of the SAML Recipient, which usually maps to the SAML Consumer URL.
e. Set the SAML Audience to the base domain of the application.
f. Set the SAML Offset Minutes to make up for time differences between devices.
g. Set the SAML Valid Hours to how long the SAML assertion is valid.
 |
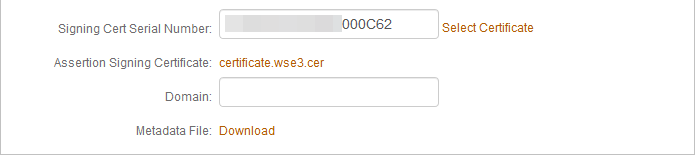
h. Leave the default value in the S igning Cert Serial Number field. Otherwise, to use a third-party certificate for the SAML assertion, click the Select Certificate linkand choose the appropriate certificate.
 |
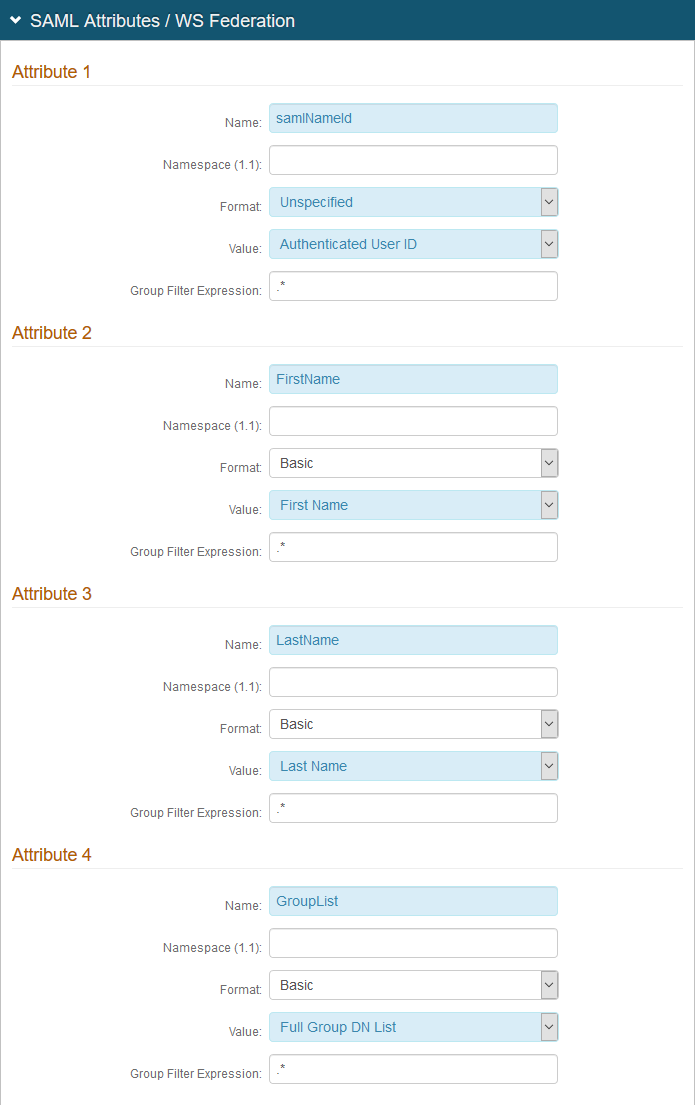
6. In the SAML Attributes / WS Federation section, make the following entries.
Section | Field | Description/Recommendation |
|---|---|---|
Attribute 1 | Name | Set to samlNameId |
Format | Set to Unspecified | |
Value | Set to Authenticated User ID | |
Attribute 2 | Name | Set to FirstName |
Value | Set to First Name | |
Attribute 3 | Name | Set to LastName |
Value | Set to Last Name | |
Attribute 4 | Name | Set to GroupList |
Value | Set to Full Group DN List |
 |
7. Click Save.