OWA on Exchange 2013 & 2016 with F5 BIG-IP (SP-initiated) integration guide
Introduction
Use this guide to enable Single Sign-on (SSO) to Outlook Web App (OWA) on Microsoft Exchange Server 2013 / 2016 using F5 BIG-IP as a service provider.
Prerequisites
1. The following components must be installed, configured, and running:
Microsoft Outlook Web App (OWA) on Exchange Server 2013 / 2016
F5 BIG-IP virtual appliance
NetScaler appliance for SAML authentication
SecureAuth IdP version 9.1+ realm ready for the integration
2. Download SAML20SPInitPost.aspx-9.1.zip
3. Extract the files into the SecureAuth IdP realm's Customized folder (D:\SecureAuth\SecureAuth[Realm#]\Customized)
Note: This is the realm to be configured for a SAML partnership with F5 BIG-IP SAML SP (Service Provider).
SecureAuth IdP configuration steps
Workflow tab
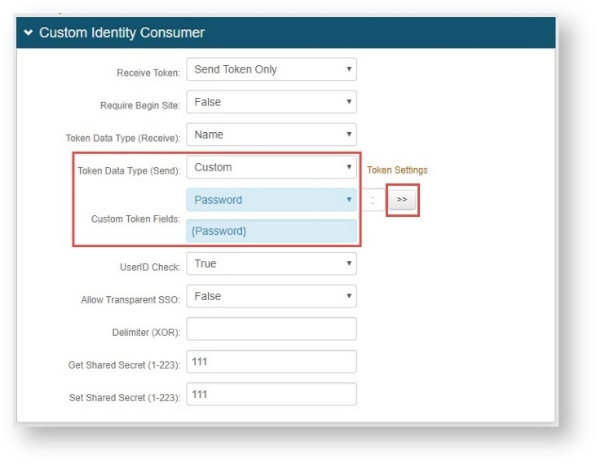
1. In the Custom Identity Consumer section, select Custom from the Token Data Type (Send) dropdown.
2. Select Password from the Custom Token Fields dropdown.
3. Click the >> button, and {Password} auto-populates in the open field.
4. Click Save once the configuration is complete and before leaving the Workflow page to avoid losing changes.
 |
Post Authentication tab
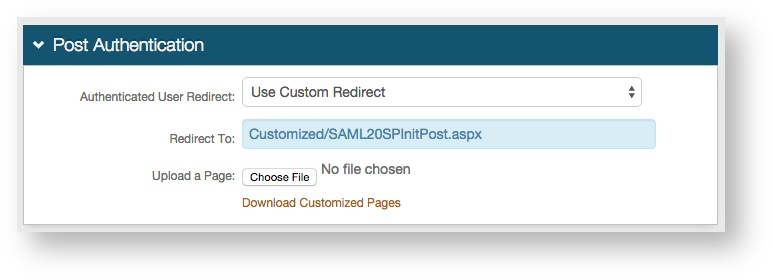
5. In the Post Authentication section, select Use Custom Redirect from the Authenticated User Redirect dropdown.
6. Set the Redirect To field to Customized/SAML20SPInitPost.aspx
 |
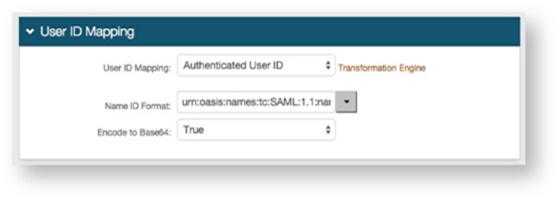
7. Select Authenticated User ID from the User ID Mapping dropdown (default).
8. Select True from the Encode to Base64 dropdown.
 |
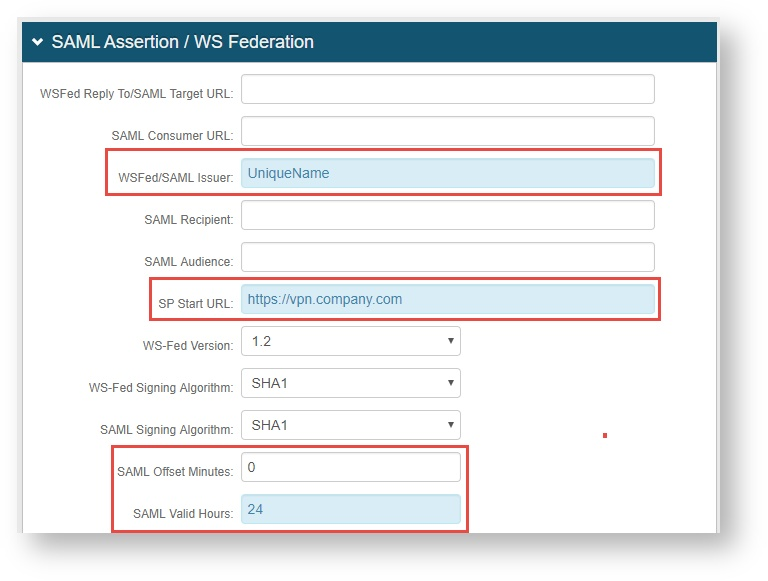
9. Set the WSFed/SAML Issuer to a Unique Name that is shared with F5 BIG-IP.
The WSFed/SAML Issuer value must match exactly on the F5 BIG-IP side and on the SecureAuth IdP side.
10. Provide the SP Start URL to enable SSO and to redirect users appropriately to access the F5 BIG-IP Virtual Server (or VIP) URL.
11. Set the SAML Offset Minutes to make up for time differences between devices.
Set the SAML Valid Hours to limit how long the SAML assertion is valid.
 |
12. Select the certificate to be used to sign the SAML assertion, which is the same certificate that will be uploaded to the NetScaler SAML Authentication Server.
13. Export this certificate in Base64 format, and store it either on a local PC or on the F5 appliance.
 |
F5 BIG-IP configuration steps
Create SAML partnership on F5
1. Create a new SAML SP Service with the Entity ID and HOST name.
The SP Host Name should match the F5 Virtual IP to which the SAML SP service needs to be attached.
 |
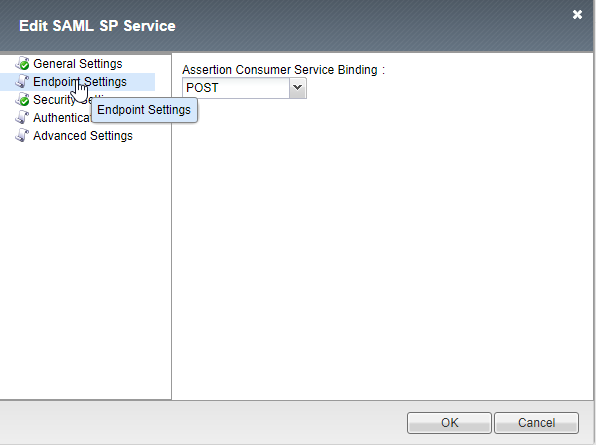
2. The Assertion Consumer Service Binding should be POST.
 |
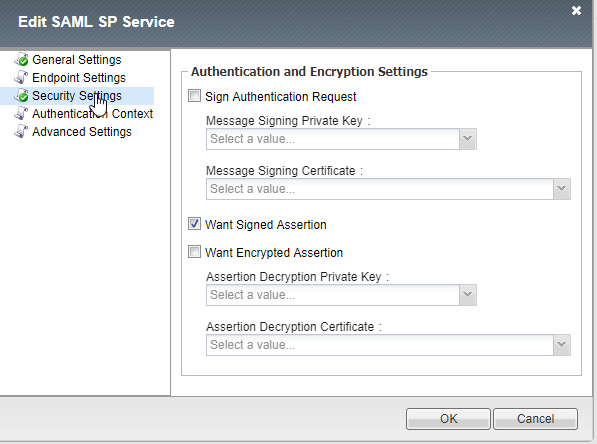
3. Ensure that you select Want Signed Assertion.
 |
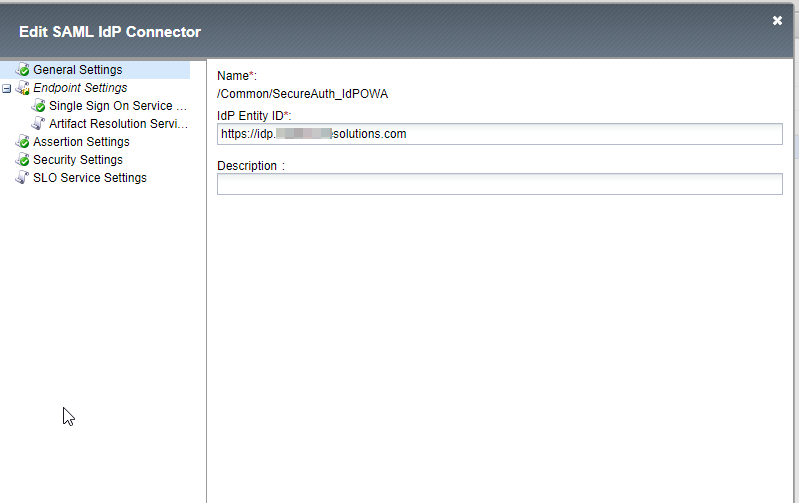
4. Create a new External SAML IdP connector with the IdP Entity ID of your SecureAuth IdP device.
This value can be anything and does not need to be a URL, as long as it matches the SAML Issuer value on the SecureAuth IdP Post Authentication tab.
 |
5. The SSO URL should match the URL to the IdP realm that will be used for authentication.
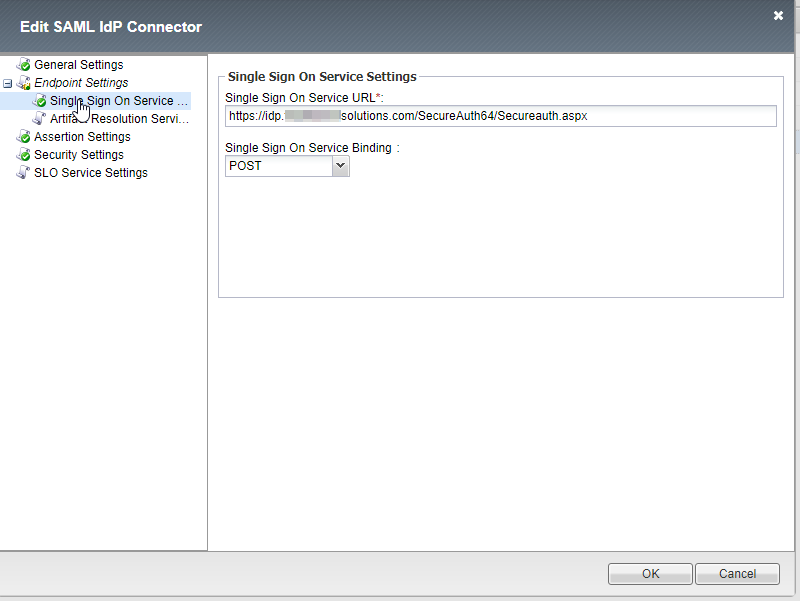 |
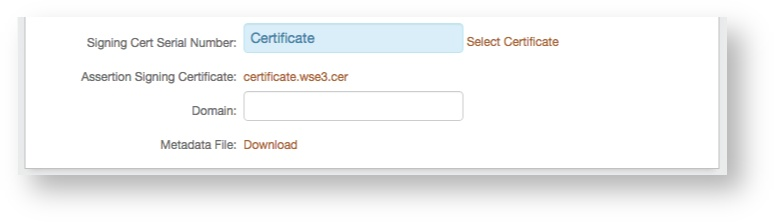
6. In the Security Setting, select the IdP certificate that is being used to sign the Assertion has been exported in SecureAuth IdP Configuration step 13.
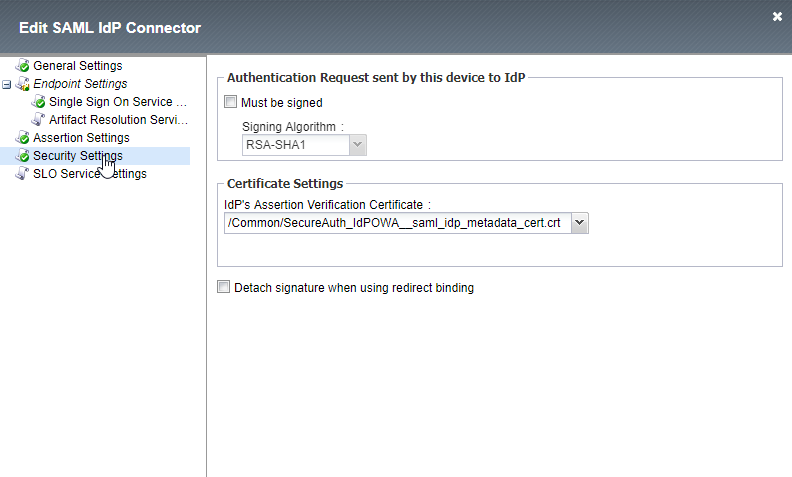 |
7. Specify the Logout URL.
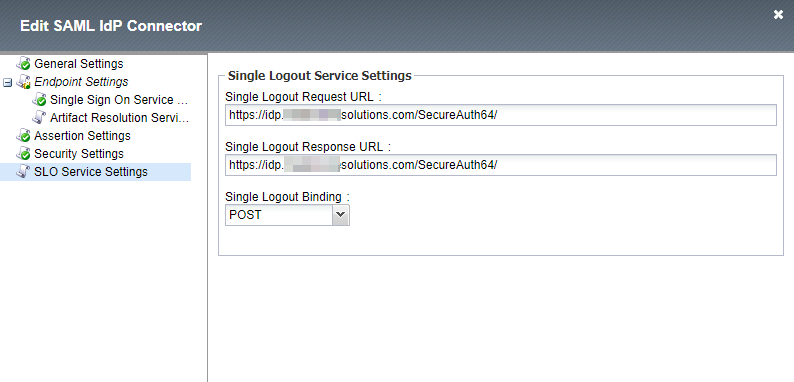 |
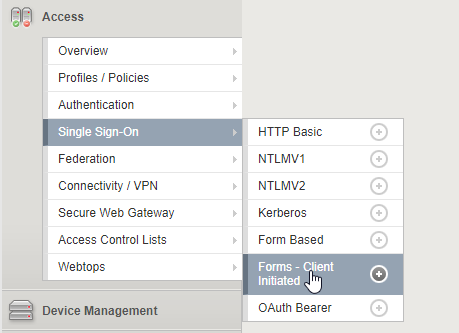
Create SSO configuration - Client Initiated form
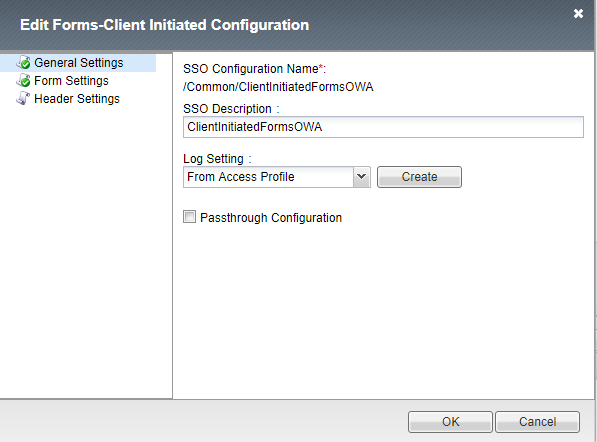
8. Create a new Single Sign-On configuration by selecting Forms - Client Initiated.
 |
9. Enter a form description.
 |
10. Click Create to create a new form, and name it as this example: "tform1".
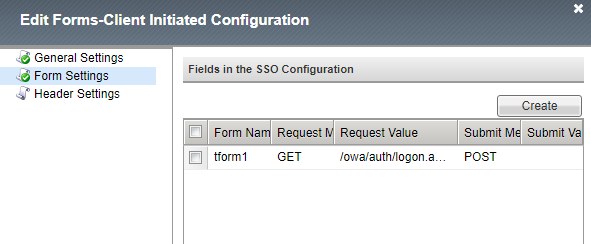 |
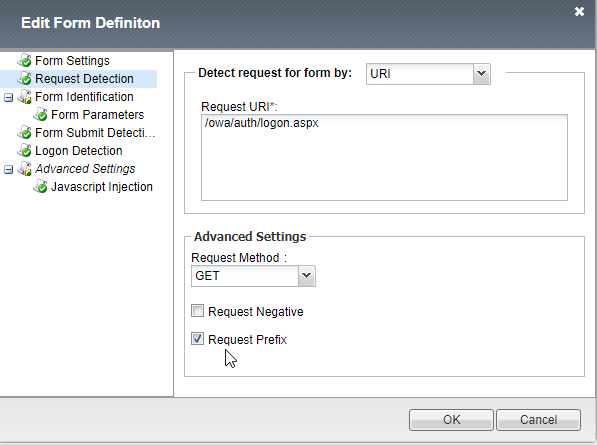
11.For Request detection, enter the path to the OWA login form:
/owa/auth/logon.aspx
 |
12. In the form parameters, enter the following values:
     username mapped to %{session.sso.token.last.username}
     password mapped to %{session.sso.token.last.password}
     isUtf8 mapped to static value 1
     forcedownlevel to static value 0
flags mapped to static value 4 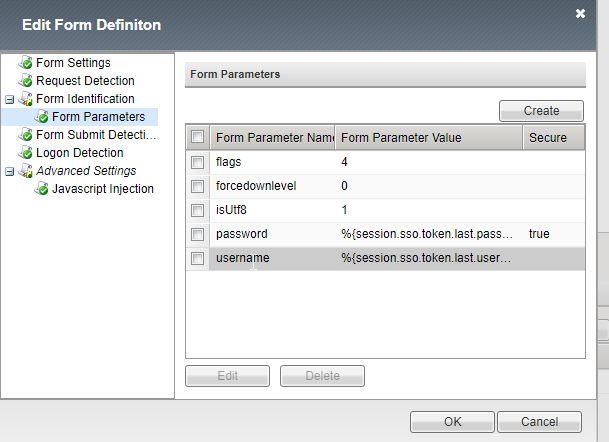 |
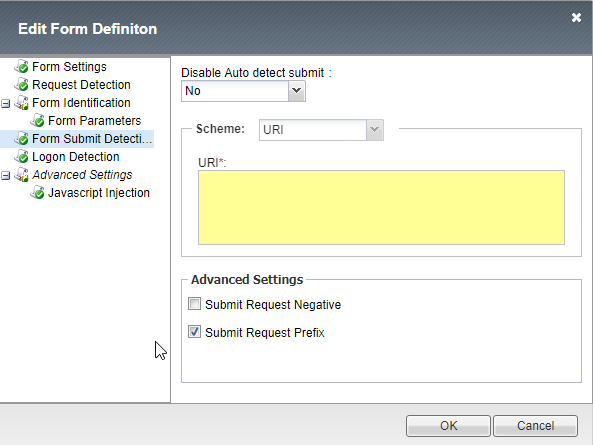
13. Leave the default for Form Submit Detection.
 |
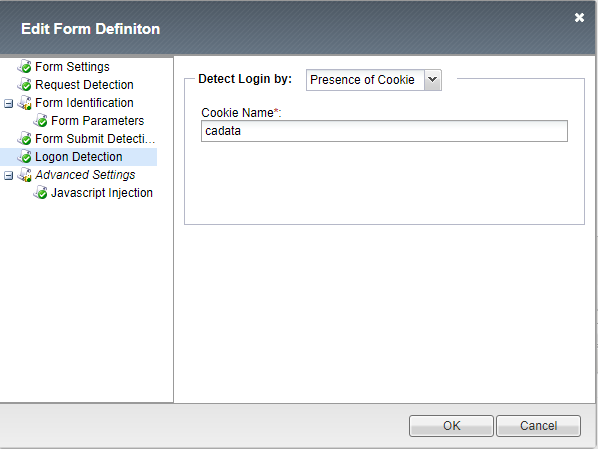
14. In the Logon Detection, select Presence of Cookie and name the cookie:
cadata
15. Click OK to save the form.
 |
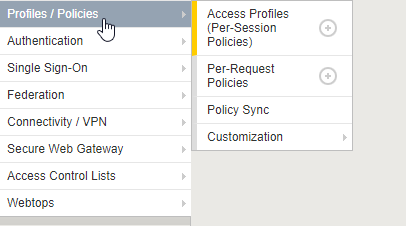
Create an APM Policy
16. Create a new APM Policy.
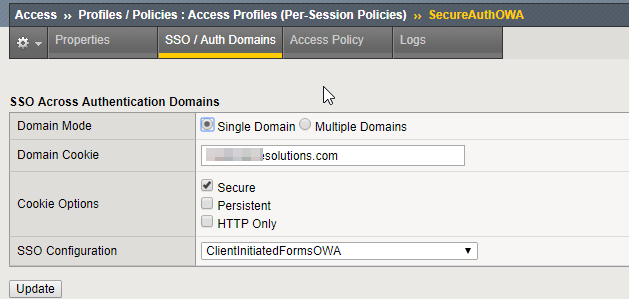
 |
17. In the SSO/Auth Domains section, for SSO configuration, select the form you created in the previous step.
18. Add a domain cookie.
 |
19. In the Access policy section, create the policy as shown in the image below:
 |
Note: The SAML Auth Box represents the existing SAML SP settings of F5 BIG-IP which is a prerequisite and can be configured using the link provided in the Prerequisites section.
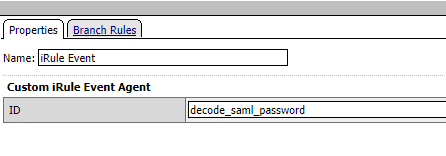
20. Add an iRule event and set the ID to:
decode_saml_password
 |
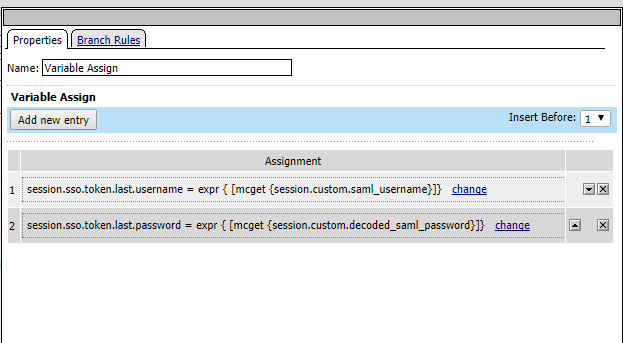
21. Map the Variable Assign box to the values as shown in the image. The purpose of this setting is to use the assertion attributes and map them to F5 APM attributes for the SSO authentication flow.
Note: These variables will be used in the iRule defined later in this document.
 |
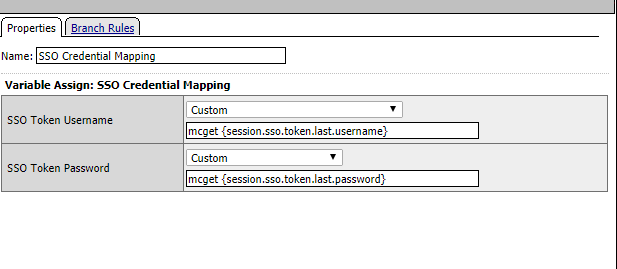
22. Map the SSO credential Mapping values to the variables declared in the previous step.
 |
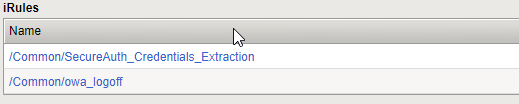
Create an iRule
23. Click Local Traffic and then iRules.
 |
24. Copy paste the iRule in the New iRule editor window. This iRule will be used to extract the username and password from the SAML assertion sent by SecureAuth IdP.
when ACCESS_POLICY_AGENT_EVENT {
   if { [ACCESS::policy agent_id] eq "decode_saml_password" } {
     set saml_password [ACCESS::session data get session.saml.last.attr.name.Password]
     set decoded_saml_password [b64decode $saml_password]
       ACCESS::session data set -secure session.custom.decoded_saml_password $decoded_saml_password
       ACCESS::session data set session.custom.saml_username [ACCESS::session data get session.saml.last.nameIDValue]
       ACCESS::session data set session.logon.last.username [ACCESS::session data get session.saml.last.nameIDValue]
     }
  }
25. Add the Access Policy to the F5 Virtual IP for OWA.
 |
26. Add the iRule to the F5 Virtual IP for OWA.
 |
Add iRule for logoff
27. For logoff functionality, you must add the iRule to the Exchange server's OWA directory. Copy and paste this iRule in the iRule editor in F5 and then bind it to the F5 Virtual IP for OWA:
when RULE_INIT {
   set static::cookie_sessionid [format "sessionid=null; path=/; Expires=Thurs, 01-Jan-1970 00:00:00 GMT;"]
   set static::cookie_cadata [format "cadata=null; path=/; Expires=Thurs, 01-Jan-1970 00:00:00 GMT;"]
   set static::cookie_usercontext [format "UserContext=null; path=/; Expires=Thurs, 01-Jan-1970 00:00:00 GMT;"]
 }
 when ACCESS_SESSION_STARTED {
   if { [string tolower [HTTP::uri]] contains "ua=0" } {
     ACCESS::session remove
   }
 }
 when ACCESS_ACL_ALLOWED {
   set apm_mrhsession [HTTP::cookie value "MRHSession"]
   if { [table lookup $apm_mrhsession] == "EXCHANGE_LOGOUT" } {
     ACCESS::session remove
     table delete $apm_mrhsession
   }
 }
 when HTTP_REQUEST {
   set isset 0
   if {[string tolower [HTTP::uri]] starts_with "/owa" } {
     if {[string tolower [HTTP::uri]] contains "logoff" } {
       ACCESS::session remove
       HTTP::respond 302 Location "https://mail.company.com/owa " "Set-Cookie" $static::cookie_sessionid "Set-Cookie" $static::cookie_cadata "Set-Cookie" $static::cookie_usercontext
 } else {
     if { [string tolower [HTTP::uri]] contains "ua=0" } {
       set mrhsession [HTTP::cookie value "MRHSession"]
       set isset 1
      }
     }
    }
   }
   when HTTP_RESPONSE {
     if { [HTTP::cookie exists "IsClientAppCacheEnabled"] } {
 HTTP::cookie "IsClientAppCacheEnabled" False
 }
     if { $isset == 1 } {
     if { $mrhsession != "" && [HTTP::status] == 440 } {
       table set $apm_mrhsession "EXCHANGE_LOGOUT"
       return
     }
   }
 }