Akamai (SP-initiated) integration guide
Introduction
Use this guide to enable Single Sign-on (SSO) access via SAML to Akamai.
Prerequisites
SecureAuth IdP version 9.1 or later with a realm ready for the Akamai integration
Akamai account
Akamai configuration steps
1. Log in to the Akamai control panel.
 |
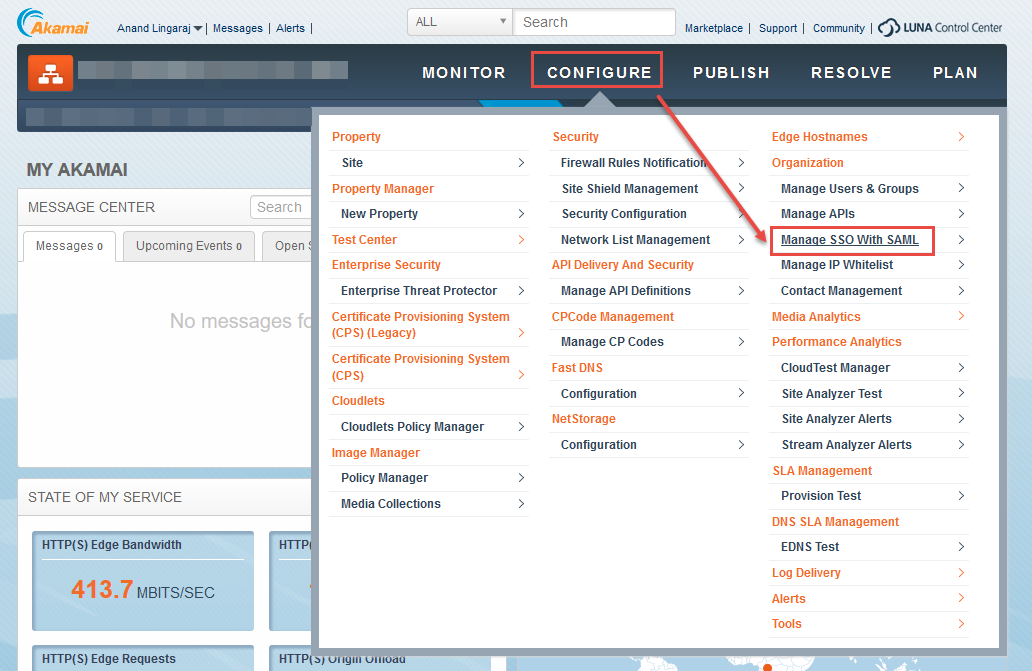
2. Click Configure and select Manage SSO With SAML.
 |
3. Click Show SP Metadata.
 |
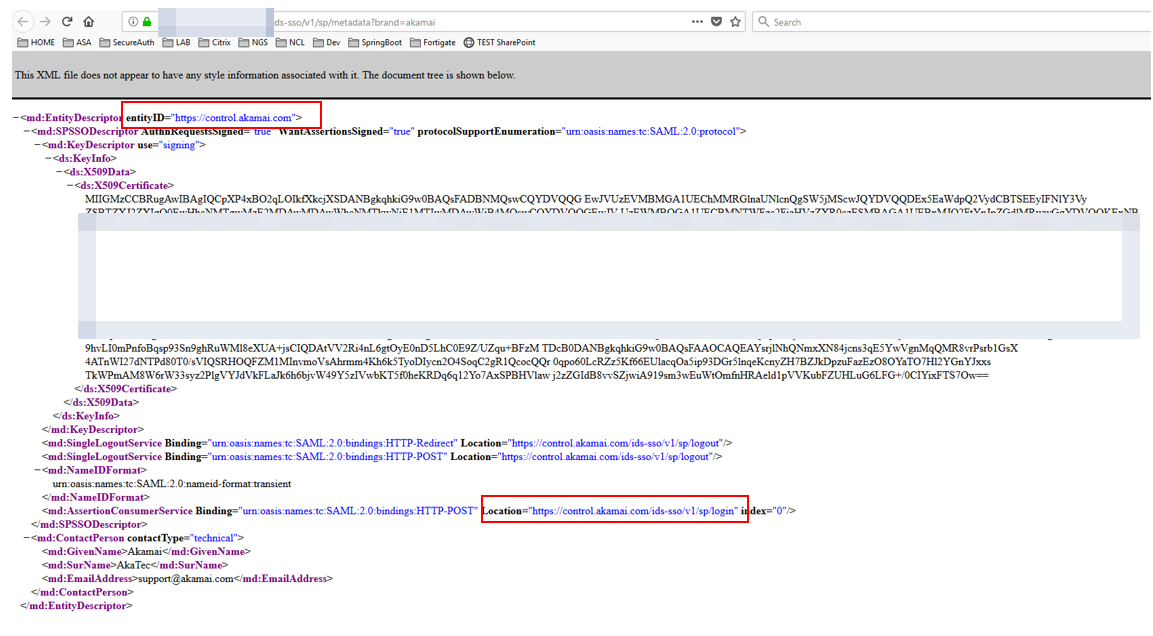
4. Make a note of the Entity Description (entityID) and the AssertionConsumerService location URLs.
For example:
entityID is https://control.akamai.com
AssertionConsumerService location is https://control.akamai.com/ids-sso/v1/sp/login
 |
SecureAuth IdP configuration steps
1. Log in to your SecureAuth IdP Admin console.
Post Authentication tab
2. Select the Post Authentication tab.
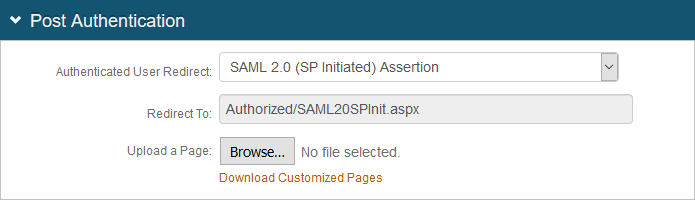
3. In the Post Authentication section, make the following entry:
a. Set Authenticated User Redirect to SAML 2.0 (SP Initiated) Assertion.
 |
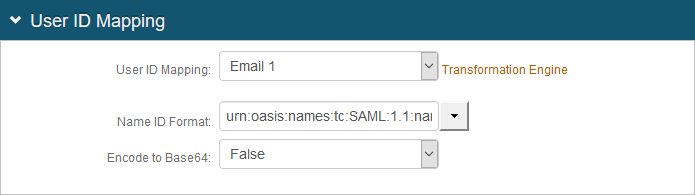
4. In the User ID Mapping section, make the following entries:
a. Set User ID Mapping to Email 1.
b. Set Name ID Format to urn:oasis:names:tc:SAML:2.0:nameid-format-unspecified.
c. Set Encode to Base64 to False.
 |
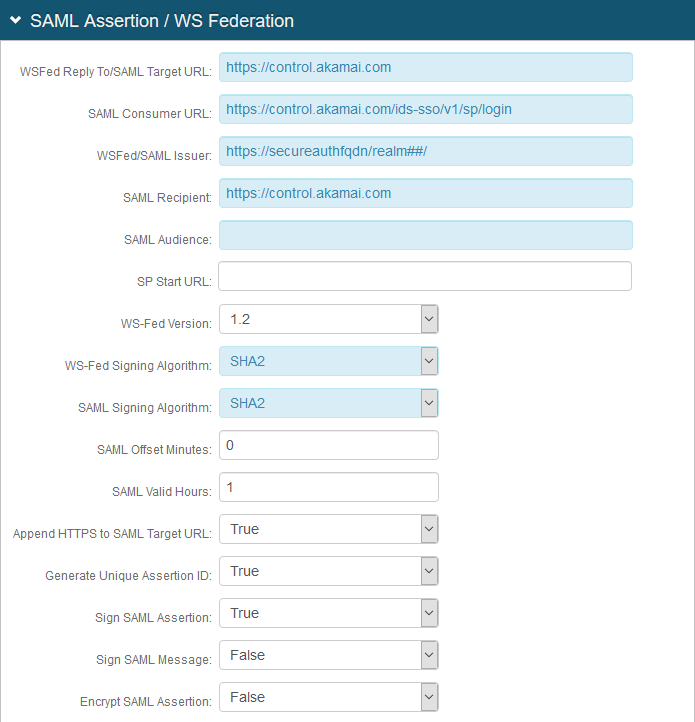
5. In the SAML Assertion / WS Federation section, make the following entries:
a. Set the WSFed Reply To / SAML Target URL to the absolute URL of the application, to where end-users are redirected upon successful authentication.
For example, https://control.akamai.com
b. Set the SAML Consumer URL to the Akamai URL used to accept a SAML assertion.
For example, https:control.akamai.com/ids-sso/v1/sp/login
c. Set WSFed/SAML Issuer to a unique name that identifies the SecureAuth IdP to the application (as the SAML ID).
This value is shared with the application and can be any word, phrase, or URL, but must match exactly in the SecureAuth IdP and Akamai configurations.
For example, https://secureauthfqdn/realm12
d. Set SAML Recipient to the identifiable information of the SAML Recipient, which usually maps to the SAML Consumer URL.
For example, https://control.akamai.com
e. Set SAML Offset Minutes to make up for time differences between devices.
f. Set SAML Valid Hours to how long the SAML assertion is valid.
g. Set Sign SAML Assertion to True.
h. Set Sign SAML Message to False.
 |
i. Leave the default value in the Signing Cert Serial Number field. Otherwise, to use a third-party certificate for the SAML assertion, click the Select Certificate and choose the appropriate certificate.
j. Set the Domain to the SecureAuth IdP appliance URL or IP Address to download the metadata file.
When a customer application enables configuration by means of importing metadata, then you can eliminate the need for full manual configuration by downloading the SecureAuth IdP metadata.
For example, https://secureauthfqdn
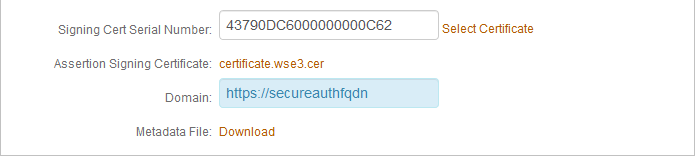 |
k. Click the Download link to download the SecureAuth IdP metadata file.
Import SecureAuth IdP metadata to Akamai
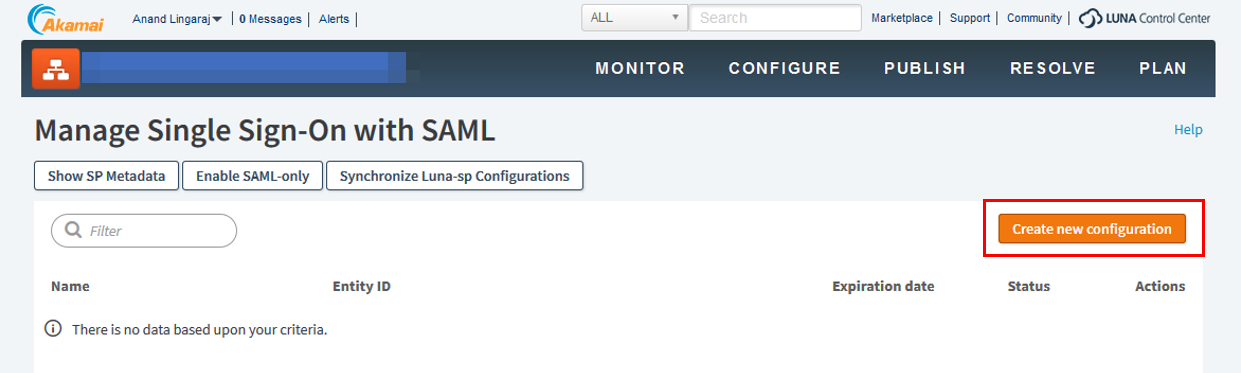
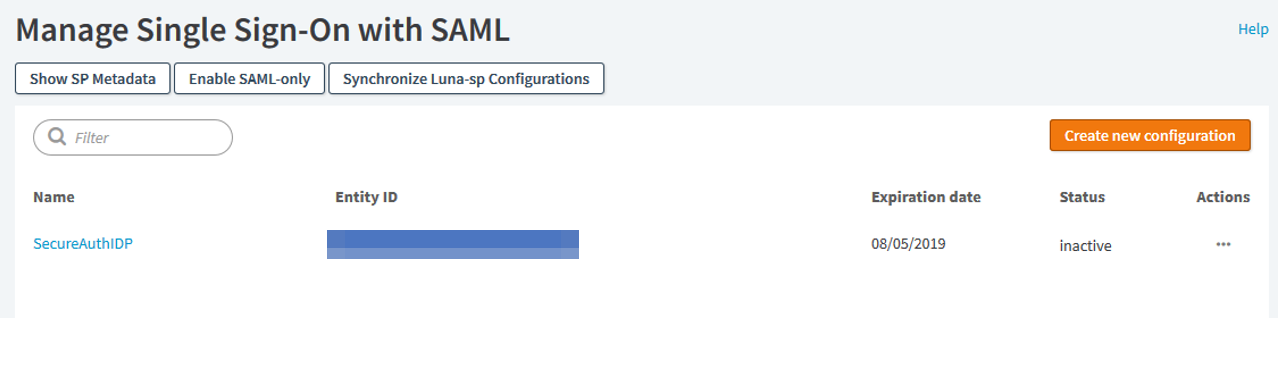
1. In Akamai, on the Manage Single Sign-On with SAML page, click Create new configuration.
 |
2. Select the Load metadata from a URL option and enter the metadata URL.
For example, https://idp-fqdn/realm#/metadata.xml
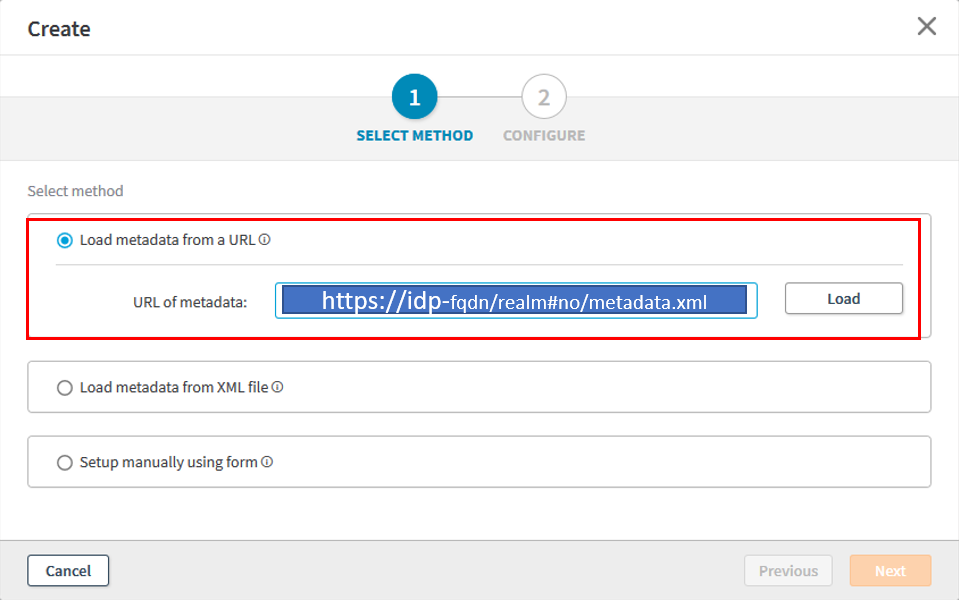 |
3. Click Load.
The application displays a message when the metadata is successfully loaded.
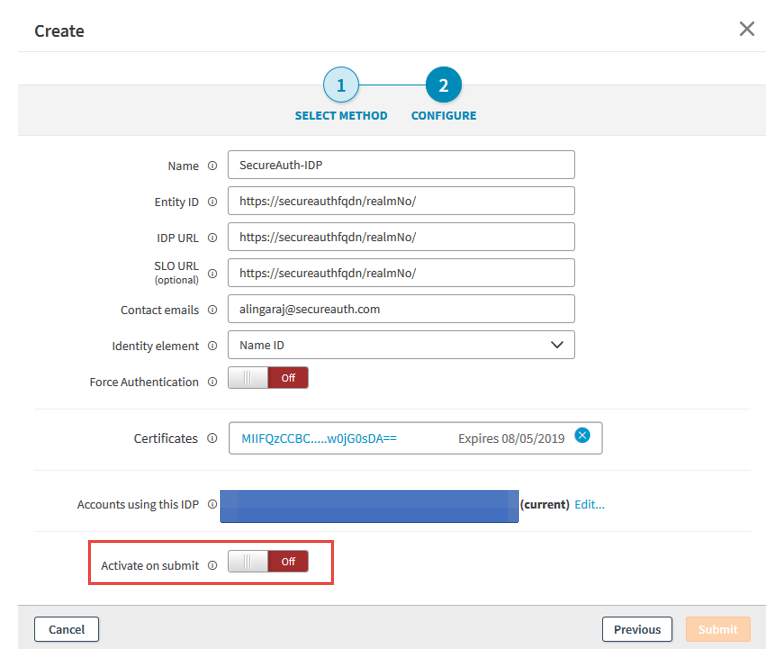
4. Click Next and do the following:
a. Verify the metadata configurations.
b. Set Activate on submit to Enabled.
 |
5. Click Submit.
The SecureAuth IdP is now configured to manage single-sign on with SAML in Akamai.
 |