Juniper SSL VPN Integration Guide (RADIUS)
Introduction
Use this guide to enable Multi-Factor Authentication access via RADIUS to Juniper SSL VPN
Prerequisites
1. Have Juniper IVE and access to the Juniper Admin console
2. Configure the Multi-Factor App Enrollment Realm (SecureAuth998) in the SecureAuth IdP Web Admin for the RADIUS OTP authentication requests
3. Install and configure the SecureAuth RADIUS Server with Juniper IVE added as a client
Juniper SSL VPN Configuration Steps
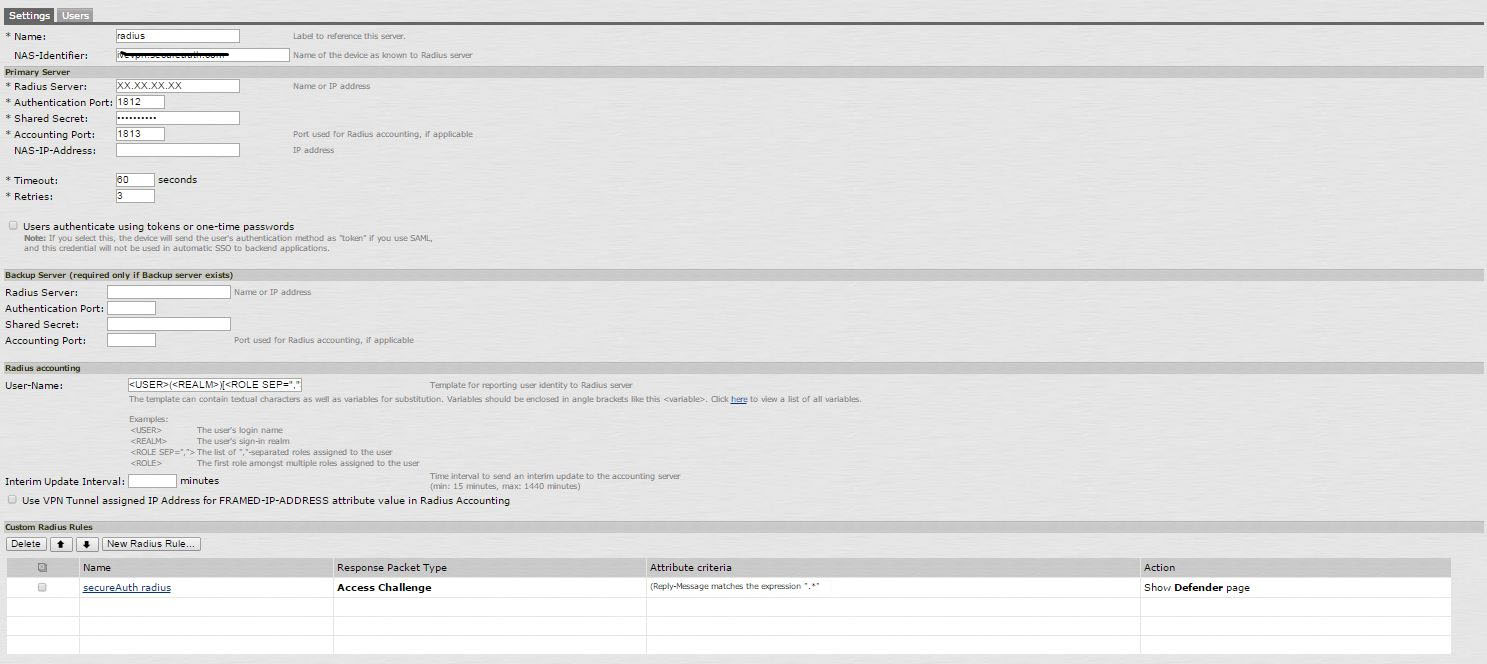 |
1. Log into Juniper IVE via the Admin console by selecting Auth Server> Create a New Radius Server
Add Server dialogue box | SecureAuth RADIUS information |
|---|---|
Name | RADIUS Server description name of your choice |
Radius Server | IP Address or Name of the RADIUS Server |
Authentication Port | 1812 |
Shared Secret | SecureAuth RADIUS Shared Secret |
Accounting Port | 1813 |
Timeout | 60 Seconds recommended |
Retries | 3 (recommended) |
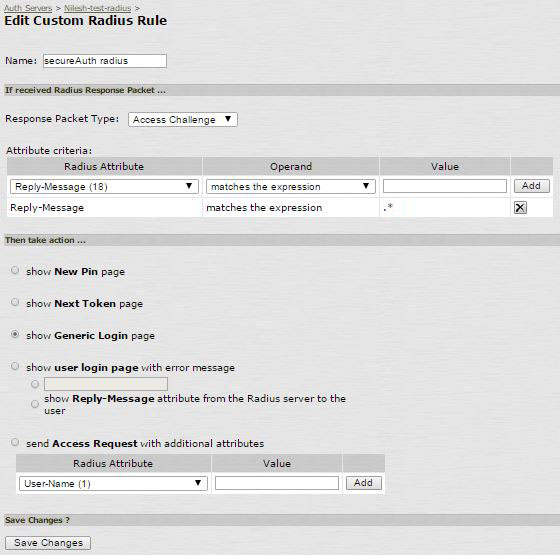 |
2. Create a new Custom Radius Rule as in the image below and save the settings
Warning
Use only a dot and an asterisk for lengthy reply messages – i.e. .*
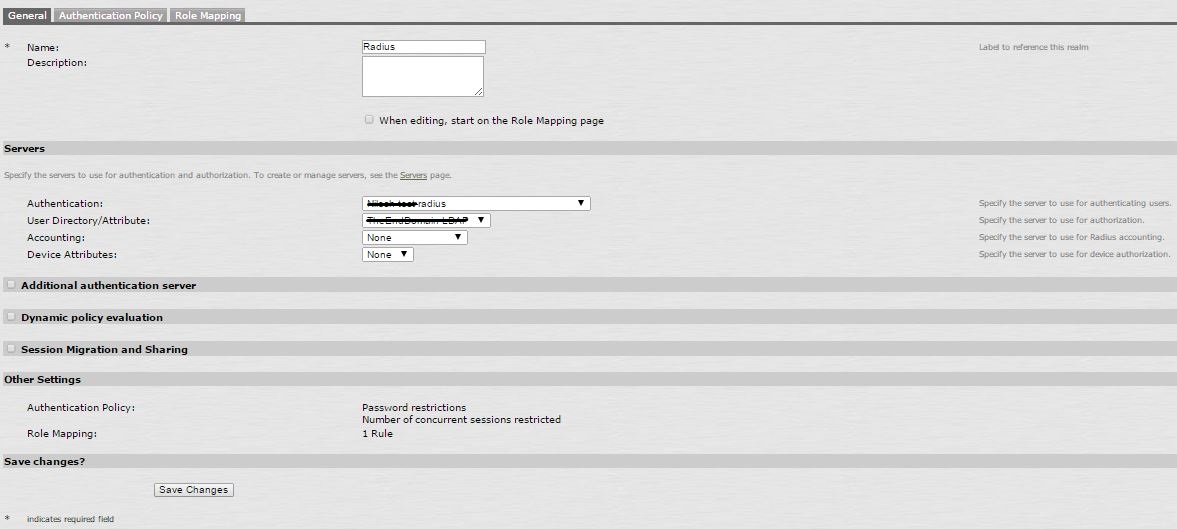 |
3. Create a New User Realm to use with this RADIUS Authentication method
 |
4. Add/Create a Role(s) for this New User Realm using SecureAuth RADIUS
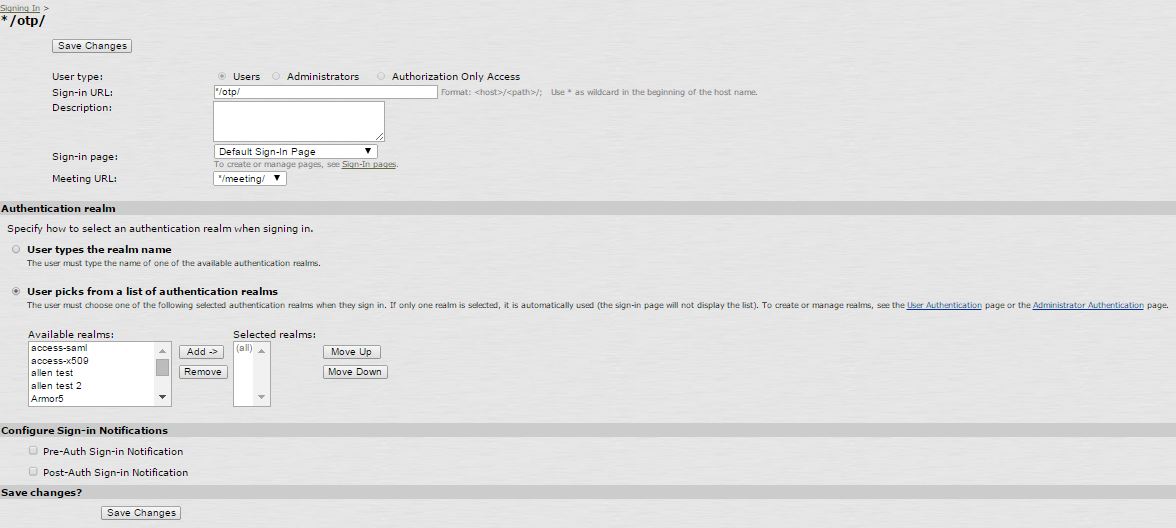
5. Create a Sign-in URL and select this User Realm
RADIUS Client Configuration Steps
 |
OR
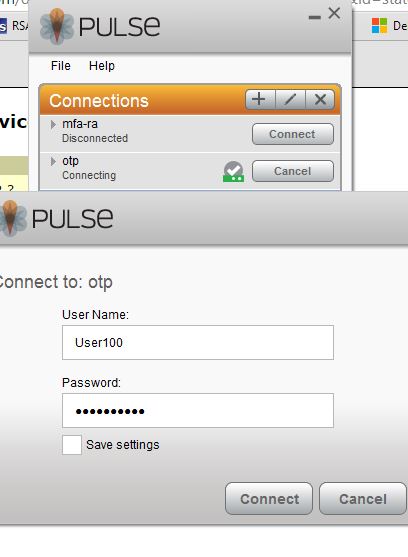 |
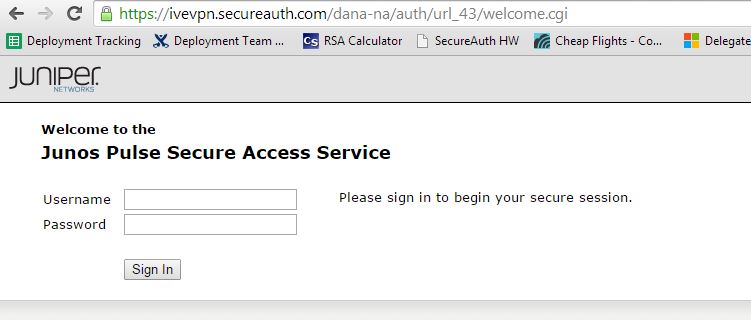
1. Open a web browser or Juniper VPN client and connect to the newly-created profile
2.When prompted, enter your AD Username and Password
 |
OR
 |
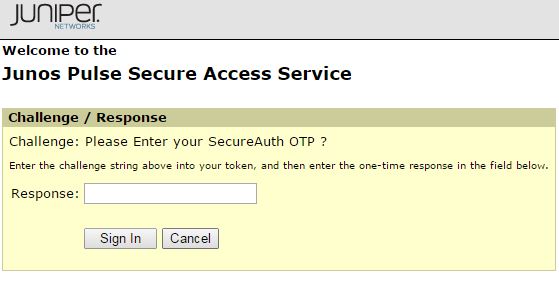
3. An Access Challenge for a Second Factor appears
4. Enter the OTP code from the SecureAuth OTP app to connect to the VPN