OTP Email Configuration Guide
Introduction
Use this guide to configure an email message containing a One-Time Passcode (OTP) sent to an end-user for Multi-Factor Authentication.
Prerequisites
1. Ensure SecureAuth IdP v9.1 or later is running
2. Configure a realm for OTPs to be sent via email to end-users
3. Configure the following tabs in the Web Admin before the OTP email configuration:
Overview– the description of the realm and SMTP connections must be defined
Data– an enterprise directory must be integrated with SecureAuth IdP
Workflow– the way in which users will access the target must be defined
Multi-Factor Methods– the Multi-Factor Authentication methods that will be used to access the target must be defined
Post Authentication– the target of the realm must be defined
SecureAuth IdP Configuration Steps
Overview
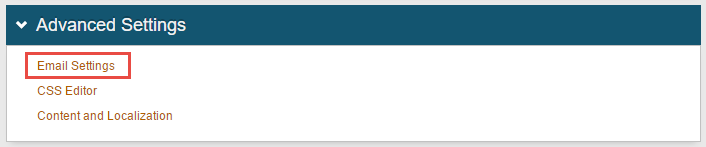 |
1. On the Advanced Settings section, click Email Settings
Email Settings
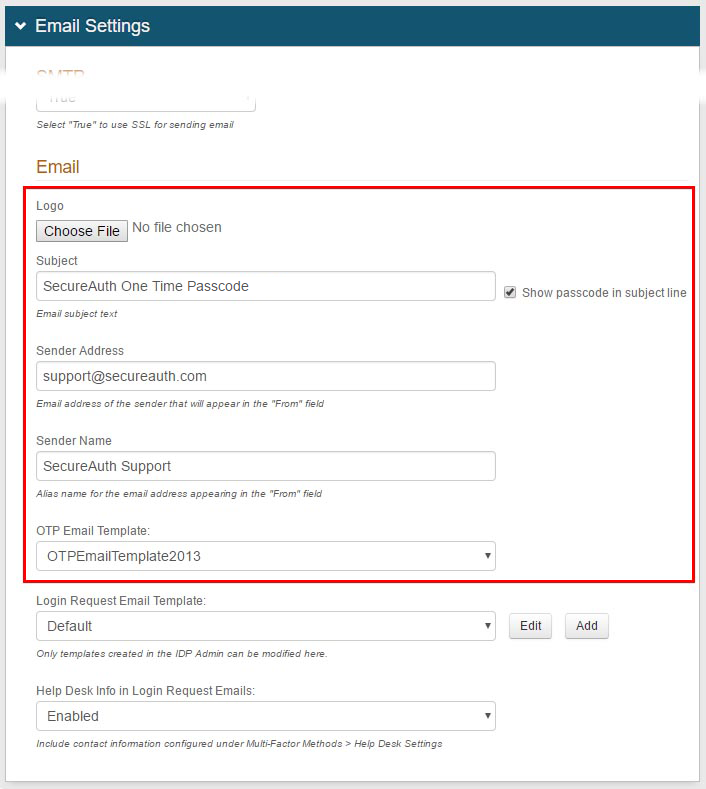 |
2. Under Email in the Email Settings section, optionally click Choose File and select a logo to use on the email page
3. Enter the text to appear in the Subject line on the email page
4. Click to enable Show passcode in subject line to include the passcode after the Subject line on the email page
5. Enter the Sender Address and Sender Name to appear above the Subject line on the email page
6. Select the OTP Email Template from the dropdown
Warning
Click Save once the configuration is complete and before leaving the Email Settings page to avoid losing changes
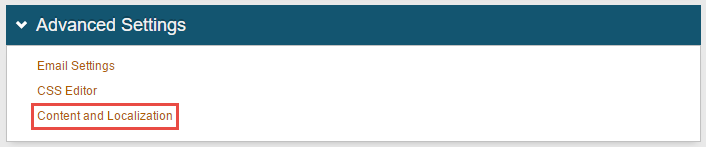 |
7. Click Content and Localization
Content and Localization
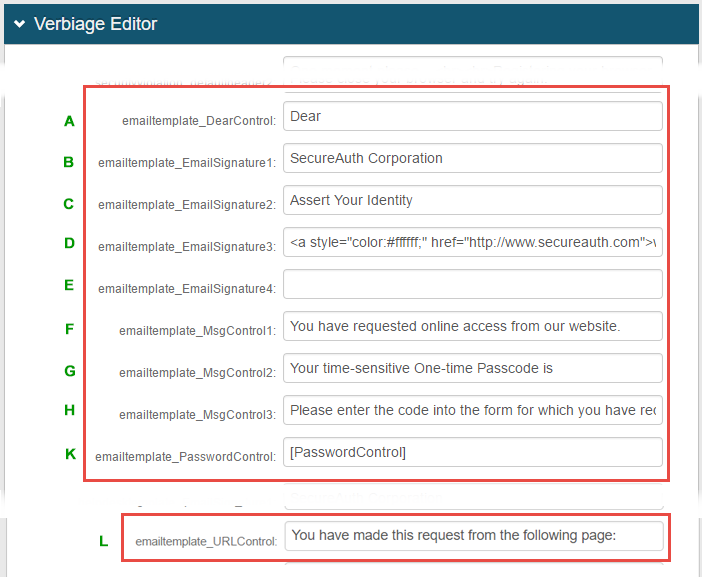 |
8. In the Verbiage Editor section, find the emailtemplate_ entries and edit the fields to tailor the content that appears on the email page – the sample image uses the following configuration
Key | emailtemplate_ | Description |
|---|---|---|
A | DearControl | Leave blank to omit a salutation, or enter a greeting such as "Dear" to precede the username |
B | EmailSignature1 | Enter freeform text to appear in the email footer – e.g. company name |
C | EmailSignature2 | Optionally enter freeform text to appear beneath the EmailSignature1 entry – e.g. company slogan or phone number |
D | EmailSignature3 | Optionally enter freeform text to appear beneath the EmailSignature2 entry – e.g. company website URL |
E | EmailSignature4 | Optionally enter freeform text to appear beneath the EmailSignature3 entry |
F | MsgControl1 | Optionally modify the freeform text to appear in the opening of the message |
G | MsgControl2 | Optionally modify the freeform text preceding the auto-generated passcode |
H | MsgControl3 | Optionally modify the text that explains where to enter the passcode |
K | PasswordControl | This is the placeholder for the auto-generated passcode |
L | URLControl | Optionally modify the text preceding the URL of the realm configured to send OTP emails |
Note
See Customize the Registration Code (OTP) Email Message for information about customizing email messages
Warning
Click Save once the configuration is complete and before leaving the Content and Localization page to avoid losing changes
Multi-Factor Methods
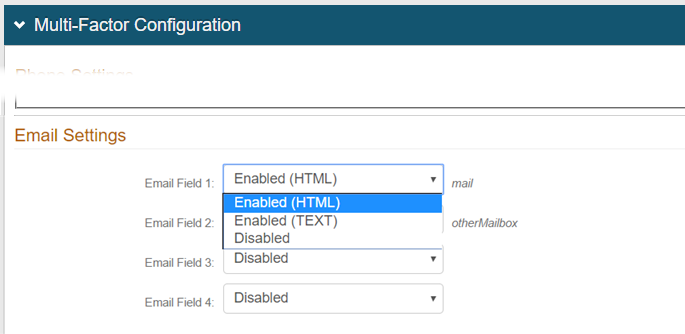 |
9. In the Multi-Factor Configuration section, under Email Settings select the type of email message from the Email Field 1 dropdown for the first email address in the end-user profile
10. Make a selection from the remaining Email Field dropdowns for the corresponding email addresses in the end-user profile
Warning
Click Save once the configuration is complete and before leaving the Multi-Factor Methods page to avoid losing changes
End-user Experience
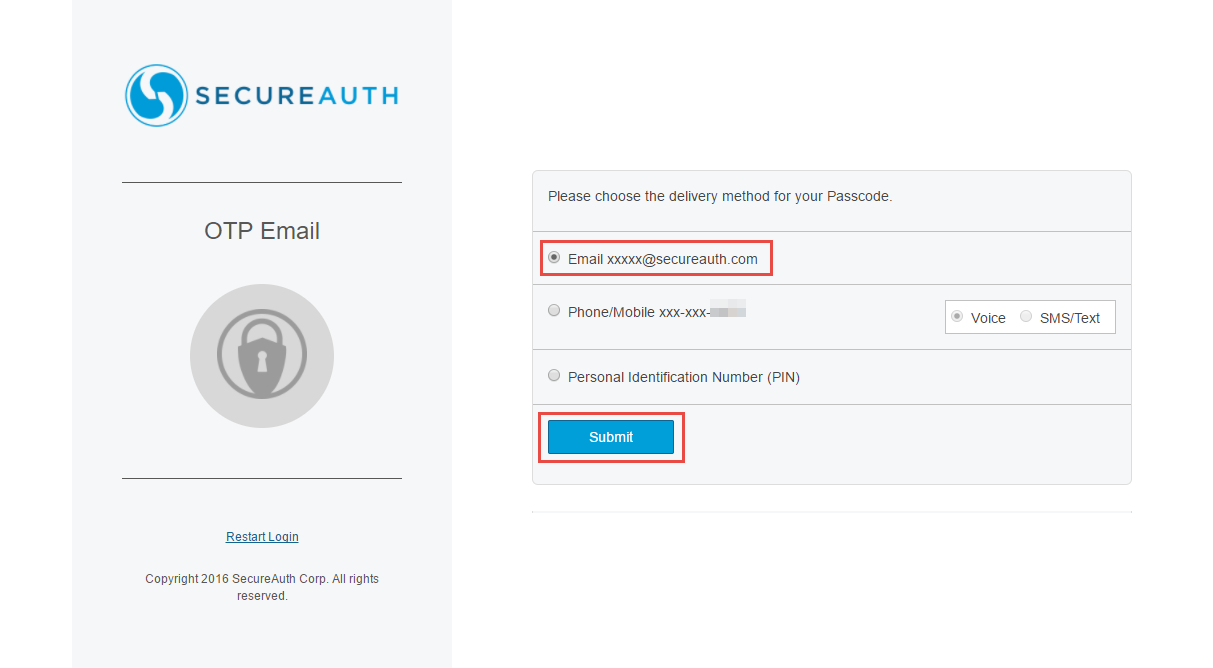 |
1. Select the Email from the list of methods for delivering the passcode, and click Submit
 |
2. Find the passcode in the email that was sent – i.e. set of digits that appear in the green boxes in the sample image
NOTE: In this example, the passcode is set to appear in the Subject line of the email
3. Enter and submit that passcode in the pertinent form to gain access to the requested realm
Note
Refer to Email Settings: Content and Localization above for configuration settings affecting the result of the textual content that appears in this sample email