Renaming a VMware virtual machine prior to import
Introduction
This document describes the process of changing the VMware virtual machine name prior to importing it into your vSphere environment. You cannot rename an OVA file prior to importing it.
Configuration Steps
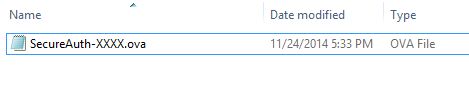
Right-click on original OVA file. ( e.g. SecureAuth-XXXX.ova.)
Select 7-zip File Manager or WinZip to Extract to SecureAuth-XXXX\.
Once extraction is complete, rename the new folder to the name you want for the image.

Note
The following files are extracted: .vmdk, .mf and a .ovf file. Depending on how many disks, you may have additional .vmdk files.

Delete the .mf file.
Right-click on the .OVF file and rename the .OVF file.
Right-click on the renamed .OVF file and open it using Notepad or Textpad.

Search for <File ovf:href="SecureAuth-XXXX-disk1.vmdk" and rename it to the new name, but leaving the -disk1.vmdk at the end of the file name.
Search for <VirtualSystem ovf:id="SecureAuth-XXXX"> and rename it to the new name.
Search for <Name>SecureAuth-XXXX</Name> and rename it to the new name.
Search for <vssd:VirtualSystemIdentifier>SecureAuth-XXXX</vssd:VirtualSystemIdentifier> and rename it to the new name.
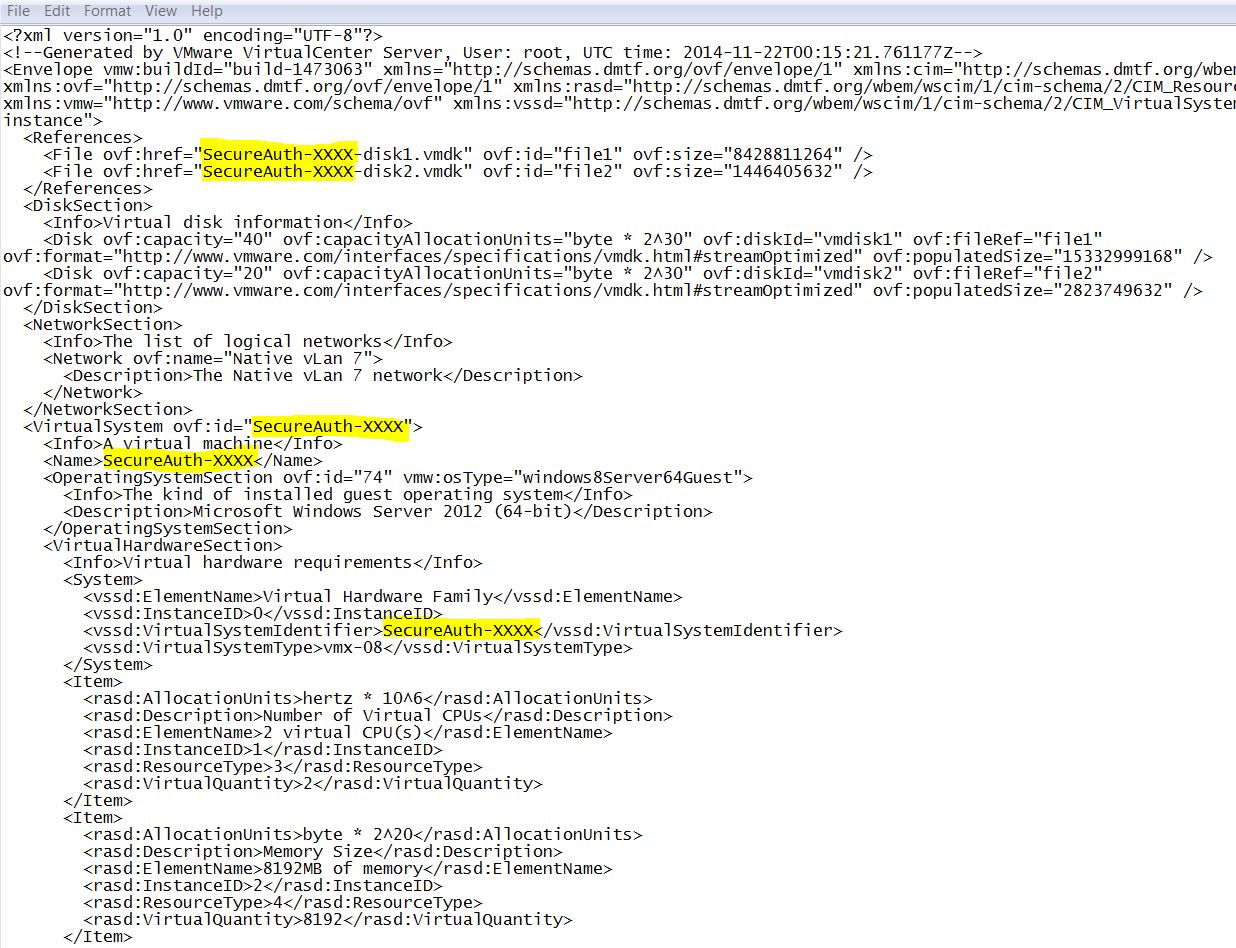
Save the file and close.
On the SecureAuth-XXXX-disk1.vmdk, rename only the SecureAuth-XXXX part of the file name.
Warning
Do not change -disk1.vmdk.

Once changes are made, deploy the OVF image to your vSphere Environment from the folder. Do not deploy the original .OVA file. If you require the import media to be an OVA, you can use the VMware Open Virtualization Format Tool to convert the OVF structure to an OVA format.
