Manually install SecureAuth CA Certificates using the Published CRT files
Introduction
This document explains how to install SecureAuth CA certificates on Macintosh and Windows/PC computers using published CRT files.
Installation Steps
Macintosh Computers
1. Refer to SecureAuth CA Public Certificates
2. Scroll down to the desired section. For example, go to the section titled "Intermediate CAs" and download the Intermediate Certificates MFC Issuer 3 Nevada and MFC Issuer 3 Sierra by clicking one or more of the following links:
MFC Issuer 3 Nevada = http://x509.multifactortrust3.com/certinfo/D28N08F1.banner.multifactortrust3.com_MFCIssuer3Nevada.banner.multifactortrust3.com(1).crt
MFC Issuer 3 Sierra = http://x509.multifactortrust3.com/certinfo/D1SKLCC1.banner.multifactortrust3.com_MFCIssuer3Sierra.banner.multifactortrust3.com(1).crt
3. Once the downloads have completed, install certificates by double-clicking the files. 4. Check your Keychain Access to ensure certificates have been installed, as seen in the image below.
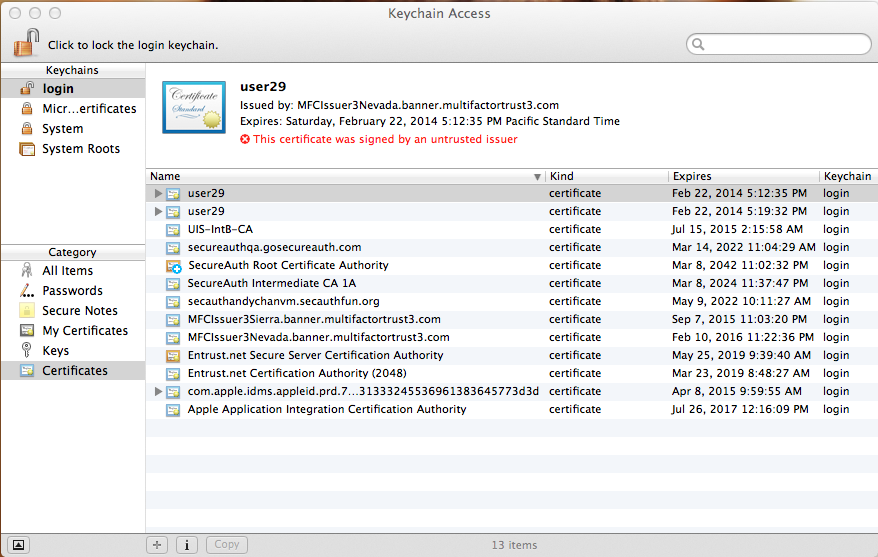 |
Windows / PC Computers
1. Refer to SecureAuth CA Public Certificates
2. Scroll down to the desired section. For example, go to the section titled "Intermediate CAs" and download the Intermediate Certificates MFC Issuer 3 Nevada and MFC Issuer 3 Sierra by clicking one or more of the following links:
MFC Issuer 3 Nevada = http://x509.multifactortrust3.com/certinfo/D28N08F1.banner.multifactortrust3.com_MFCIssuer3Nevada.banner.multifactortrust3.com(1).crt
MFC Issuer 3 Sierra = http://x509.multifactortrust3.com/certinfo/D1SKLCC1.banner.multifactortrust3.com_MFCIssuer3Sierra.banner.multifactortrust3.com(1).crt
Note
IE can have issues downloading the CRT file appropriately; at times it will change the extension of the .CRT file to _CRT. Simply renaming the downloaded file extension will correct the issue. Testing this link via Chrome is recommended.
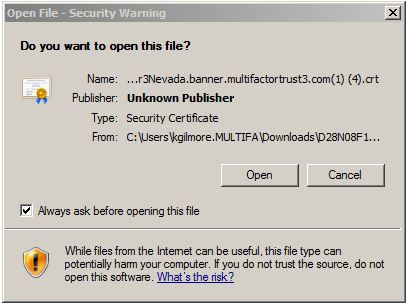
If the browser is able to download the CRT file correctly, you may see this warning shown below. Select "Keep" to allow the file to be downloaded.
 |
3. Once the downloads have completed, install certificates by double-clicking the files. When prompted to OPEN the file, select the "Open" Button.
 |
4. The certificate dialog appears. Select the "Install Certificate..." button at the bottom.
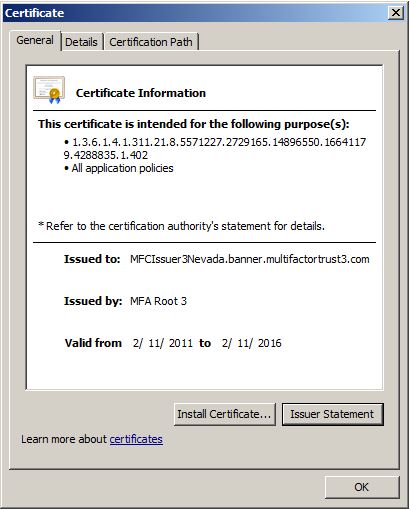 |
5. The Welcome to the Certificate Import Wizard dialog appears. Select the "Next" button.
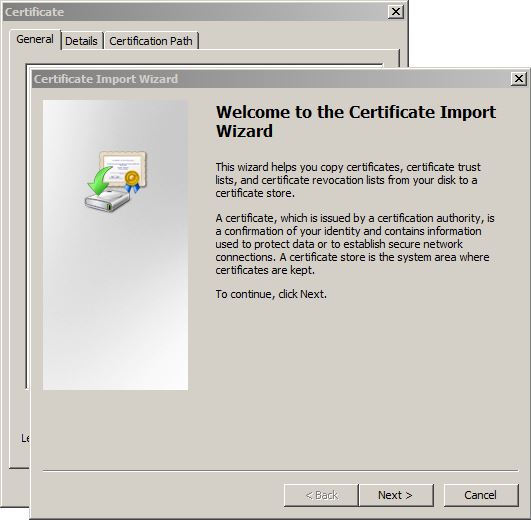 |
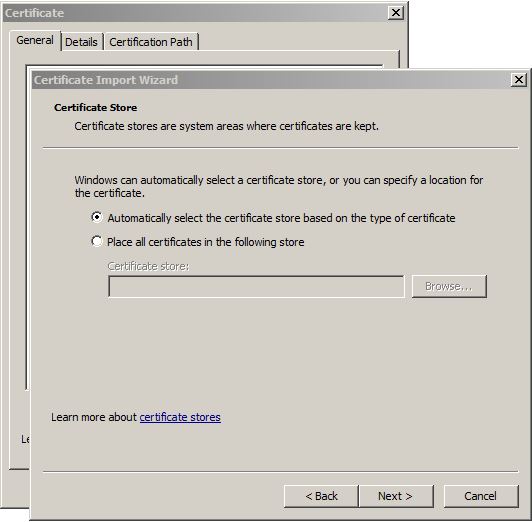
6. The Certificate Import Wizard dialog appears. Accept the default "Automatically select a certificate based on the type of certificate" option. Select the "Next" button.
 |
7. The "Completing the Certificate Import Wizard" dialog appears. Select the "Finish" button to complete the installation.
Note
Access to the Certificate Distribution Point is now confirmed.
8. Select the "OK" button in the dialog and close the certificate.
9. Repeat Steps 2 - 8 above for any additional certificates.