System Info Tab Configuration
Introduction
Use this guide to configure the System Info tab in the Web Admin for each SecureAuth IdP realm.
This includes cloud services, certificate authorities, and proxy integrations.
NOTE: This tab is mostly for reference and requires no configuration unless a proxy integration is required, SCEP is being used, or if there are specific preferences.
Prerequisites
1. On SecureAuth v9.1 or later, create a New Realm for the target resource for which the configuration settings will apply, or open an existing realm for which configurations have already been started
2. Configure the Overview, Data, Workflow, Multi-Factor Methods, Post Authentication, and Logs tabs on the Web Admin before configuring the System Info tab
3. Ensure the implementation of each of these items:
a) For Proxy Integrations
An established Proxy Server is up and running
b) For SCEP
The Issuing CA (Certificate Authority) is running on Windows 2008 Enterprise edition to enable SCEP / NDES functionality
The Certification Authority's (root and intermediates) certificate distribution point is available to all clients (internal and / or external) to allow access to the AIA and CDP files (CRT and CRL files)
The SCEP / NDES (Network Device Enrollment Service) service is already pre-installed and functional
The SCEP / NDES Listener URL is obtained
SecureAuth IdP Web Admin Configuration Steps - System Info Tab
Step A: Review / Configure System Info and Plugin Info
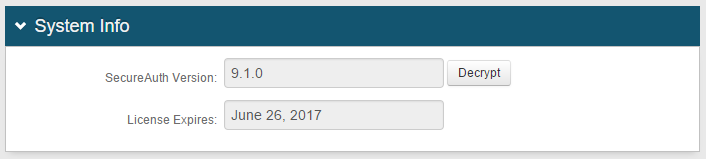 |
1. In the System Info section, the SecureAuth Version number is provided for reference
In SecureAuth IdP version 9.1, the License Expires date is also provided for reference – this information does not appear in SecureAuth IdP version 9.2

2. If necessary, click Decrypt to decrypt the web.config file so that the web.config file can be viewed in its entirety
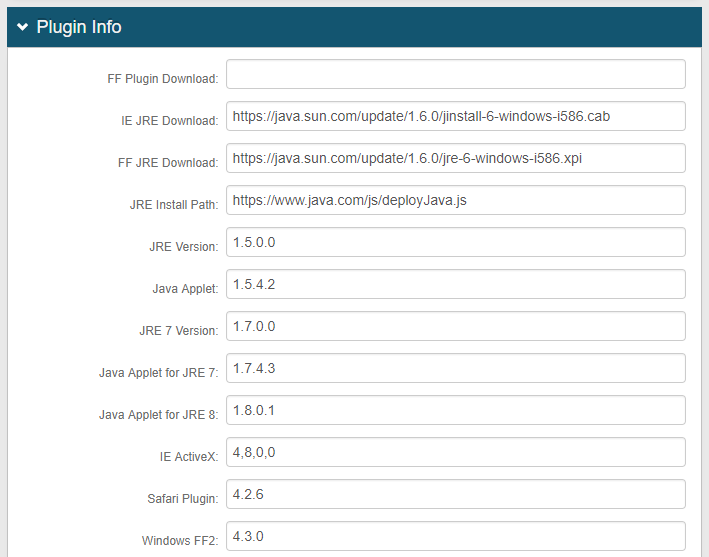
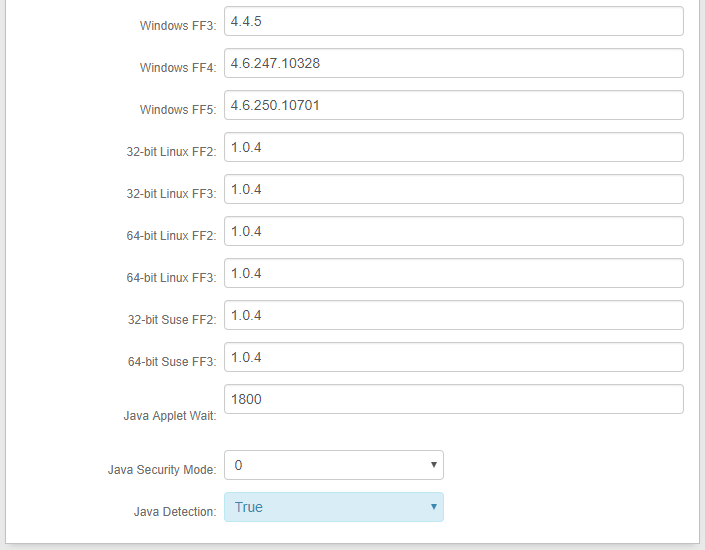
Plugin Info
3. Plugin information is provided for reference, and no configuration is required unless a specific version is required (not typical)
 |
 |
Step B: Complete WSE 3.0 / WCF Configuration
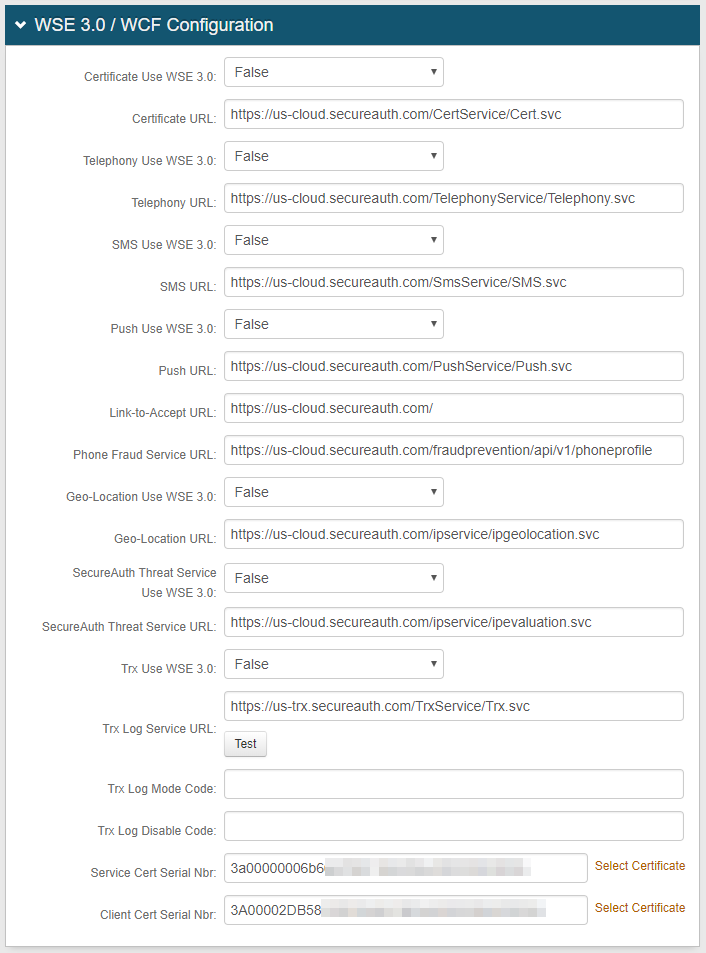 |
4. Select True from the following dropdowns if SecureAuth IdP is to use message-level security (WSE 3.0 / WCF) to make a web service call to issue a certificate (default), and keep the default URL settings:
Certificate Use WSE 3.0
Telephony Use WSE 3.0
SMS Use WSE 3.0
Push Use WSE 3.0
Geo-Location Use WSE 3.0
SecureAuth Threat Service Use WSE 3.0
5. Select False from the Trx Use WSE 3.0 dropdown if SecureAuth IdP will not use the message encryption endpoint to make a web service call to issue a certificate (default) – i.e. if transport encryption via TLS will be used instead of WSE 3.0
Or select True if SecureAuth IdP will use the WSE 3.0 message encryption endpoint to make a web service call to issue a certificate, and modify the URL to end in /msg
6. Click Test to ensure the connection is working properly
Tip
The following URLs in this section can be configured and updated as necessary, if using the specified feature(s) on this realm:
URL | SecureAuth IdP Feature |
|---|---|
Link-to-Accept URL | SecureAuth Link-to-Accept Multi-Factor Authentication Method |
Phone Fraud Service URL | |
Geo-Location URL | |
SecureAuth Threat Service URL |
However, if a proxy server will be used with SecureAuth IdP, click the Proxy Integration Configuration link directly below and follow steps in that section
Step C: Complete SCEP Configuration
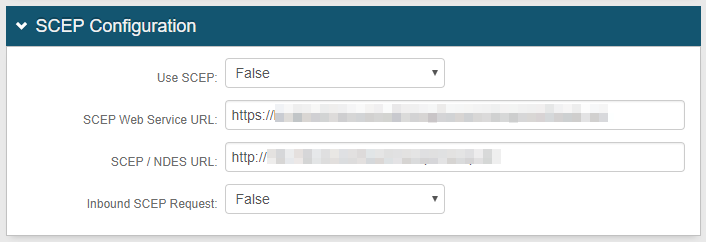 |
7. Select False from the Use SCEP dropdown and keep the default values unless SCEP is in use
If using SCEP, click the SCEP Configuration link directly below and follow steps in that section
 |
Note
Refer to Outbound Outbound SCEP Configuration Guide or Inbound SCEP from MobileIron VSP Configuration Guide for full instructions
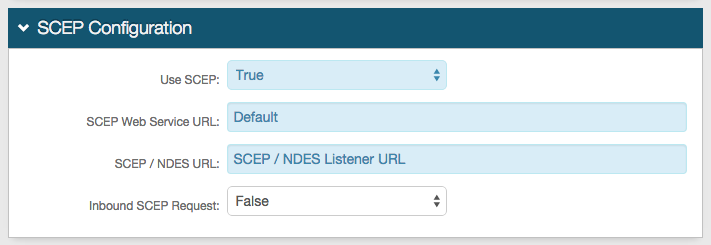
7a. Select True from the Use SCEP dropdown
7b. Leave the SCEP Web Service URL as the default unless the web service is hosted in a different location
7c. Set the SCEP / NDES URL as the SCEP / NDES Listener URL
7d. Select False from the Inbound SCEP Request
If SecureAuth IdP is to receive inbound SCEP calls from MobileIron, select True
Step D: Complete Proxy Server Configuration
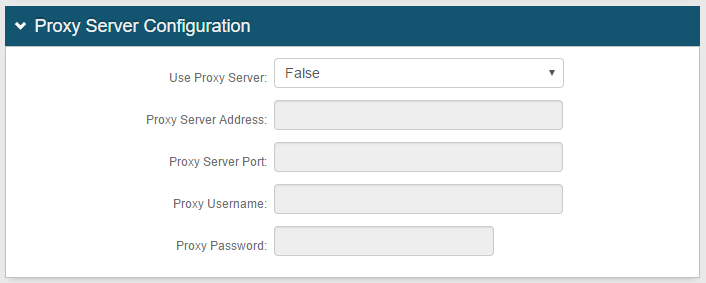 |
8. Select False from the Use Proxy Server dropdown and keep the default values
However, if a proxy server will be used with SecureAuth IdP, click the Proxy Integration Configuration link directly below and follow steps in that section
 |
8a. Select True from the Use Proxy Server dropdown
8b. Set the Proxy Server Address to the proxy's IP Address or FQDN
8c. Set the Proxy Server Port to the TCP port on which the web proxy server is configured to respond, e.g. 8080
8d. Provide the Proxy Username if the proxy requires authentication
8e. Provide the Proxy Password if the proxy requires authentication
Step E: Complete IP Configuration
 |
Note
If a proxy server will be used with SecureAuth IdP, follow the steps in the Proxy Integration Configuration section below
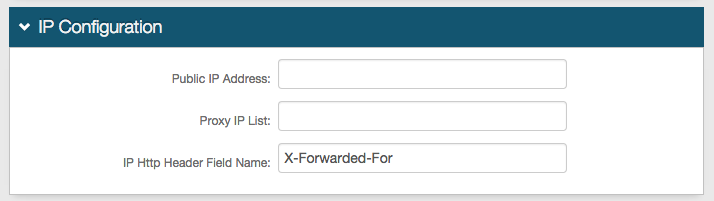
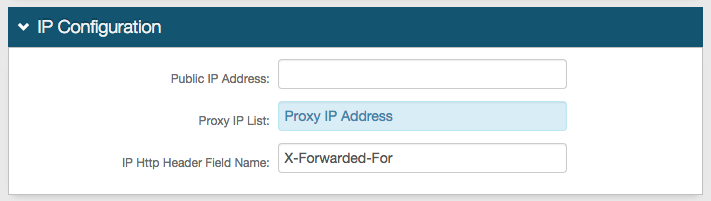
9. Provide the Public IP Address if NAT is used to alter the SecureAuth IdP IP Address to a Public IP Address
10. Provide the Proxy IP List of addresses that are used between user devices and SecureAuth IdP (proxy, load balancer, gateway, etc.) – separating entries in this list by commas
11. Leave the IP Http Header Field Name as default unless a different Field Name is required
Step F: Review / Configure Remaining Sections
License Info
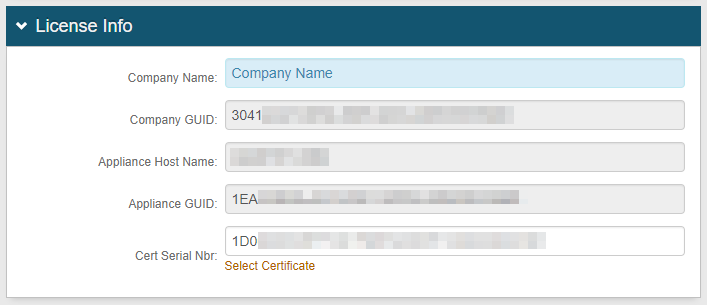 |
12. No configuration is required in the License Info section, and the Cert Serial Nbr is typically the same as the Client Cert Serial Nbr in the WSE 3.0 / WCF Configuration section
Certificate Properties
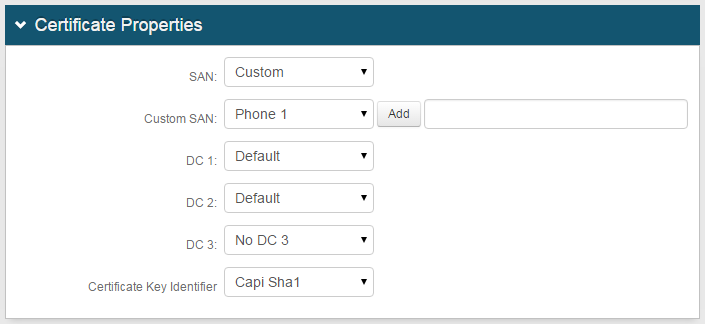 |
13. Select Default from the SAN, DC 1, and DC 2 dropdowns to use the default certificate settings
Select Custom to customize a SAN, DC 1, or DC 2 property in a certificate
Select the Field(s) from the Custom SAN / DC 1 / DC 2 dropdown and click Add to customize the property
14. Select No DC 3 from the DC 3 dropdown to eliminate the DC 3 property from the certificate; select Hard drive serial number hash to include the DC 3 property as the hard drive serial number hash
15. Select the hashing algorithm to be used for certificate signing requests from the Certificate Key Identifier dropdown
Advanced Configuration
 |
16. Select True from the Force Frame Break Out to enable SecureAuth IdP pages to break out of iFrame web pages
User Input Restriction
 |
Note
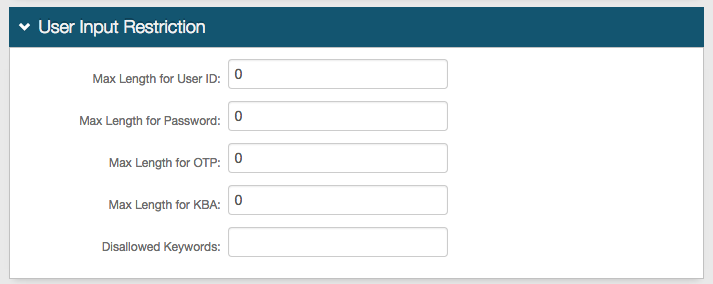
NOTE: This section applies only to SQL, ODBC, and Oracle data stores
17. Set the Max Length for User ID (number of characters)
18. Set the Max Length for Password (number of characters)
19. Set the Max Length for OTP (number of digits)
20. Set the Max Length for KBA (number of characters)
Note
If no limit, set to 0 (default)
21. Create a list of Disallowed Keywords, comma separated
Warning
Click Save once the configuration is complete and before leaving the System Info page to avoid losing changes
Links
 |
22. Click Click to view Web Config Backups to view backups and see modifications that have been made
Configuration Back Up Files
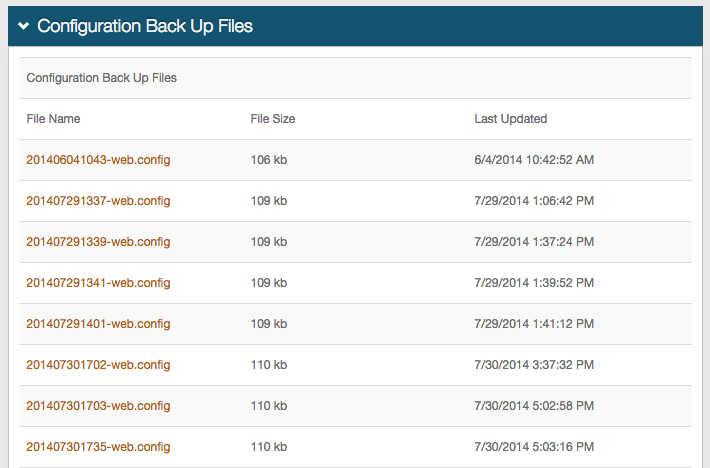 |
22a. View configuration changes and open backup files
22b. Use the back arrow on the browser to return to the Links section
23. Click Click to edit Web Config file to view the entire web.config code file to review and make modifications
Web Config Editor
 |
23a. View the web.config file and make any code modifications here
If a proxy server will be used with SecureAuth IdP, click the Proxy Integration Configuration link directly below and follow steps in that section

Warning
Click Save once the configurations have been completed and before leaving the Web Config File page to avoid losing changes