Mimecast Personal Portal (SP-initiated) Integration Guide
Introduction
Use this guide to enable Multi-Factor Authentication and Single Sign-on (SSO) access via SAML to Mimecast Personal Portal.
For SecureAuth IdP-initiated access, refer to Mimecast Personal Portal (IdP-initiated) Integration Guide.
Prerequisites
1. Have Mimecast Personal Portal and access to administration
2. Create a New Realm in the SecureAuth IdP Web Admin for the Mimecast integration
3. Configure the following tabs in the Web Admin before configuring the Post Authentication tab:
Overview – the description of the realm and SMTP connections must be defined
Data – an enterprise directory must be integrated with SecureAuth IdP
Workflow – the way in which users will access this application must be defined
Multi-Factor Methods – the Multi-Factor Authentication methods that will be used to access this page (if any) must be defined
SecureAuth IdP Configuration Steps
Data
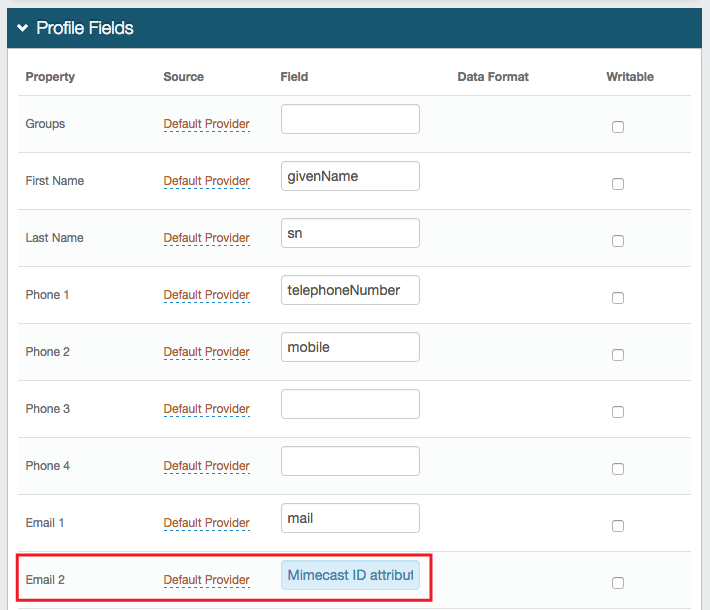 |
1. In the Profile Fields section, map the directory attribute that contains the user's Mimecast ID to a SecureAuth IdP Profile Property, e.g. Email 2 if it is not already mapped elsewhere
Warning
Click Save once the configurations have been completed and before leaving the Data page to avoid losing changes
Post Authentication
 |
2. In the Post Authentication section, select SAML 2.0 (SP Initiated) Assertion from the Authenticated User Redirect dropdown
User ID Mapping
 |
3. Select the SecureAuth IdP Profile Property that contains the user's Mimecast ID from the User ID Mapping dropdown, e.g. Email 2
4. Select urn:oasis:names:tc:SAML:1.1:nameid-format:unspecified from the Name ID Format dropdown (default) unless specified otherwise by the SP
SAML Assertion / WS Federation
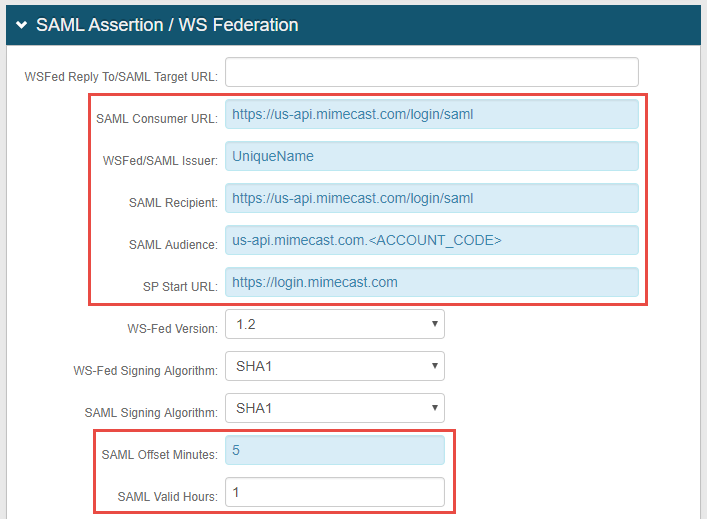 |
5. Set the SAML Consumer URL to https://us-api.mimecast.com/login/saml
6. Set the WS Fed / SAML Issuer to a Unique Name that is shared with Mimecast
The WS Fed / SAML Issuer value must match exactly in the SecureAuth IdP and the Mimecast configurations
7. Set the SAML Recipient to https://us-api.mimecast.com/login/saml
8. Set the SAML Audience to us-api.mimecast.com.<ACCOUNT_CODE>, replacing <ACCOUNT_CODE> with the actual Mimecast account code (provided by the SP)
9. Provide the SP Start URL to enable SSO and to redirect users appropriately to access Mimecast
For example, the SP Start URL would be https://login.mimecast.com
10. Set the SAML Offset Minutes to make up for time differences between devices
11. Set the SAML Valid Hours to limit for how long the SAML assertion is valid
Note
No configuration is required for the WS Fed Reply To / SAML Target URL field
 |
12. Leave the Signing Cert Serial Number as the default unless using a third-party certificate for the integration
If using a different certificate, then click Select Certificate and choose the preferred certificate
13. Provide the Domain in order to Download the Metadata File, which is used in the Mimecast Configuration Steps
Warning
Click Save once the configurations have been completed and before leaving the Post Authentication page to avoid losing changes
Forms Auth / SSO Token
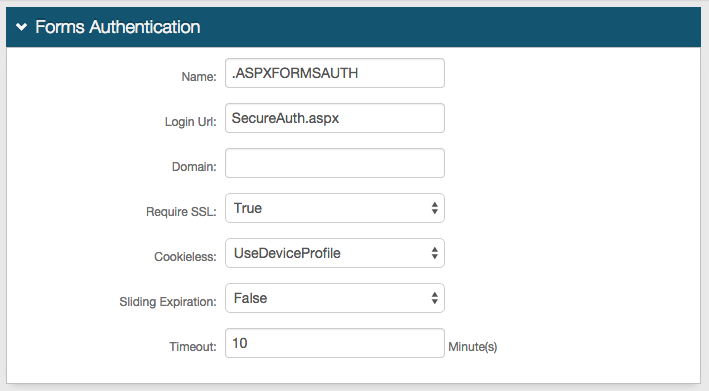
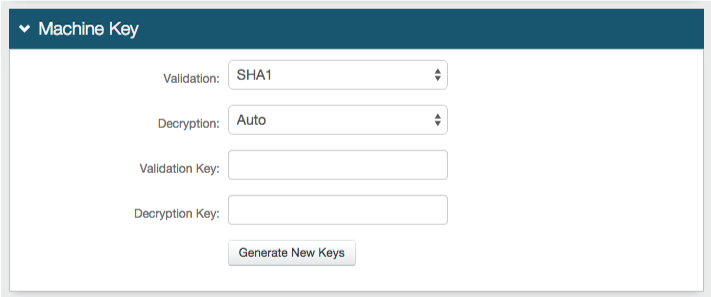
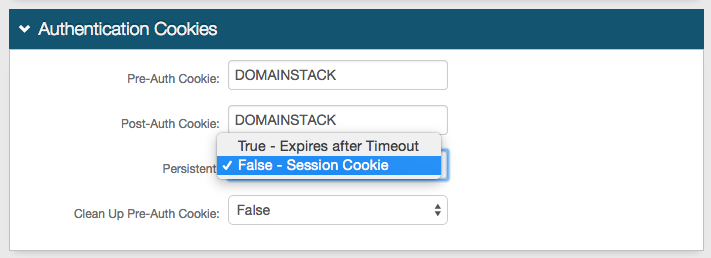
Optionally, in the Forms Auth / SSO Token section, click the View and Configure FormsAuth keys/SSO token link to configure the token/cookie settings and configure this realm for SSO.
 |
