Install Part IV - Run the SecureAuth IdP Setup Utility
Introduction
Use this guide to complete the SecureAuth IdP Setup Utility wizard. The SecureAuth IdP Setup Utility is an appliance setup tool that enables easy and rapid SecureAuth IdP installation.
Prerequisites
Complete Getting Started I - Pre-Install
Complete Install Part II - Initialize the SecureAuth IdP Setup Utility
Complete Install Part III - Basic Connectivity Checks. Network connectivity is required to complete the remaining steps
(Optional) If the installation requires a proxy configuration, verify that the proxy information in the Internet Options setup (Start > type 'Internet Options') is correct.
Acquire and have available the SecureAuth email or letter that contains the SecureAuth Appliance Activation Code and Windows Product Key (for purchased appliances)
Update the Microsoft Windows product keys. SecureAuth Identity Platform will run an evaluation copy of the Windows server that is valid for 180 days.
You must install your Microsoft Windows corporate license before the 180-day evaluation copy expires.
SecureAuth IdP Installation Steps
1. Initiate the SecureAuth IdP Setup Utility
If you are continuing directly from Install Part II - Initialize the SecureAuth IdP Setup Utility, the utility opens automatically at the conclusion of Part II
If the utility does not open or you need to launch it manually, click Start on the appliance and search for Launch SecureAuth IdP Setup Utility
SecureAuth IdP Setup Utility
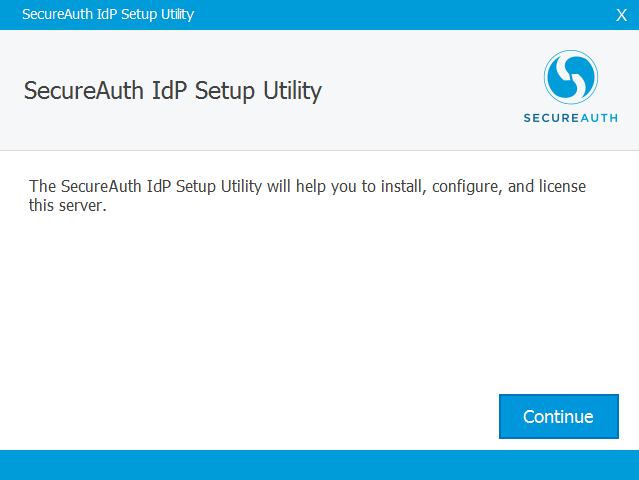 |
2. Once the Setup Utility window opens, click Continue to initiate the appliance activation
EULA
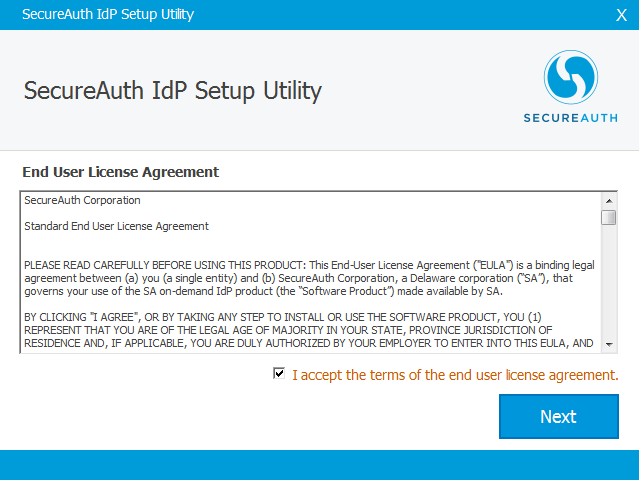 |
3. Review the End User License Agreement
4. Check I accept the terms of the end user license agreement and click Next
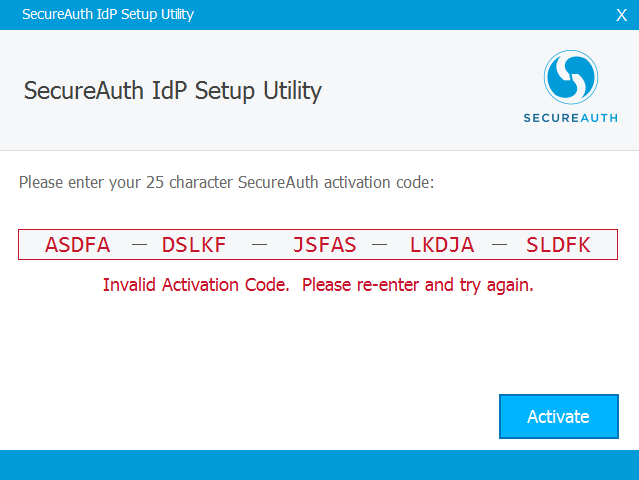
Activation Code
5. Enter the SecureAuth Appliance Activation Code obtained from the SecureAuth email or letter
6a. If the SecureAuth Appliance Activation Code is invalid, then check for typos, check that VMTools is installed, and review the Network Communication Requirements for SecureAuth IdP 9.1 - 9.2
 |
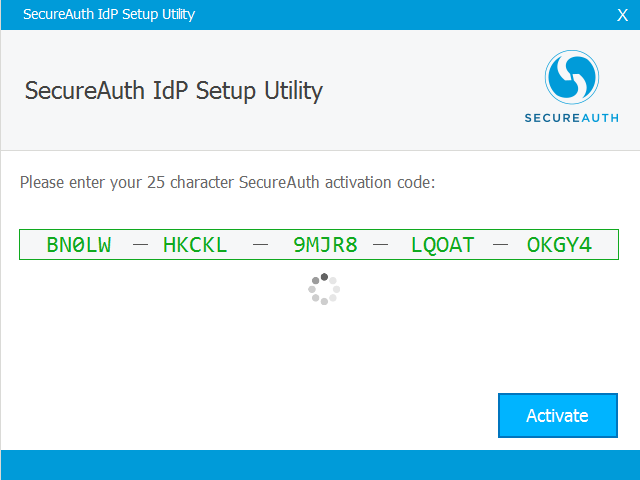
6b. If the SecureAuth Appliance Activation Code is valid, then click Activate
 |
Notice
Make sure the virtual hardware drivers (i.e. VMware tools, XenTools, etc.) are up-to-date to ensure the best virtual hardware performance
Version
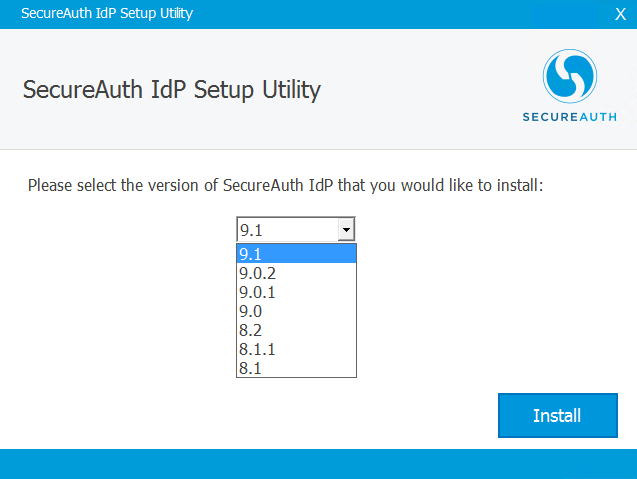 |
7. Select the version of SecureAuth IdP to be installed - all versions from 8.1 onward are available from the dropdown
8. Once the correct version is selected, click Install
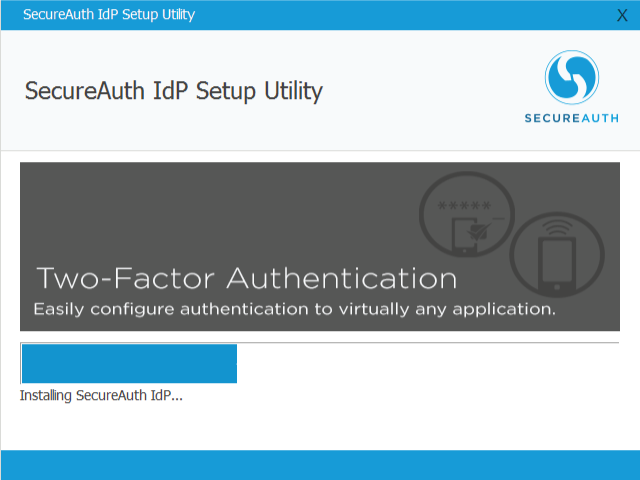
The Setup Utility begins installing the selected version of SecureAuth IdP
Setup Complete
9. Wait a moment for the setup to complete
At this point, SecureAuth IdP is successfully installed and is running on an evaluation copy of the Windows server that is valid for 180 days
 |
 |
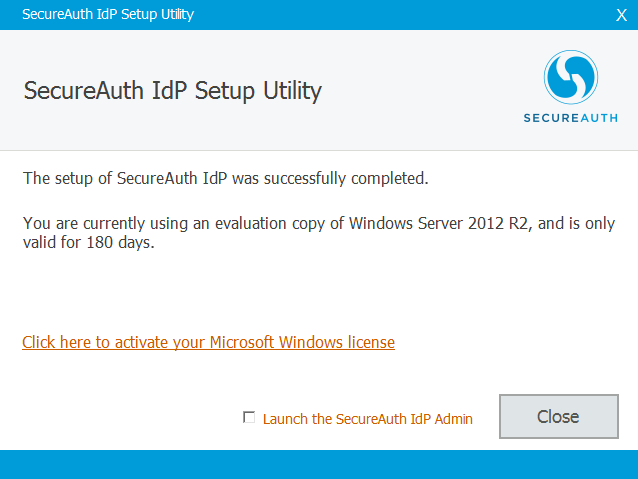 |
If the SecureAuth IdP appliance has been purchased (as opposed to POC), and the Windows Product Key is included with the SecureAuth Appliance Activation Code in the SecureAuth Email, select Click here to activate your Microsoft Windows license; otherwise, (optional) select Launch the SecureAuth IdP Admin to open the Web Admin and click Close
Notice
Activation requires HTTP and HTTPS access to the Microsoft activation website
By default, this access is enabled through the local advanced firewall, but this access will be required through any other firewalls
See Network Communication Requirements for SecureAuth IdP 9.1 - 9.2 for more information
Windows Product Key
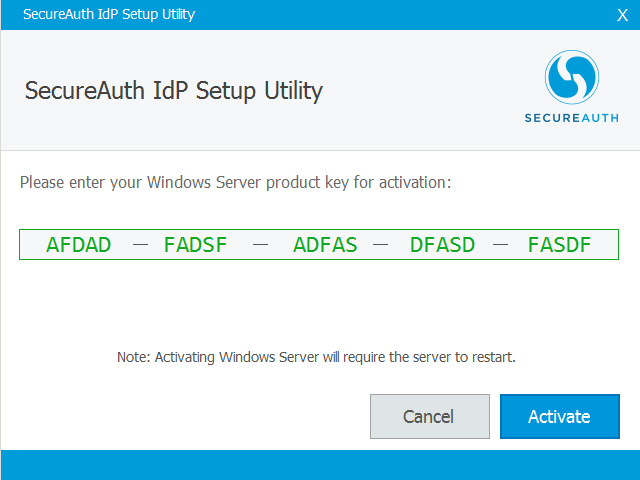 |
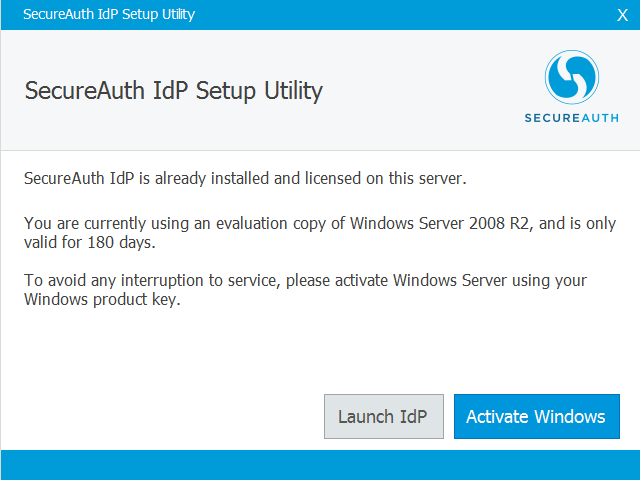
10. Provide the Windows Server Product Key, and click Activate
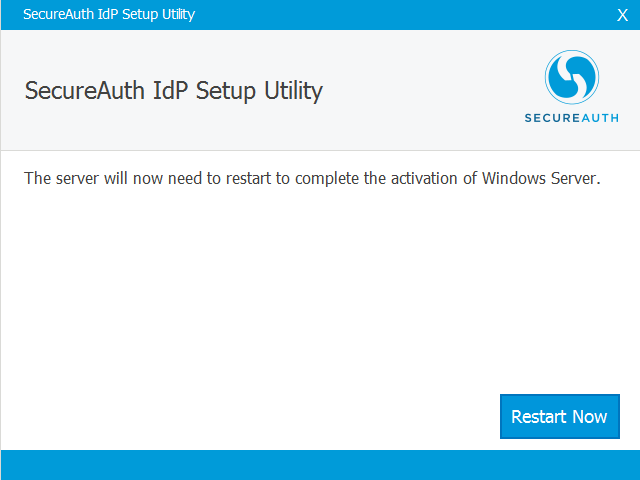 |
11. Click Restart Now to restart the server and to complete the activation
Activation Complete
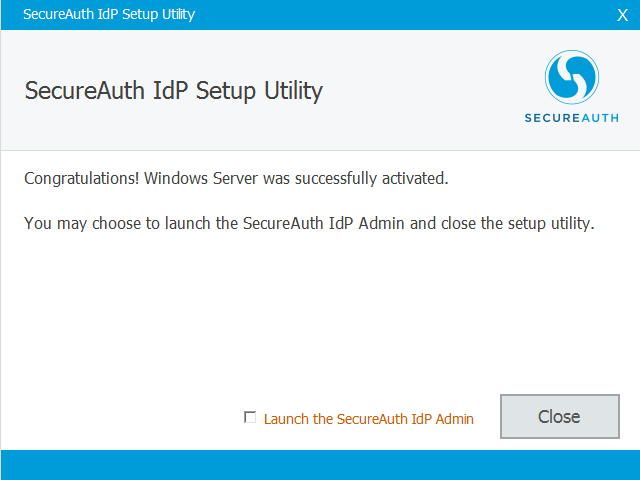 |
12. Once the server restarts, the prompt alerts that the activation was successful
13. Click Close to exit the Setup Utility
13a. (optional) Check the Launch the SecureAuth IdP Admin box to be redirected to the SecureAuth IdP Web Admin upon closing the Setup Utility
What's Next
SecureAuth IdP is now successfully installed. When you have completed all steps on this page, move on to Getting Started III - Welcome to the SecureAuth IdP Web Admin.