Install Part III - Basic Connectivity Checks
Introduction
Use this guide to verify that the SecureAuth IdP appliance is connected to your network and can communicate with SecureAuth's cloud services.
Prerequisites
Notice
DHCP vs. Static IPs
SecureAuth IdP is configured to support Dynamic Host Configuration Protocol (DHCP) for automatic IP address assignment. If the network segment the SecureAuth IdP appliance is configured for does not support DHCP, you may close the SecureAuth IdP Setup Utility and perform the appropriate network adapter IP configuration for that network segment. Once you have confirmed network connectivity, re-launch the setup utility and continue with activation.
Notice
Proxy Configuration
SecureAuth IdP receives proxy configuration information from the Internet Options window. If the installation requires a proxy setup, verify that proxy settings are correctly configured there.
To access Internet Options, click Start, then type 'Internet Options'
Procedure
There are 4 checks to perform in order to confirm that SecureAuth IdP is properly connected to your network. Additionally, there are 2 further checks that can be performed as post-install connection troubleshooting.
1. IP Address
Confirm IP address and other networking settings
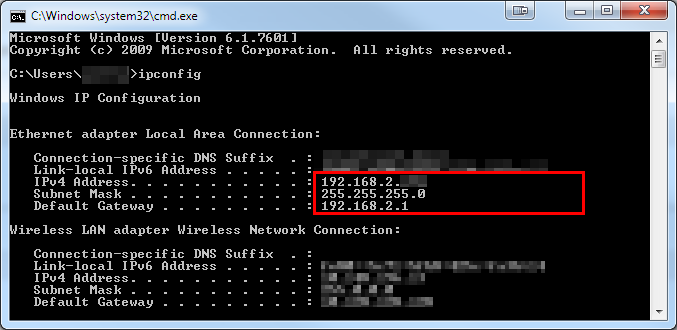
Open a command prompt on the appliance (on the Start screen, type
cmd. In the Apps result, click cmd)In the command prompt, type
ipconfigand hit EnterCheck the IPv4 Address line to confirm that the machine has an IP address
Confirm that the Subnet Mask and Default Gateway settings are correct
 |
2. DNS
Verify or set the proper DNS server addresses
Ensure that DNS is configured and working, both internal and external, from the appliance
Register the appliance name in the appropriate DNS lookup zones
For further information on working with DNS, see the following Microsoft documentation:
3. NTP
Enable NTP and synchronize the Windows Server clock with an NTP server
Notice
The appliance must keep its time accurate to within ~5 minutes to work correctly. Problems with Kerberos will occur if a time deviation is too high (or if an incorrect region is set during the Windows installation).
If SecureAuth IdP is installed on a virtual machine, verify that the NTP settings are correct on the hypervisor server
See https://technet.microsoft.com/en-us/library/cc816656(v=ws.10).aspx for in-depth documentation on configuring a time source
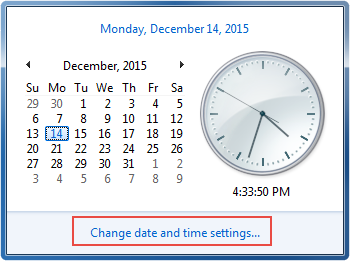
1. To synchronize time, click the Date/Time in the Windows taskbar
 |
2. Click Change date and time settings...
 |
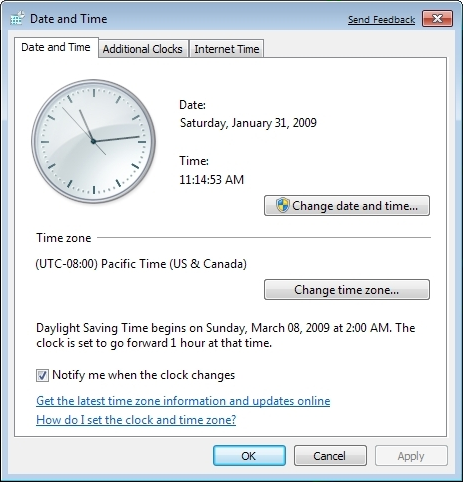
3. The Date and Time window opens
4. Verify that the Time zone matches your location. If the time zone is incorrect, click Change time zone to select the right zone
 |
5. Click the Internet Time tab, and then click Change settings (If the Internet Time tab is not present, then the appliance is a member of a domain and will synchronize with the domain controller)
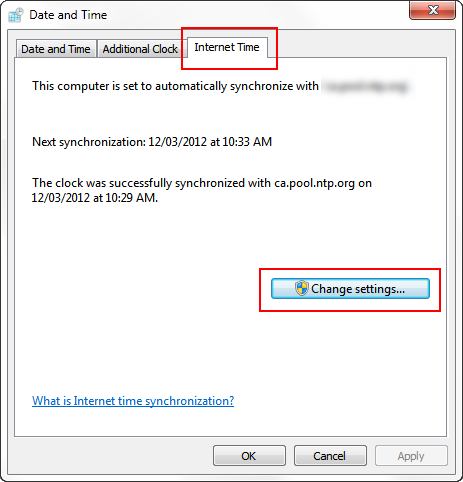 |
6. The Internet Time Settings window opens
7. Enter the IP or Hostname of the company NTP server, or choose a server from the list
4. Cloud Services
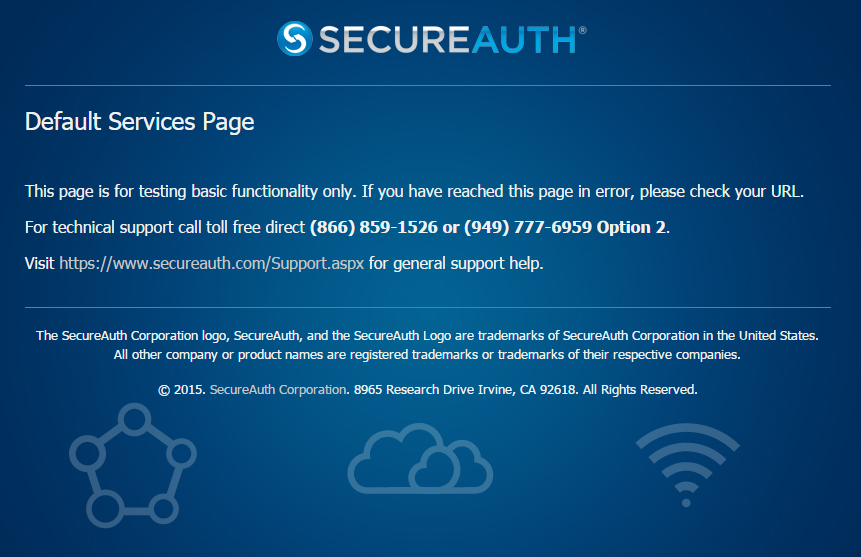 |
Verify that the appliance can reach SecureAuth cloud services
On the appliance, open a browser window
Navigate to http://cloud.secureauth.com/
The SecureAuth "Default Services Page" should appear
Navigate to http://trx.secureauth.com/
The SecureAuth "Default Services Page" should appear
Notice
If either destination is unreachable, check that every firewall on your network has the appropriate ports opened (see Network Communication Requirements for SecureAuth IdP 9.1 - 9.2)
What's Next
Once the SecureAuth IdP appliance passes all 4 connectivity checks, move on to Install Part IV - Run the SecureAuth IdP Setup Utility
5. Web Admin
 |
Warning
This step is intended for use as troubleshooting after SecureAuth IdP has been successfully installed
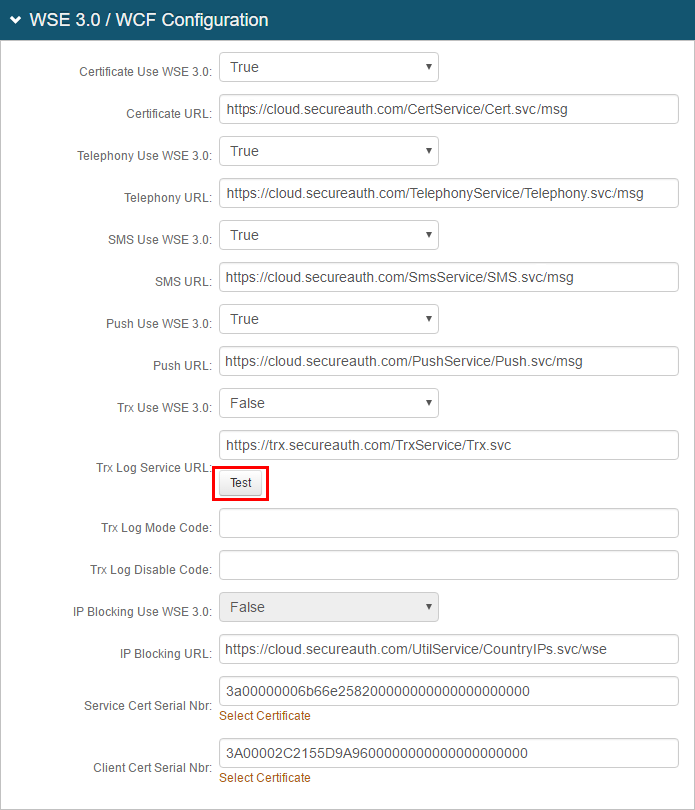
Test connectivity in the Web Admin
Open the admin realm (SecureAuth0) in the SecureAuth IdP Web Admin
Open the System Info tab
In the WSE 3.0 / WCF Configuration dropdown, click the Test button
You should see a "Passed" result appear next to the button
 |
Notice
If this test fails, check that every firewall on your network has the appropriate ports opened (see Network Communication Requirements for SecureAuth IdP 9.1 - 9.2)
6. Web Admin From External Source
 |
Warning
This step is intended for use as troubleshooting after SecureAuth IdP has been successfully installed
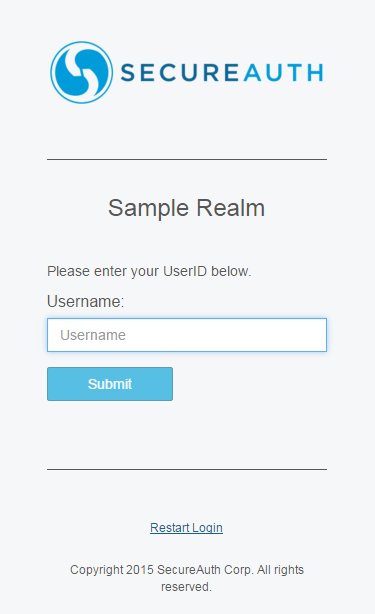
Test connectivity to the Web Admin from an external source
On a different client on the corporate network, open a web browser
Navigate to the SecureAuth1 realm
If the login screen appears, connectivity is validated and the test is successful