Mobile App Store Configuration Guide
Introduction
The Mobile App Store is for end-users to access Android and iOS mobile applications that use SecureAuth IdP.
Companies can upload their apps to the store and restrict viewing and downloading to specific groups, removing the need for users to find the apps in their phone's store.
Prerequisites
1. Create a New Realm for the Mobile App Store
2. Configure the following tabs in the Web Admin before configuring the Post Authentication tab:
Overview – the description of the realm and SMTP connections must be defined
Data – an enterprise directory must be integrated with SecureAuth IdP
Workflow – the way in which users will access this application must be defined
Multi-Factor Methods – the Multi-Factor Authentication methods that will be used to access this page (if any) must be defined
Configuration Steps
Post Authentication
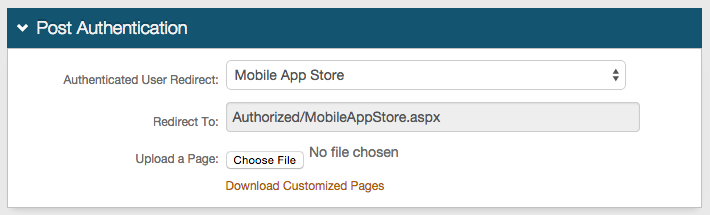 |
1. Select Mobile App Store from the Authenticated User Redirect dropdown in the Post Authentication tab in the Web Admin
2. An unalterable URL will be auto-populated in the Redirect To field, which will append to the domain name and realm number in the address bar (Authorized/MobileAppStore.aspx)
User ID Mapping
 |
3. Select the type of User ID that will be asserted to the Mobile App Store from the User ID Mapping dropdown
This is typically the Authenticated User ID
Mobile App Store
 |
4. Enter the Application Name
5. Upload the application File
6. Create group restrictions by entering group names in the Allowed Groups or Denied Groups fields, separated by commas
7. Check Enabled if this application is available for download in the Mobile App Store
8. Click Upload
Warning
Click Save once the configurations have been completed and before leaving the Post Authentication page to avoid losing changes
Forms Auth / SSO Token
 |
9. Click View and Configure FormsAuth keys / SSO token to configure the token/cookie settings and to configure this realm for Single Sign-on (SSO)
These are optional configurations
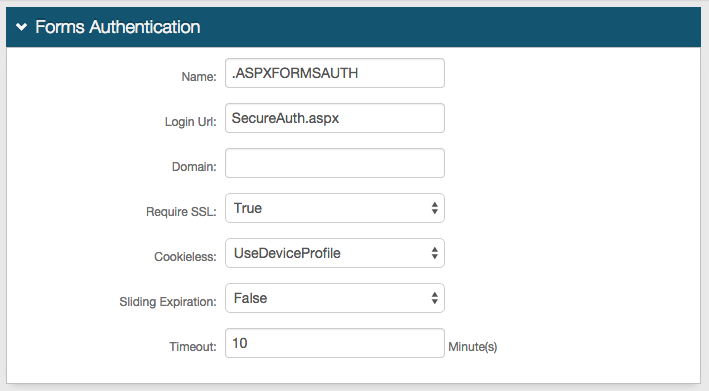 |
1. If SSL is required to view the token, select True from the Require SSL dropdown
2. Choose whether SecureAuth IdP will deliver the token in a cookie to the user's browser or device:
UseCookies enables SecureAuth IdP to always deliver a cookie
UseUri disables SecureAuth IdP to deliver a cookie, and instead deliver the token in a query string
AutoDetect enables SecureAuth IdP to deliver a cookie if the user's settings allow it
UseDeviceProfile enables SecureAuth IdP to deliver a cookie if the browser's settings allow it, no matter the user's settings
3. Set the Sliding Expiration to True if the cookie remains valid as long as the user is interacting with the page
4. Set the Timeout length to determine for how many minutes a cookie is valid
Note
No configuration is required for the Name, Login URL, or Domain fields
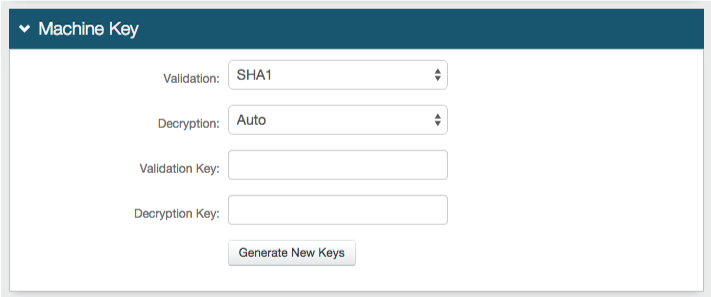 |
5. No changes are required in the Validation field, unless the default value does not match the company's requirement
If a different value is required, select it from the dropdown
6. No changes are required in the Decryption field, unless the default value does not match the company's requirement
If a different value is required, select it from the dropdown
Note
No configuration is required for the Validation Key or Decryption Key fields
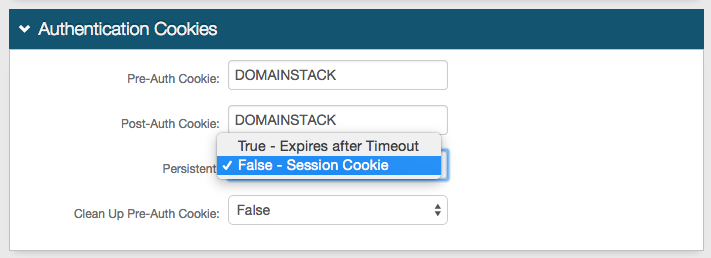 |
7. Enable the cookie to be Persistent by selecting True - Expires after Timeout from the dropdown
Selecting False - Session Cookie enables the cookie to be valid as long as the session is open, and will expire once the browser is closed or the session expires
Note
No configuration is required for the Pre-Auth Cookie, Post-Auth Cookie, or the Clean Up Pre-Auth Cookie fields
Warning
Click Save once the configurations have been completed and before leaving the Forms Auth / SSO Token page to avoid losing changes
Note
To configure this realm for SSO, refer to SecureAuth IdP Single Sign-on Configuration
Note
To configure this realm for Windows Desktop SSO, refer to Windows desktop SSO configuration
IIS Configuration Steps
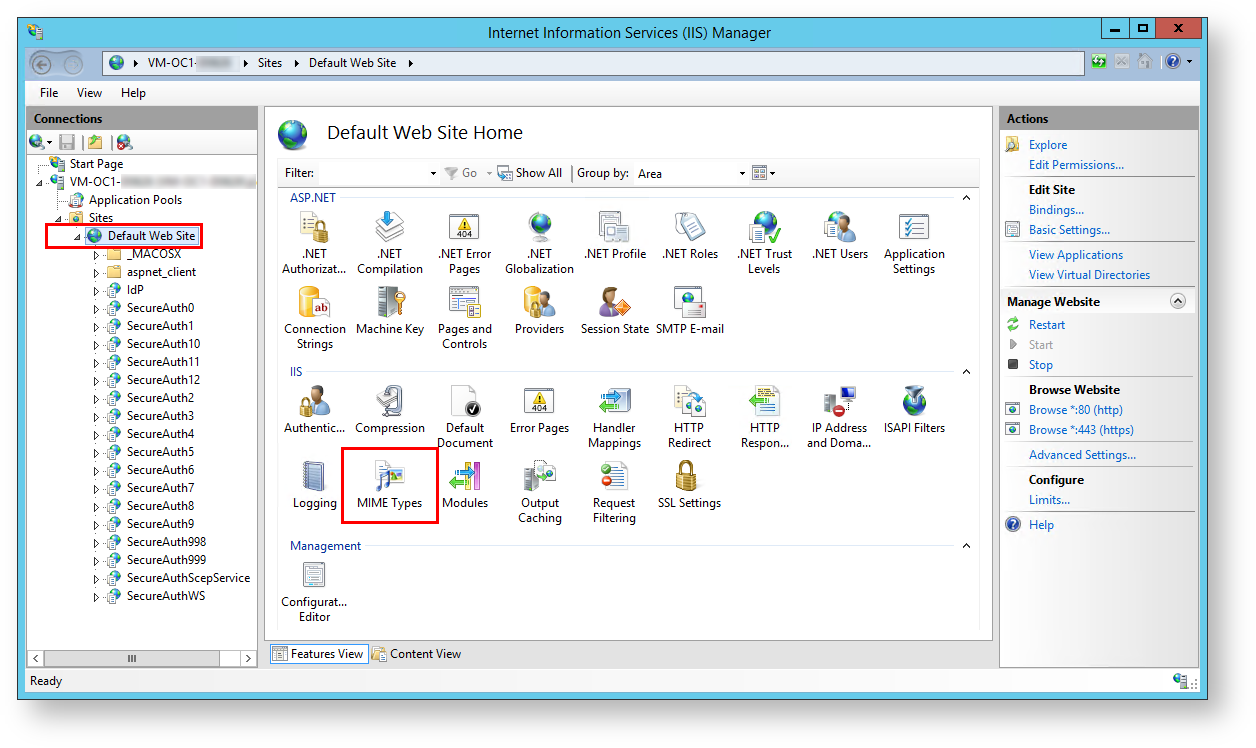
1. On the SecureAuth IdP appliance, open the Internet Information Services (IIS) Manager.
2. In the left-hand Connections pane, navigate to [Machine name] > Sites > Default Web Site.
3. Double-click MIME Types.
4. In the right-hand Actions pane, click Add...
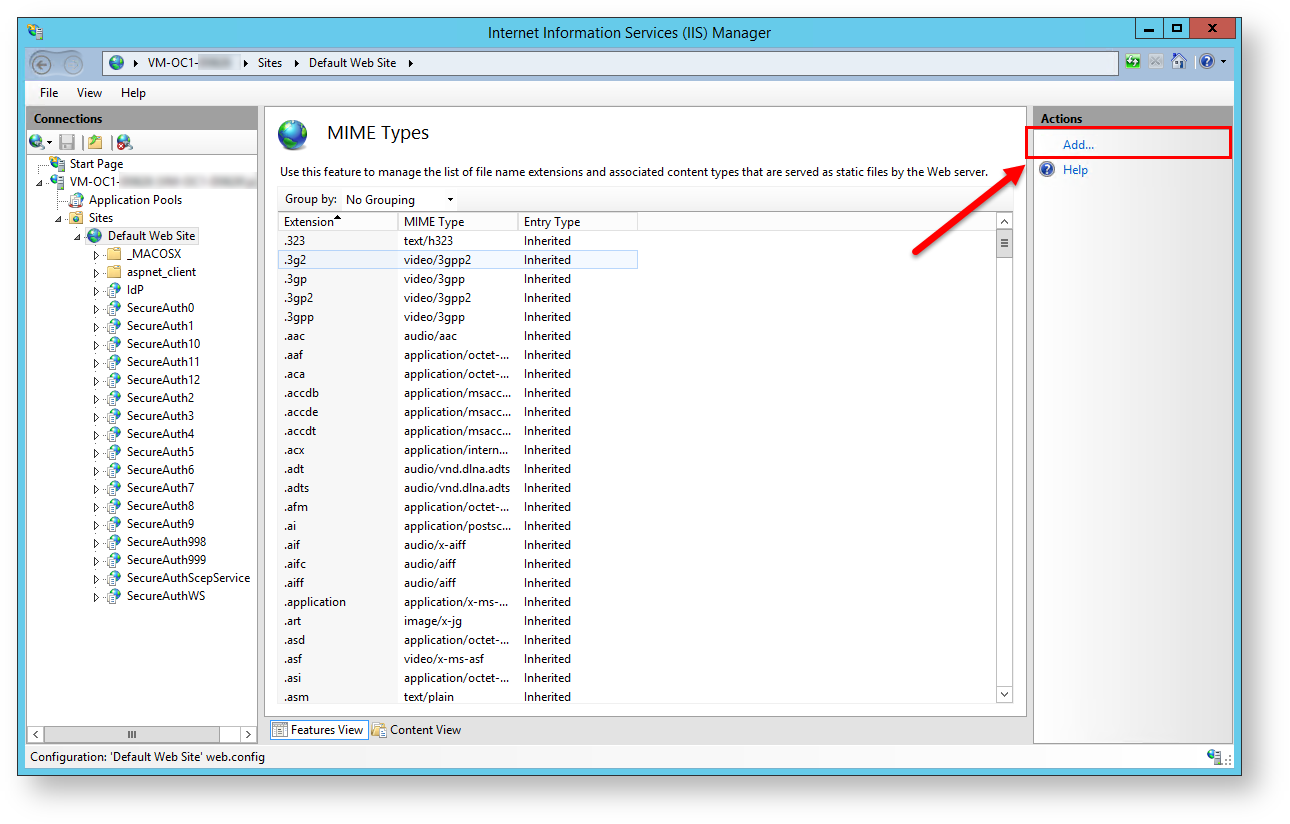
The Add MIME Type window opens.
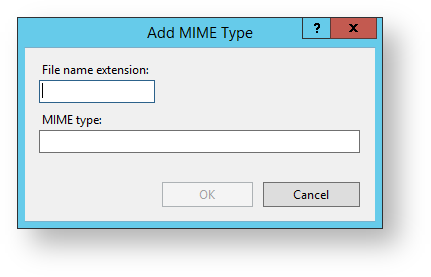
5. In the File name extension field, enter .ipa
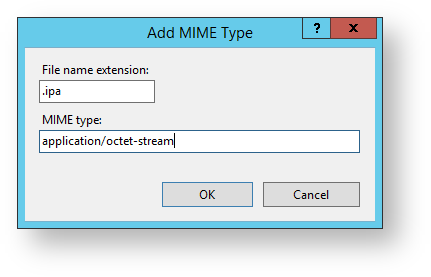
6. In the MIME type field, enter application/octet-stream
7. Click OK.
8. In the Actions pane, click Add... again.
The Add MIME Type window opens.
9. In the File name extension field, enter .plist
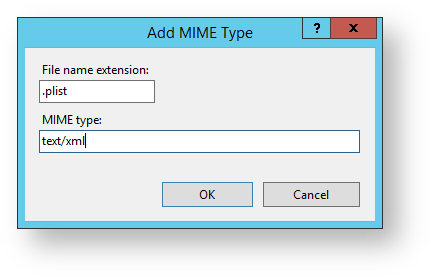
10. In the MIME type field, enter text/xml
11. Click OK.
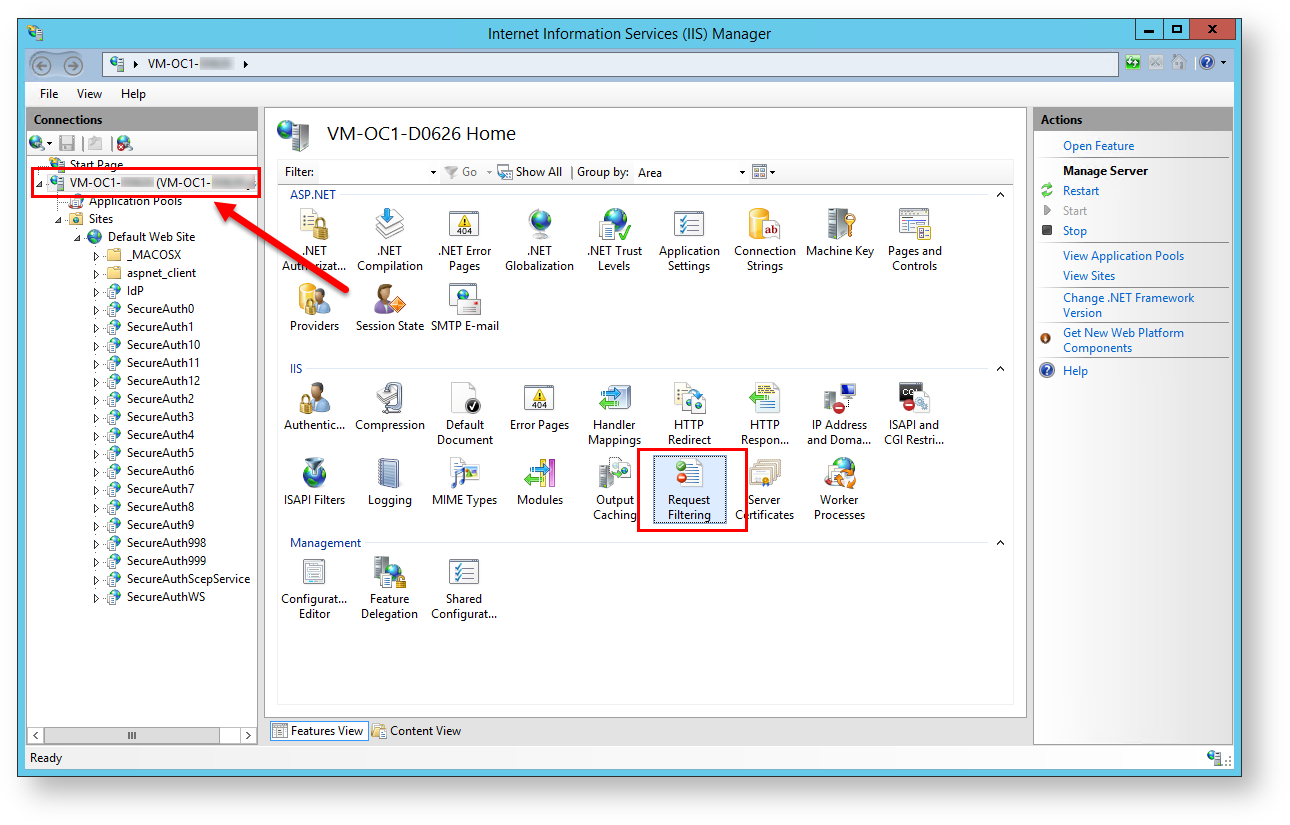
12. Navigate to the top level (server name) in IIS.
13. Double-click Request Filtering.
14. Click Edit Feature Settings.

The Edit Request Filtering Settings window opens.
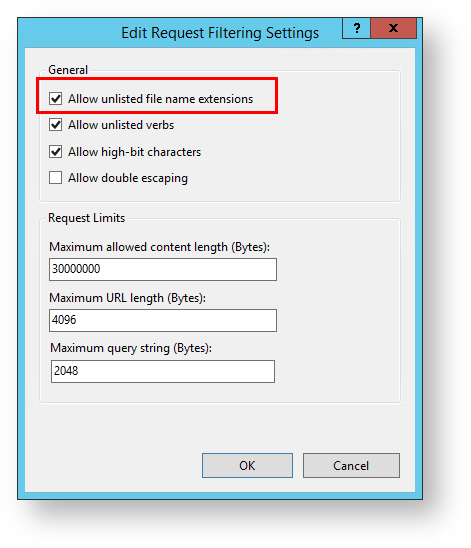
15. Inspect the Allow unlisted file name extensions setting.
15a. If the setting is CHECKED, click OK. Configuration is now complete, and the rest of the steps below do not need to be completed.
15b. If it is UNCHECKED, continue to step 16.
16. Click Cancel.
17. In the Actions pane, click Allow File Name Extension.
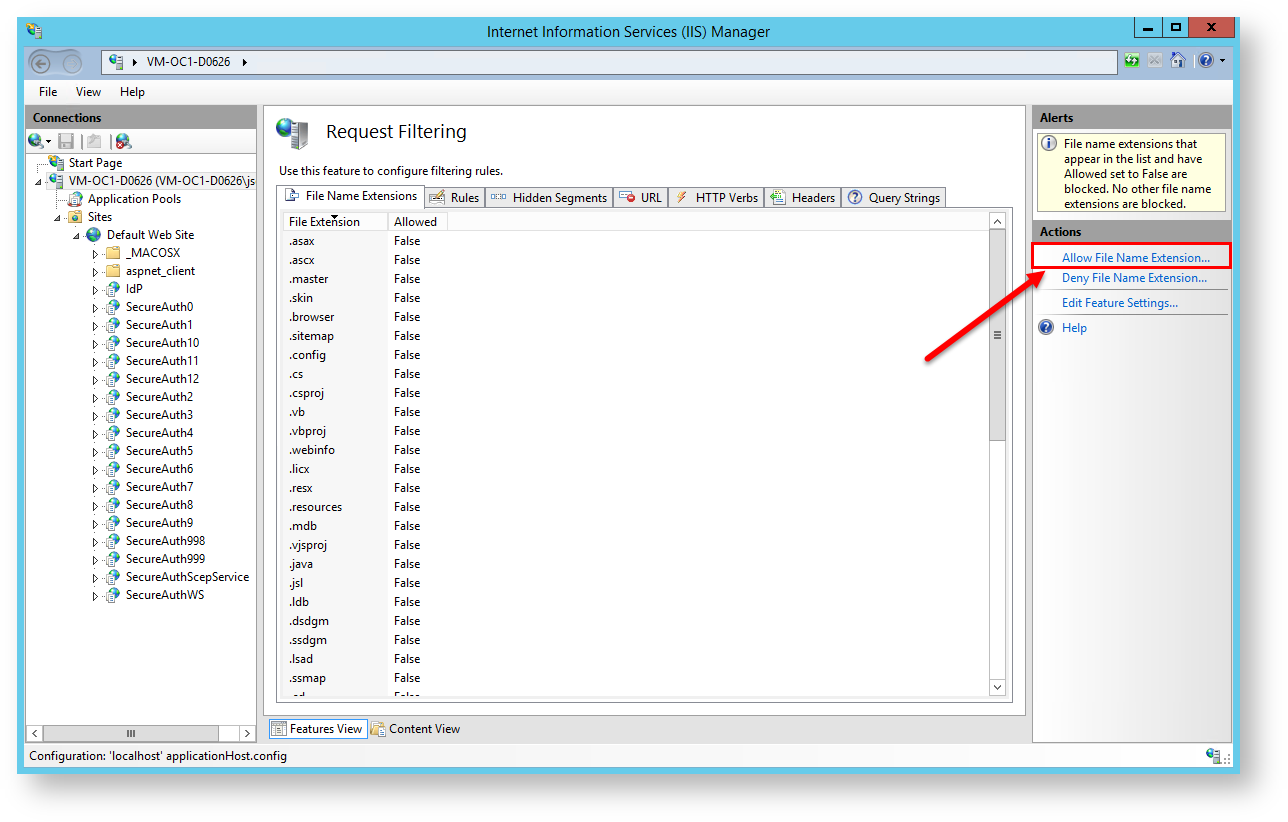
The Allow Filename Extension window opens.
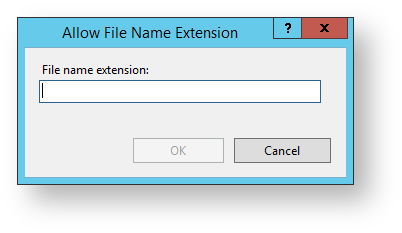
18. Enter .ipa in the textbox and click OK.

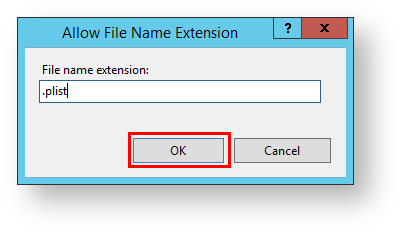
19. Click the Allow File Name Extension link again.
20. Enter .plist in the textbox and click OK.
21. Exit IIS. Configuration is now complete.
Troubleshooting / Common Issues
Any errors while uploading are displayed in the error label on the upload page
If the app is not displayed on the download page, then ensure that the user is a part of the allowed groups, rather than the denied groups, and that the app is enabled
Maximum request length exceeded: This error is seen when the file being uploaded is larger than what is specified in kilobytes by the maxRequestLength property of the web.config on SecureAuth0 (since this is the realm on which the Web Admin runs)
To resolve the issue, add/increase the value for this property as follows (this example sets the limit to 1GB, while the default size is 4096 KB (4 MB)):
<httpRuntime requestValidationMode="2.0" maxRequestLength="1048576" />