Install the SecureAuth® Identity Platform RADIUS Server, v20.06
Install SecureAuth Identity Platform RADIUS server v20.06 or upgrade from SecureAuth IdP RADIUS server v1.0.x - v2.5.x or v19.06 - 20.06.
IMPORTANT: Do not install SecureAuth Identity Platform RADIUS server v20.06 on a Windows Domain Controller.
If you are a new customer, for optimum performance, especially for large enterprises, install the SecureAuth RADIUS server separately from the Identity Platform server. If you are upgrading, consider moving SecureAuth RADIUS to its own server. If in doubt, contact SecureAuth Support.
Installation
Ensure that SecureAuth IdP version 9.1 or later or SecureAuth Identity Platform version 19.07 or later is installed.
Download the installation file from the SecureAuth Product Downloads page.
If RADIUS v1.0.x is currently installed, contact SecureAuth Support for detailed instructions.
If RADIUS v2.0.x - v20.03.xxis currently installed, RADIUSv20.06.xxwill be installed over the existing installation by default. You cannot select a different installation path.
If you are installing RADIUS for the first time, RADIUS v20.06.xx will be installed in a new folder by default. RADIUS v20.06.xx is installed in C:\Program Files\SecureAuth Corporation\SecureAuth IdP RADIUS Agent. Optionally, you can select a different installation path by completing the following:
Export all configurations.
Uninstall SecureAuth RADIUS.
Install the latest version of SecureAuth RADIUS and select the new installation folder.
Use the SecureAuth RADIUS import tools to import the configuration settings.
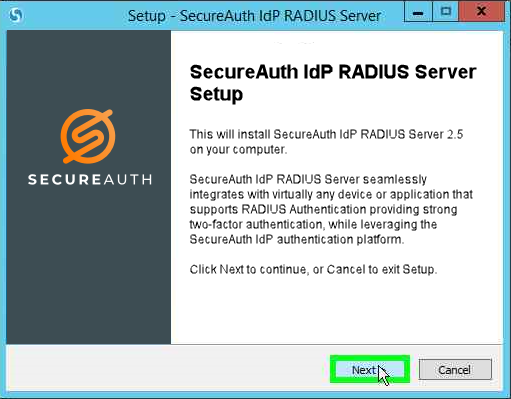
Find the downloaded SecureAuth-IdP-RADIUS-Server-20.06.04.exe file and double-click the file to start the install wizard.
You must log in as an administrator to complete installation, unless you are already logged in as an administrator. If you are not logged in as an administrator, you will be prompted to log in as admin.
Click Next to proceed.
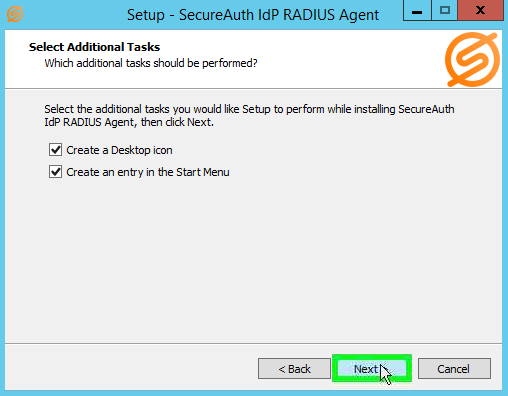
Select the appropriate checkbox(es) to enable quick access to the RADIUS Admin Console via a desktop icon and / or the Start menu selection:
Create a Desktop icon.
Create an entry in the Start Menu.
Click Next to review settings.
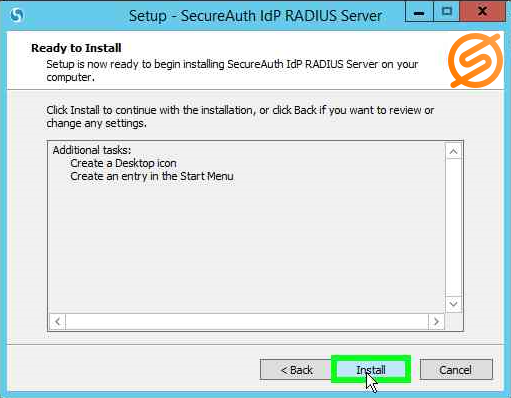
Review settings and do one of the following:
Click Back to make edits.
Or click Install to begin installing the RADIUS service.
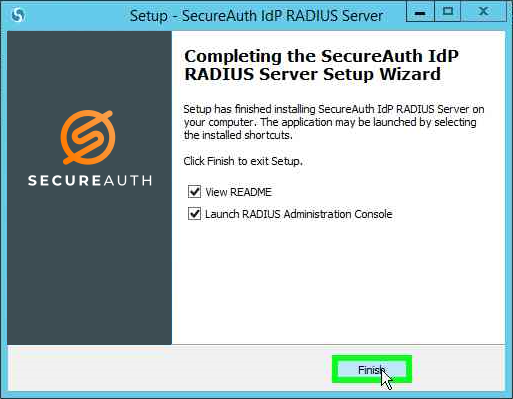
After the installation is complete, optionally select the files to start when the wizard closes:
View README.
Launch RADIUS Administration Console.
Click Finish to close the install wizard.
If either or both files were selected at step 7, the requested files are displayed.
Optional: Add the radius.oath.strategy property to the "appliance.radius.properties" file if end users in your organization have multiple devices and you want to let them select which device to authenticate with.
Open the "appliance.radius.properties" file, located in the conf folder, with a text editor, such as Notepad:
<RADIUS_installation_directory>\SecureAuth IdP RADIUS Agent\bin\confFor example:
C:\Program Files\SecureAuth Corporation\SecureAuth IdP RADIUS Agent\bin\confAdd the radius.oath.strategy property, as shown in the following image.
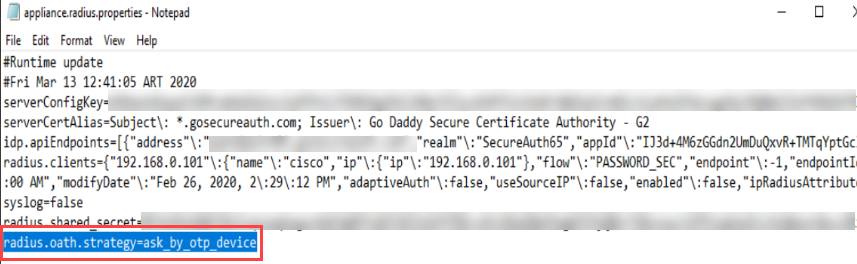
Save your change.
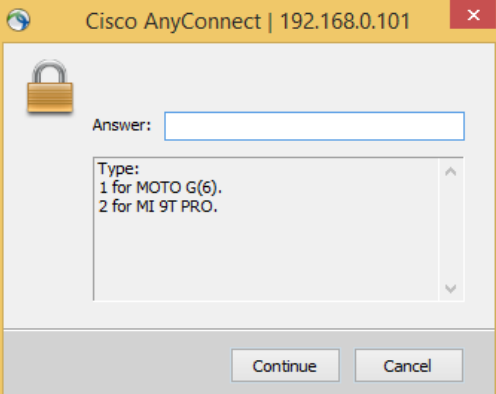
When end users with multiple devices authenticate, they will see a screen that looks like the following example:
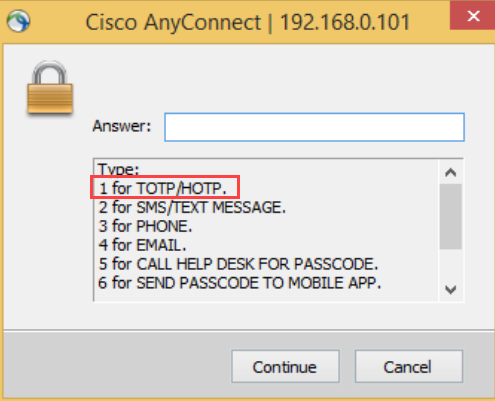
Additionally, SecureAuth RADIUS server supports both HOTP and TOTP in seed and token modes, so end users will see an answer choice of TOTP/HOTP instead of OTP, as shown in the following example image:
Optional: Configure the number of Universal Datagram Protocol (UDP) processor threads that SecureAuth RADIUS can use to receive access-request packets.
Add the radius.processorThreads property to the
appliance.radius.propertiesfile.Open the "appliance.radius.properties" file, located in the conf folder, with a text editor, such as Notepad:
<RADIUS_installation_directory>\SecureAuth IdP RADIUS Agent\bin\confFor example: C:\Program Files\SecureAuth Corporation\SecureAuth IdP RADIUS Agent\bin\conf
Add the radius.processorThreads property, as shown in the following image.
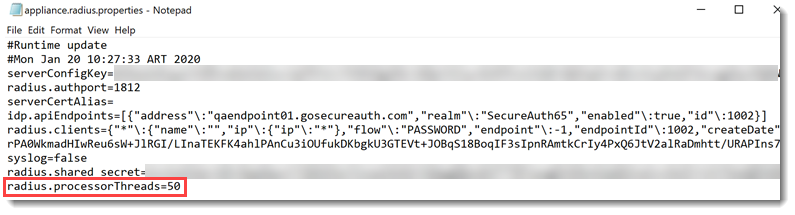
If a value for radius.processorThreads is not specified, it is set to 50 by default, for best performance.
Save your change.
Restart secureAuthRadius in the Task Manager "Services" tab.
When you lose connection, cancel out of the reconnect dialog. Connect in the Administrator PowerShell screen by adding the PID for the
java.exeprocess. (Find thejava.exePID in the Task Manager "Details" tab.)jconsole.exe <PID>; for example,jconsole.exe 4648
Optional: Configure the SecureAuth Identity Platform time-out value to maximize successful login requests.
Open the
appliance.radius.propertiesfile, located in the conf folder, with a text editor, such as Notepad:<RADIUS_installation_directory>\SecureAuth IdP RADIUS Agent\bin\confFor example:
C:\Program Files\SecureAuth Corporation\SecureAuth IdP RADIUS Agent\bin\confAdd the idp.api.timeout property, as shown in the following image.
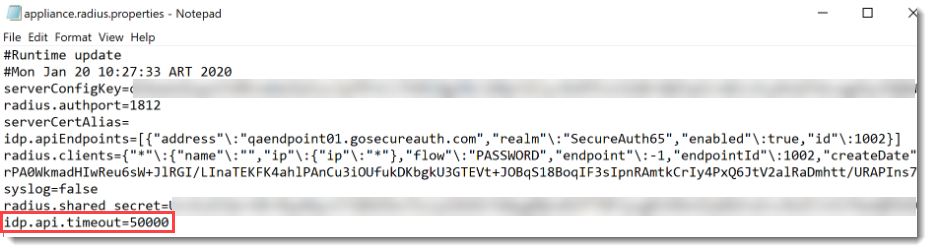
If a value for idp.api.timeout is not specified, it is set to 50000 by default.
Save your change.