Disable SSL 3.0 on a SecureAuth IdP Appliance
This article describes how to disable SSL 3.0 on a SecureAuth IdP Appliance.
Applies to
SecureAuth IdP
Discussion
Warning
Before disabling SSL 3.0 on your SecureAuth Appliances you should perform an audit of your network to ensure no devices which communicate with the SecureAuth IdP appliance require SSL 3.0. If a device has a dependency on SSL 3.0, and you remove the protocol from the appliance, communication will no longer be possible and may potentially result in downtime for users.
Warning
These instructions explain how to modify the Windows registry. However, serious problems might occur if you modify the registry incorrectly. Therefore, make sure that you follow the instructions carefully. For added protection, back up the registry before following the instructions below. Then, you can restore the registry if a problem occurs. For more information about how to back up and restore the registry, please see the Microsoft Knowledge Base article How to back up and restore the registry in Windows.
Instructions
Follow the directions below to disable SSL 3.0 on your SecureAuth IdP Appliance.
Open the Registry Editor
Point the cursor at the lower right corner of the screen and click the Search
 option from the Charms Bar once it displays.
In the Apps screen, type regedit into the Search field.
In the Results for "regedit" list, click regedit.exe
Edit the Registry
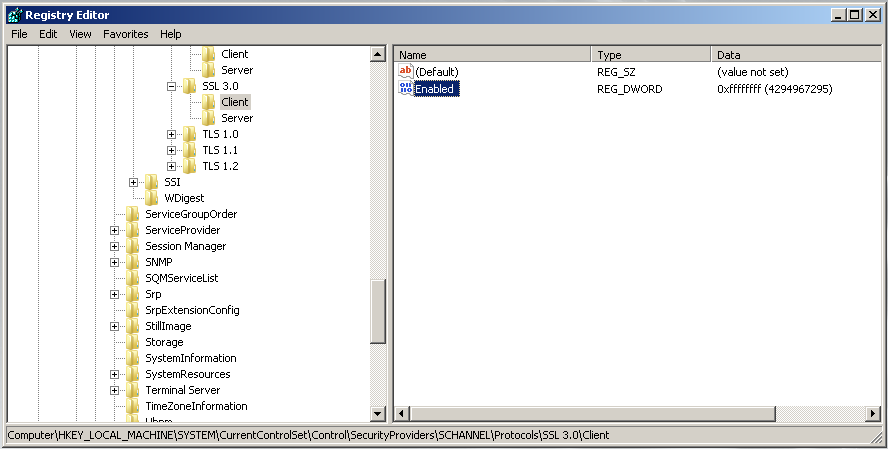
In the Registry Editor navigate to the following key:
HKEY_LOCAL_MACHINE\SYSTEM\CurrentControlSet\Control\SecurityProviders\SCHANNEL\Protocols\SSL 3.0
Expand SSL 3.0, click on Client, and locate the Enabled REG_DWORD entry.
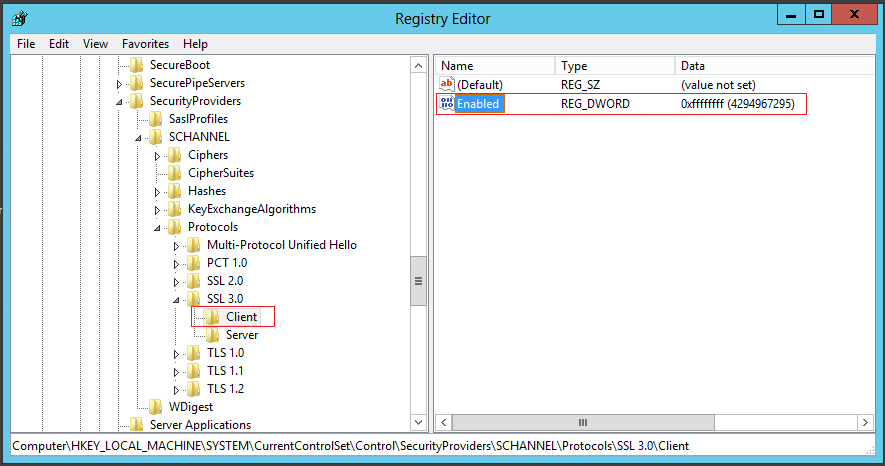
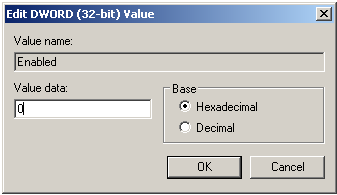
Change the Enabled value to 0 (zero); this disables SSL 3.0.

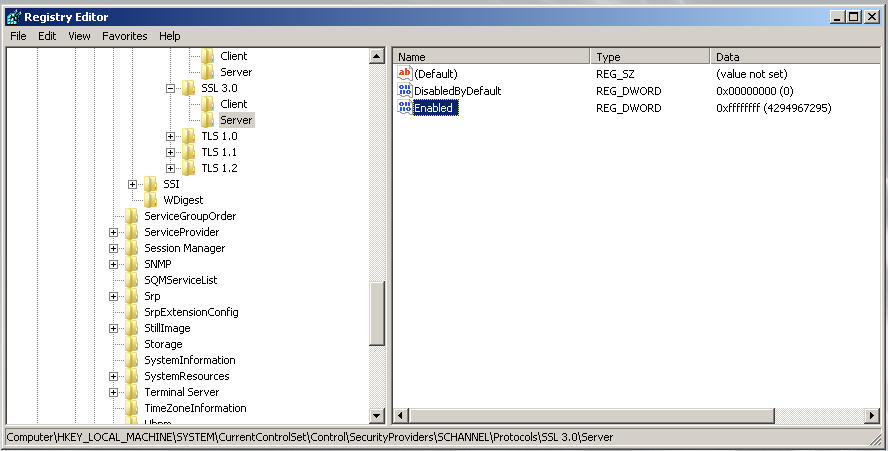
Under SSL 3.0, click on Server, and locate the Enabled REG_DWORD entry.
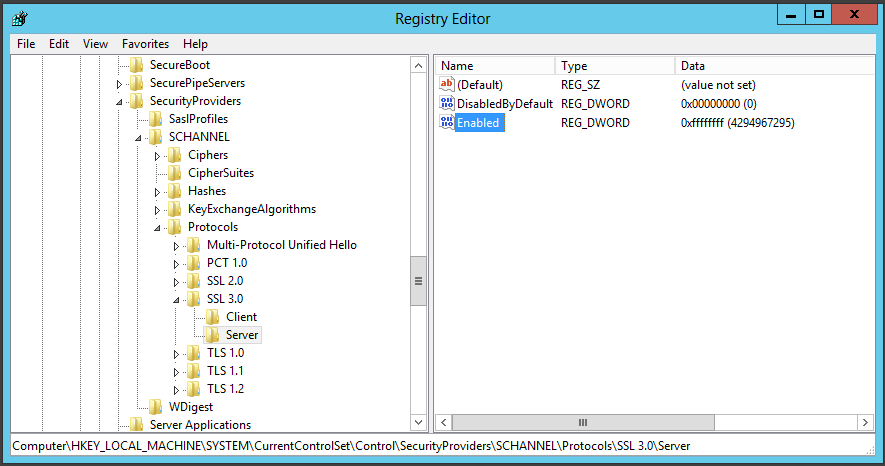
Change the Enabled value to 0 (zero); this disables SSL 3.0.
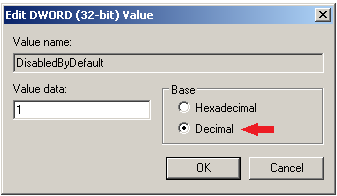
Under SSL 3.0, click on Server, and locate the DisabledByDefault REG_DWORD entry.
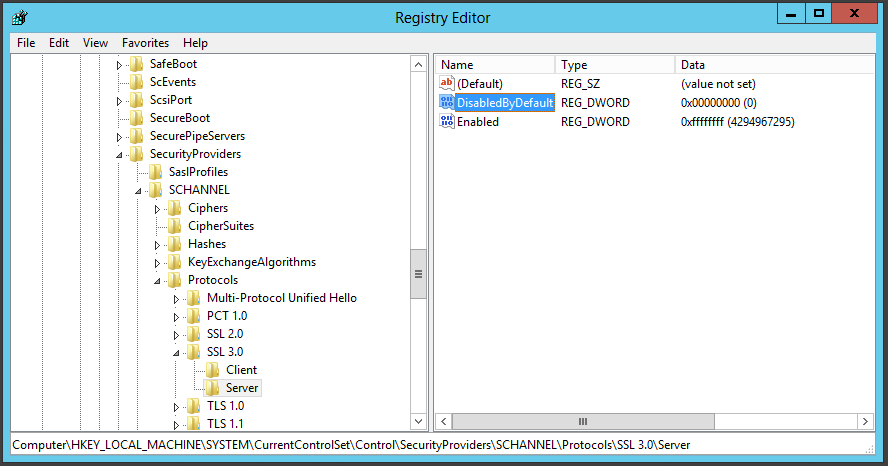
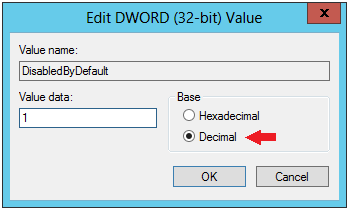
Change the DisableByDefault value to 1. Make sure the Base option is set to Decimal.
Exit the Registry Editor.
Restart the Server
Point the cursor at the lower right corner of the screen and click the Settings icon on the Charms Bar.
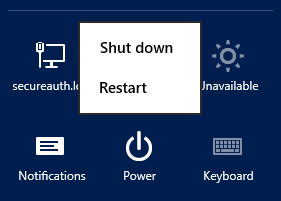
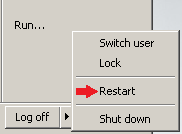
From Settings, choose the Power button and select Restart.
Select the description which best describes the reason for rebooting and choose Continue.
Open the Registry Editor
Click Start, and then click Run.
Type Regedit, and then click OK.
Edit the Registry
In the Registry Editor navigate to the following key
HKEY_LOCAL_MACHINE\SYSTEM\CurrentControlSet\Control\SecurityProviders\SCHANNEL\Protocols\SSL 3.0
Expand SSL 3.0, click on Client, and locate the Enabled REG_DWORD entry.
Change the Enabled value to 0 (zero), this will disable SSL 3.0.
Under SSL 3.0, click on Server, and locate the Enabled REG_DWORD entry.
Change the Enabled value to 0 (zero), this will disable SSL 3.0.
Under SSL 3.0, click on Server, and locate the DisabledByDefault REG_DWORD entry.

Change the DisableByDefault value to 1 making sure the Base option is set to Decimal.
You can now exit the registry editor.
Restart the Server
From the Start menu choose Restart.
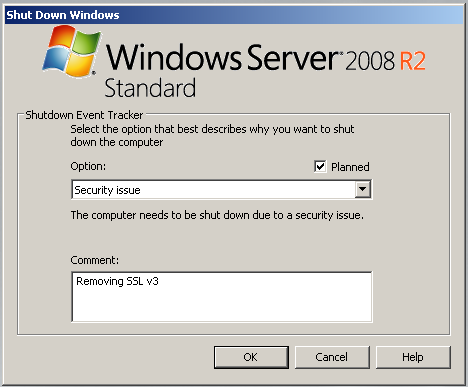
At the Shut Down Windows dialog, enter your reason for rebooting, and then click the OK button.
Follow the instructions below to disable SSL 3.0 on the Internet Explorer browser used on the SecureAuth IdP Appliance.
Disable SSL 3.0 and enable TLS 1.0, TLS 1.1, and TLS 1.2 in Internet Explorer
On the Internet Explorer Tools menu, click Internet Options.
In the Internet Options dialog box, click the Advanced tab.
In the Security category, uncheck Use SSL 3.0 and check Use TLS 1.0, Use TLS 1.1, and Use TLS 1.2 (if available).
Click OK.
Exit and restart Internet Explorer.